Mini H1 Bi-xenon
Today I found a bit of time to do a conversion of JDM headlights to bi-xenon. The original headlights aren’t suitable for use on our side of the road, so the conversion seems like a good idea. I ordered a kit from HIDRetrofit, which includes:
- Mini H1 bi-xenon projectors,
- Mini Gatling Gun lens shrouds,
- X35 12V35W digital HID ballast kit,
- H1 NextGen 4500K bulbs,
- CAN-bus decoder (probably unnecessary).
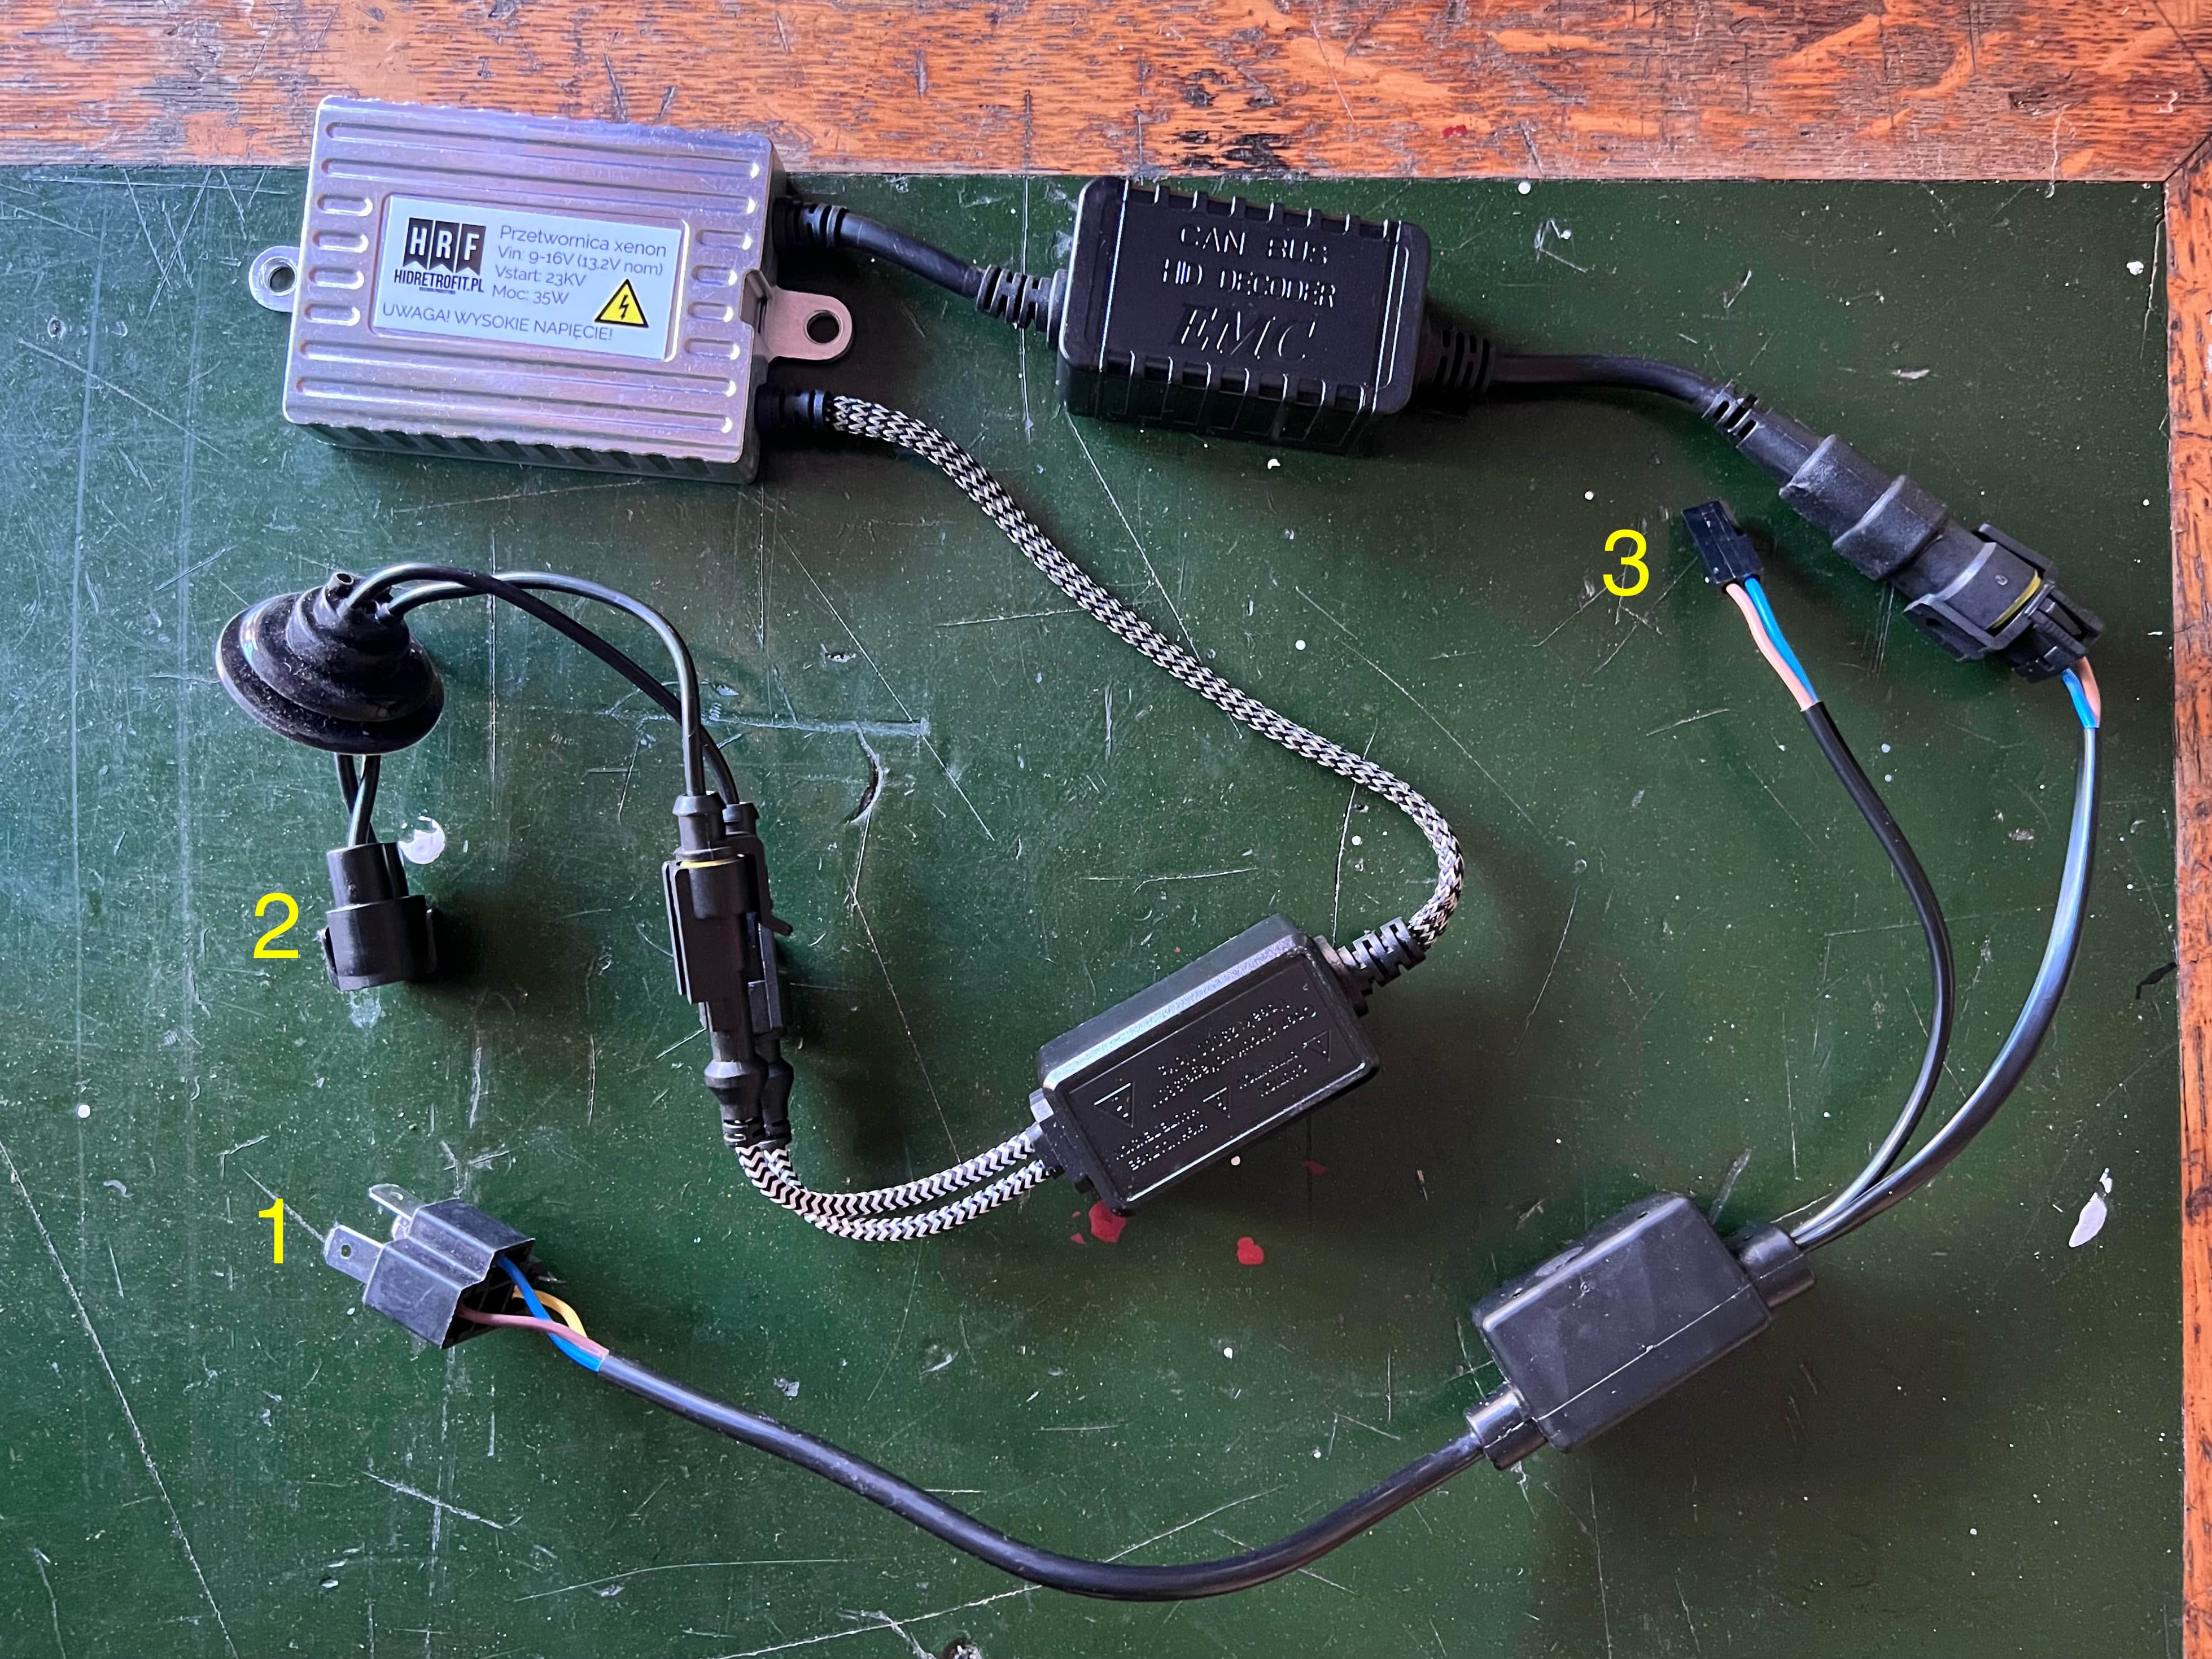
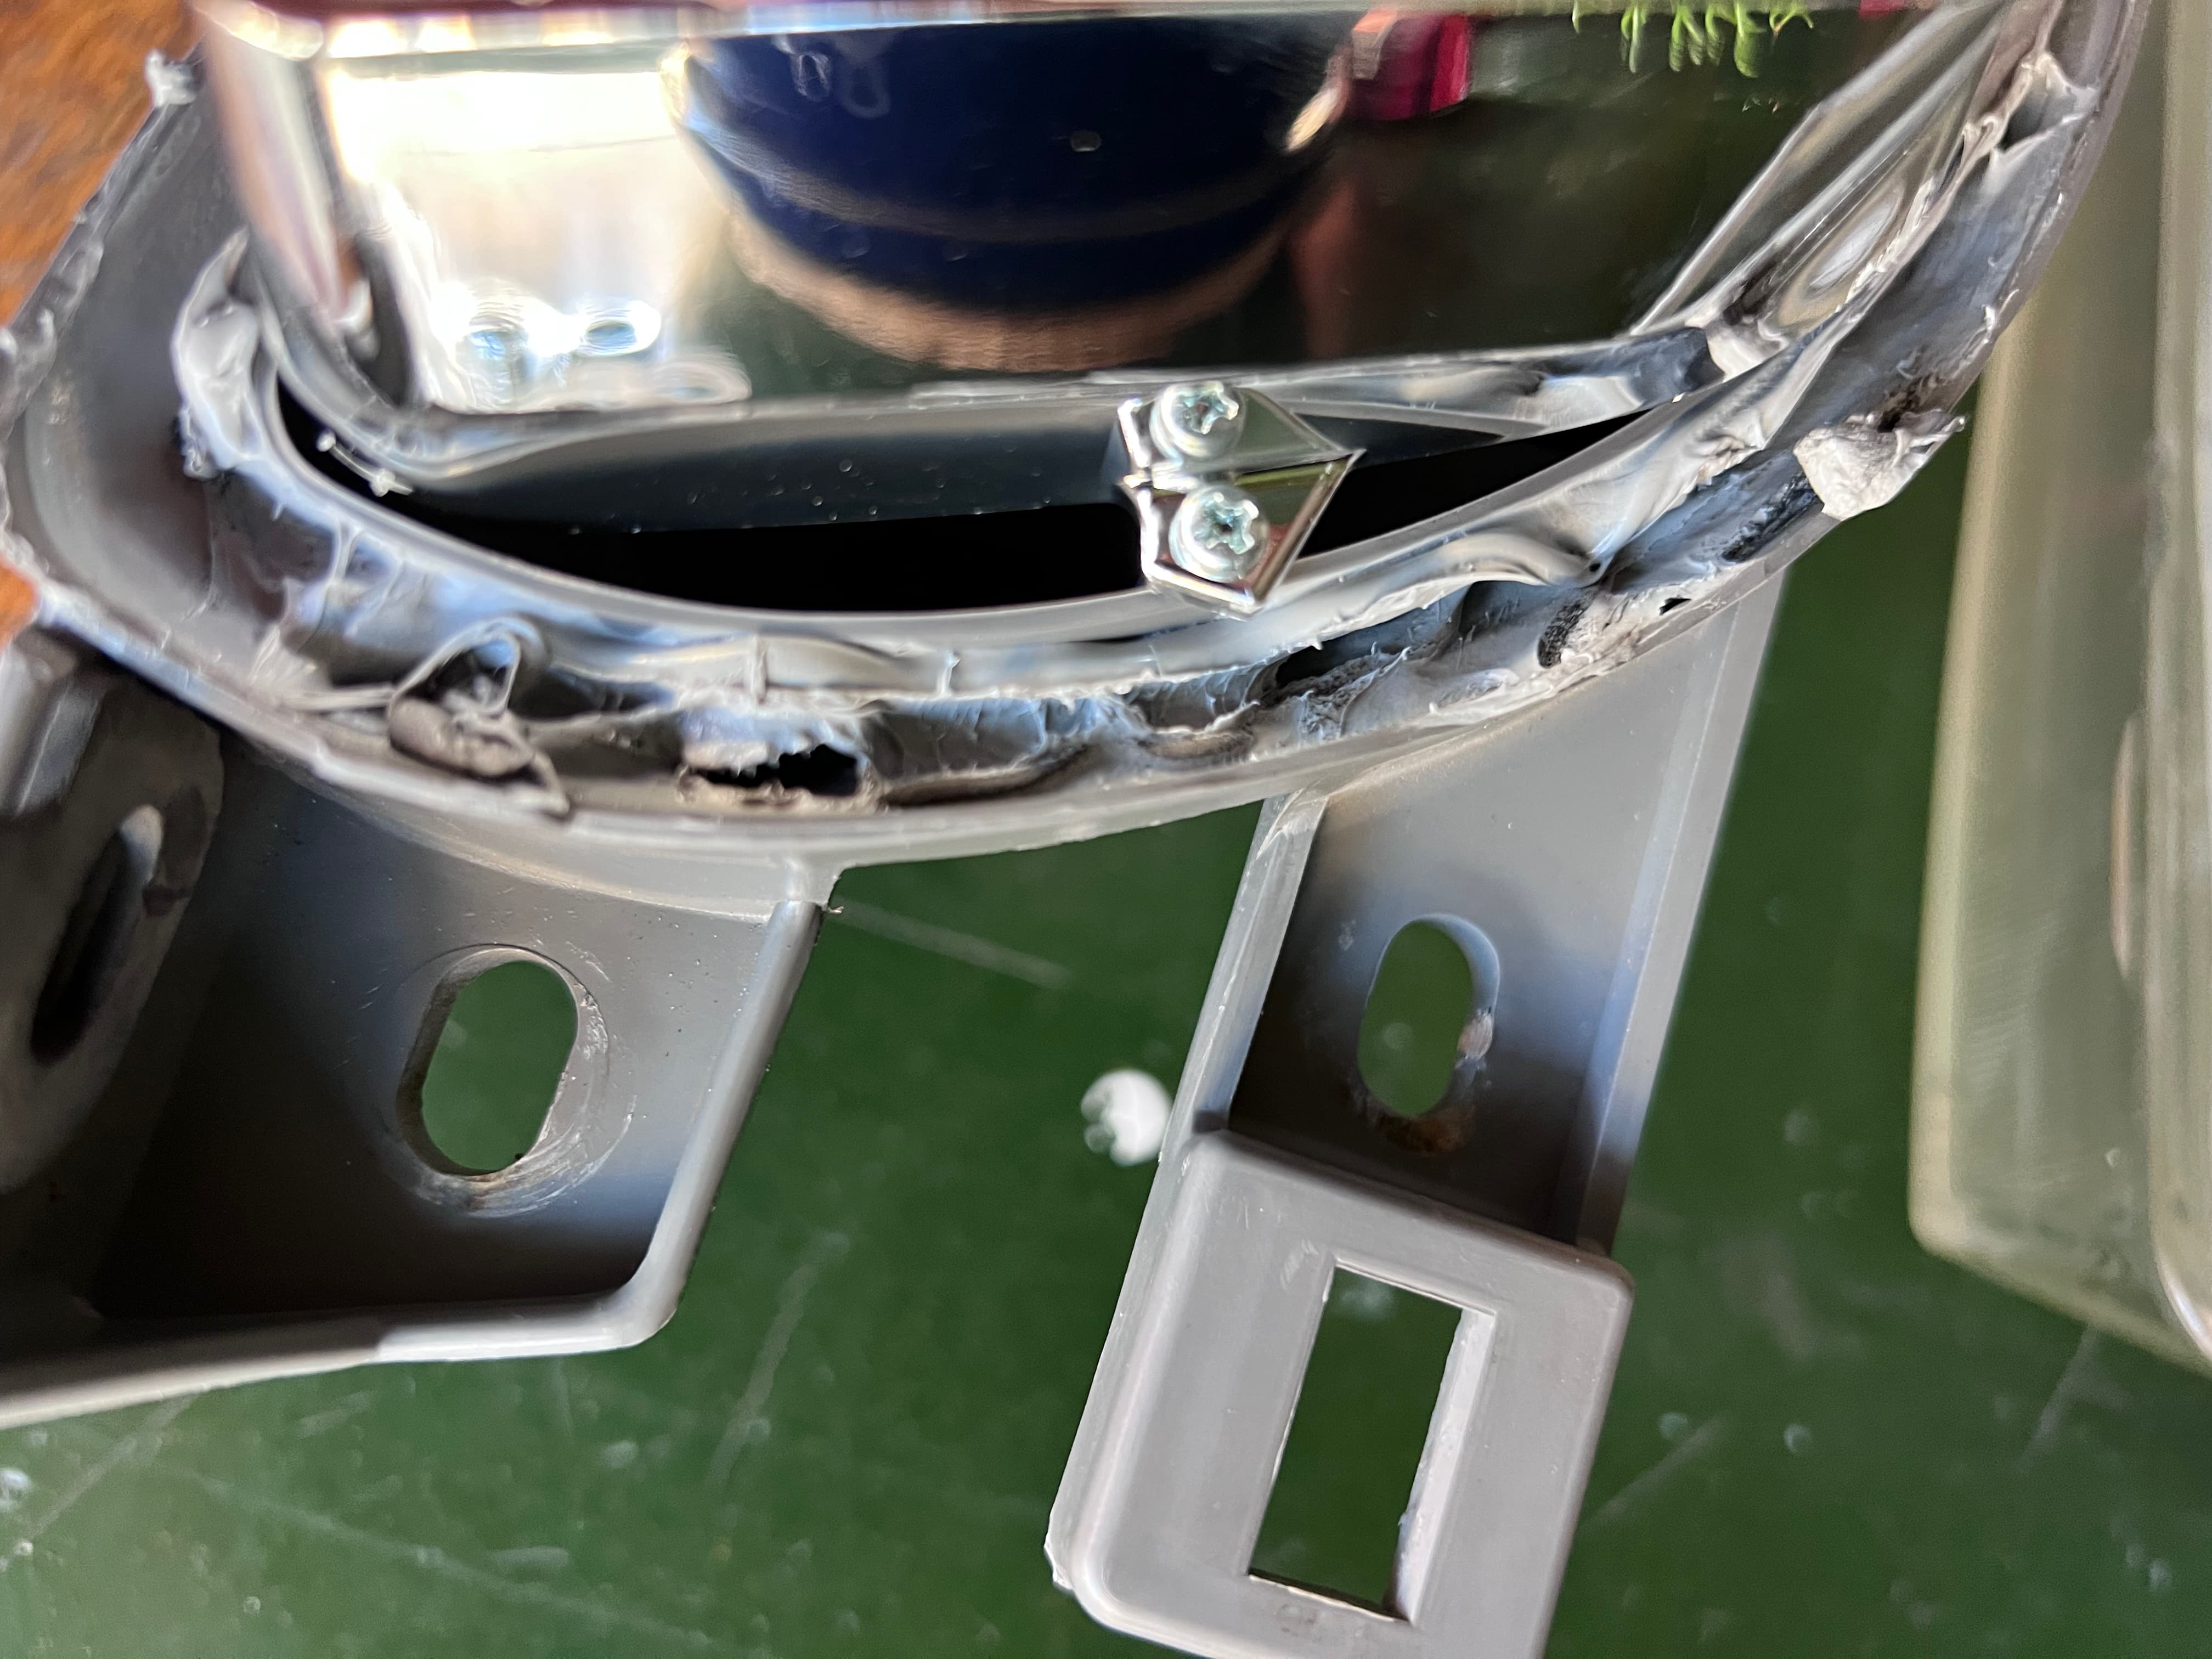
The new wiring harness is made quite neatly, (almost) all connectors are waterproof Superseal types. However, the layout itself is poorly thought out and doesn’t make for a tidy routing in the engine bay. Number 1 in the photo below is the power supply from the car harness, 2 is the bulb connector, and 3 is the high-beam solenoid connector. No matter how hard you try to arrange and fit it, 2 and 3 end up almost at opposite ends of the loom. The solenoid connector is of particularly poor quality, to the point that the pins in the left projector completely fell apart and I had to solder those wires permanently.
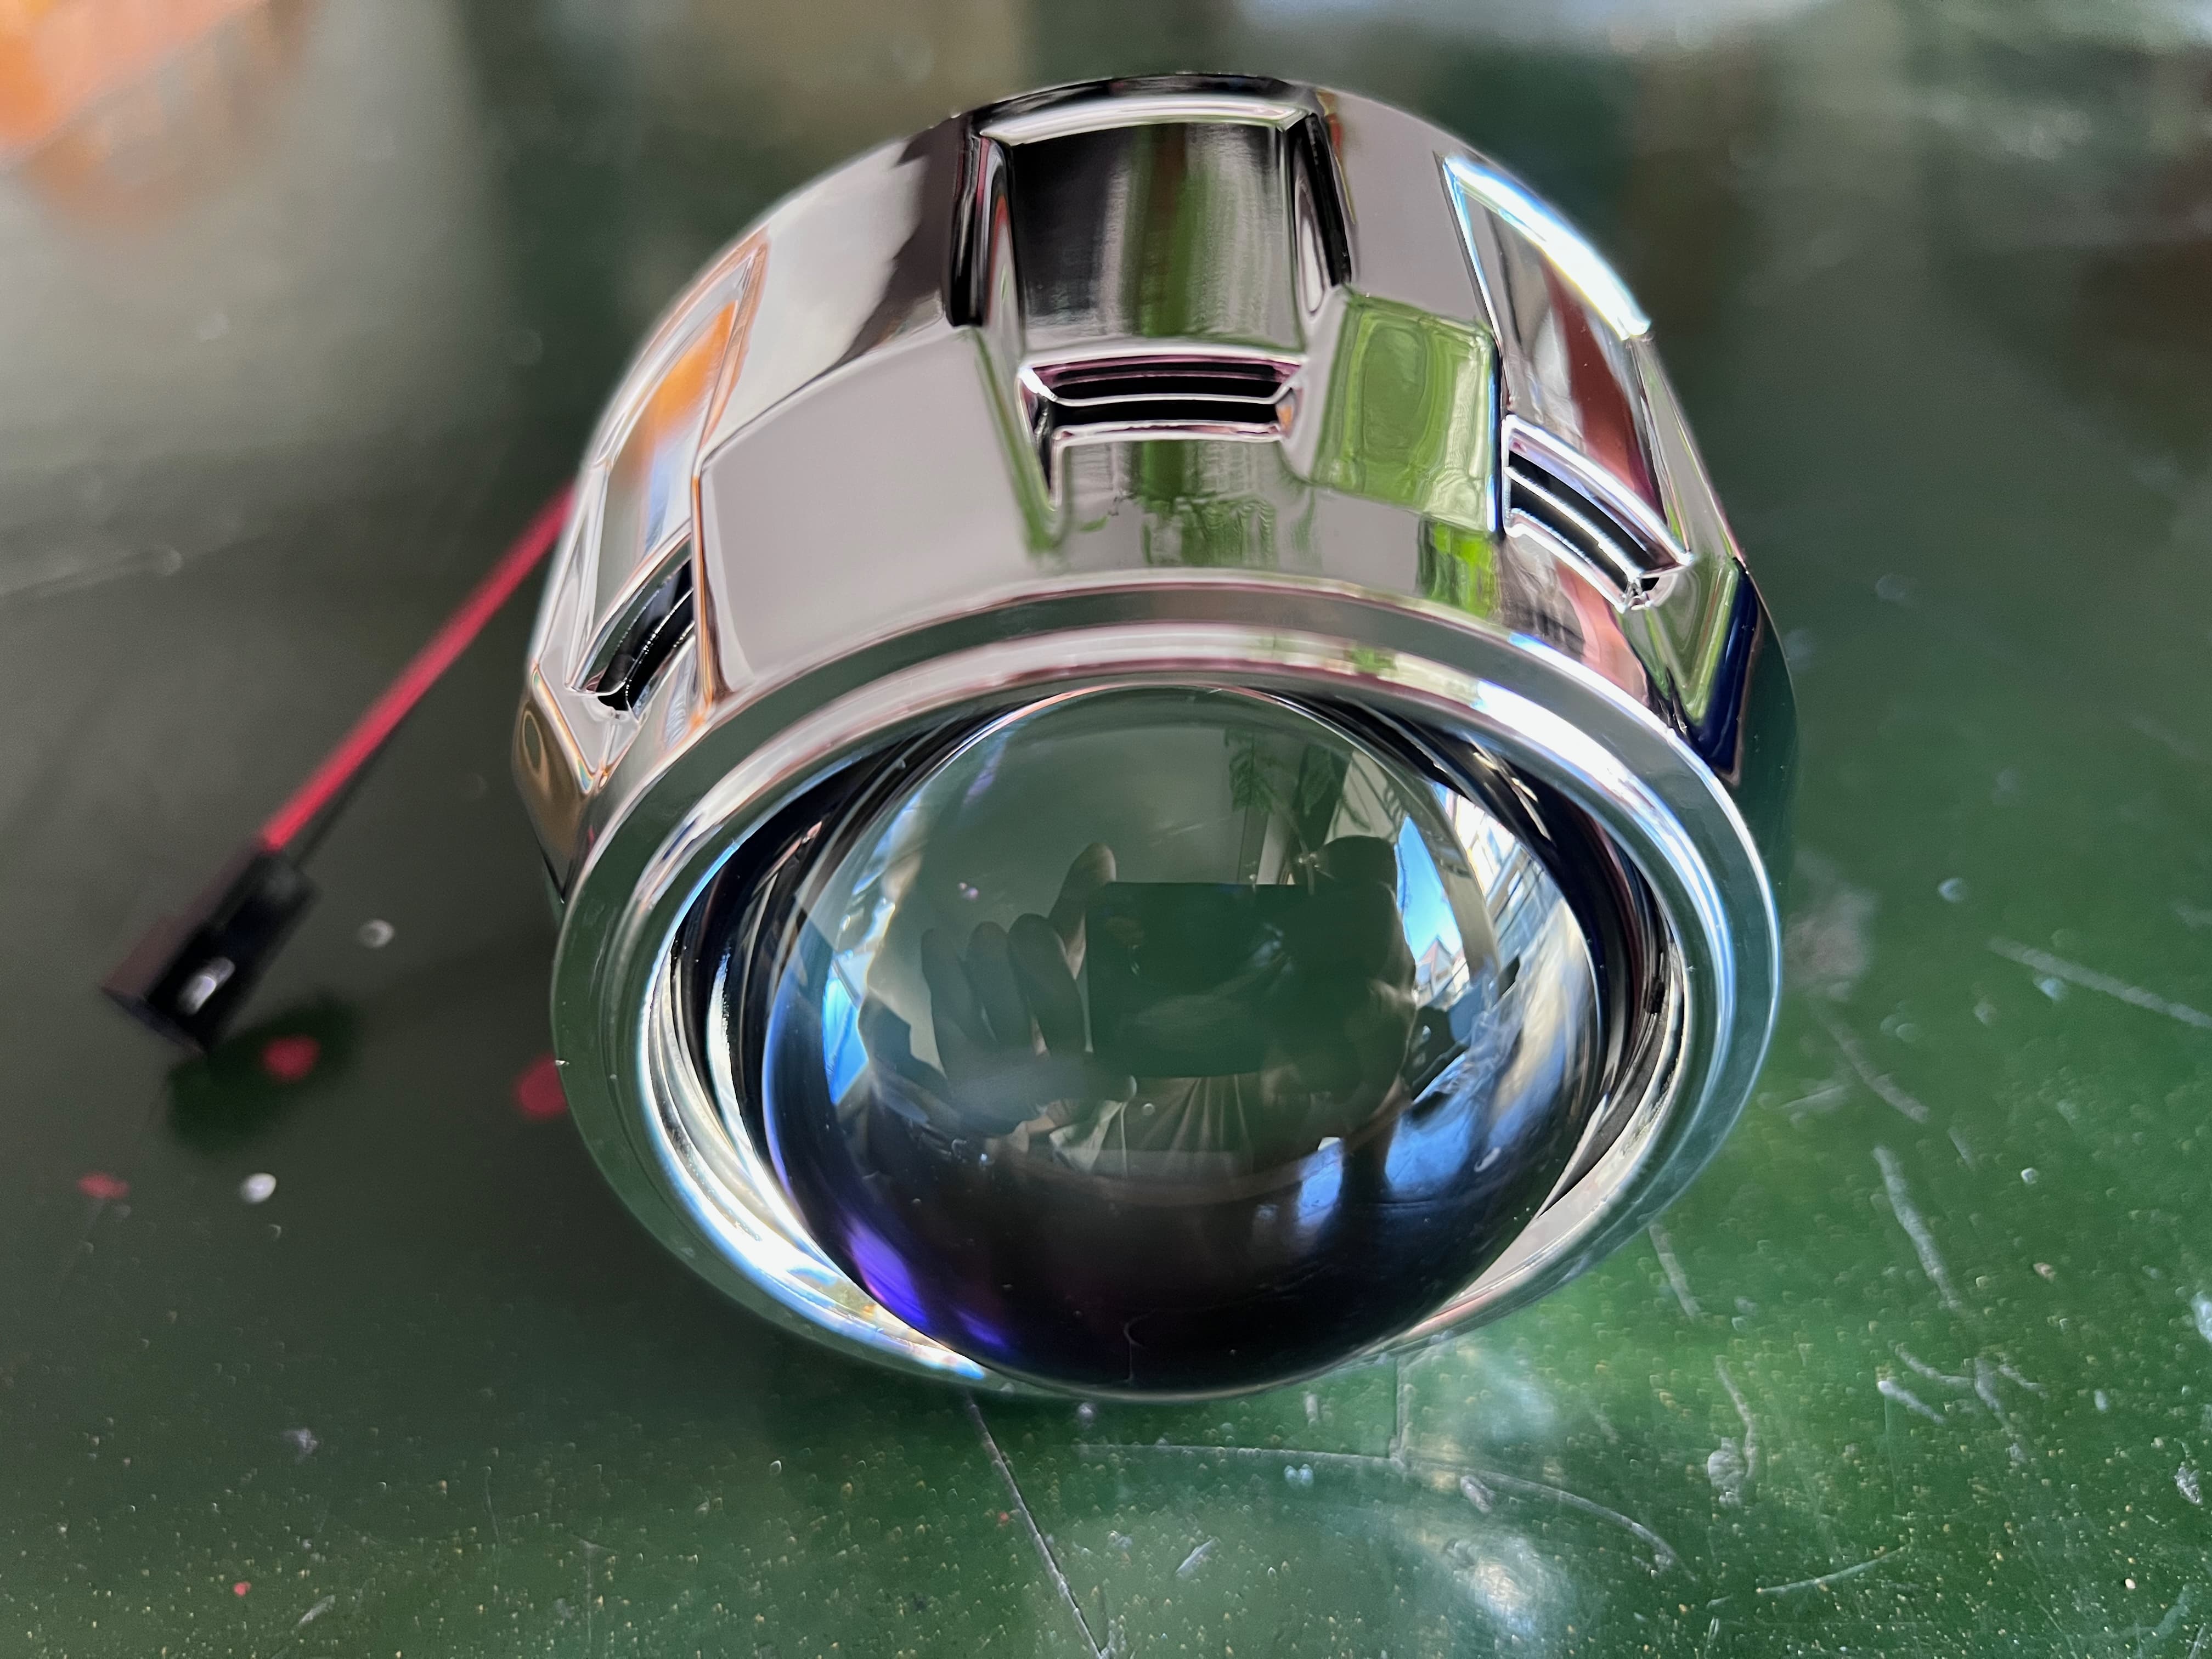
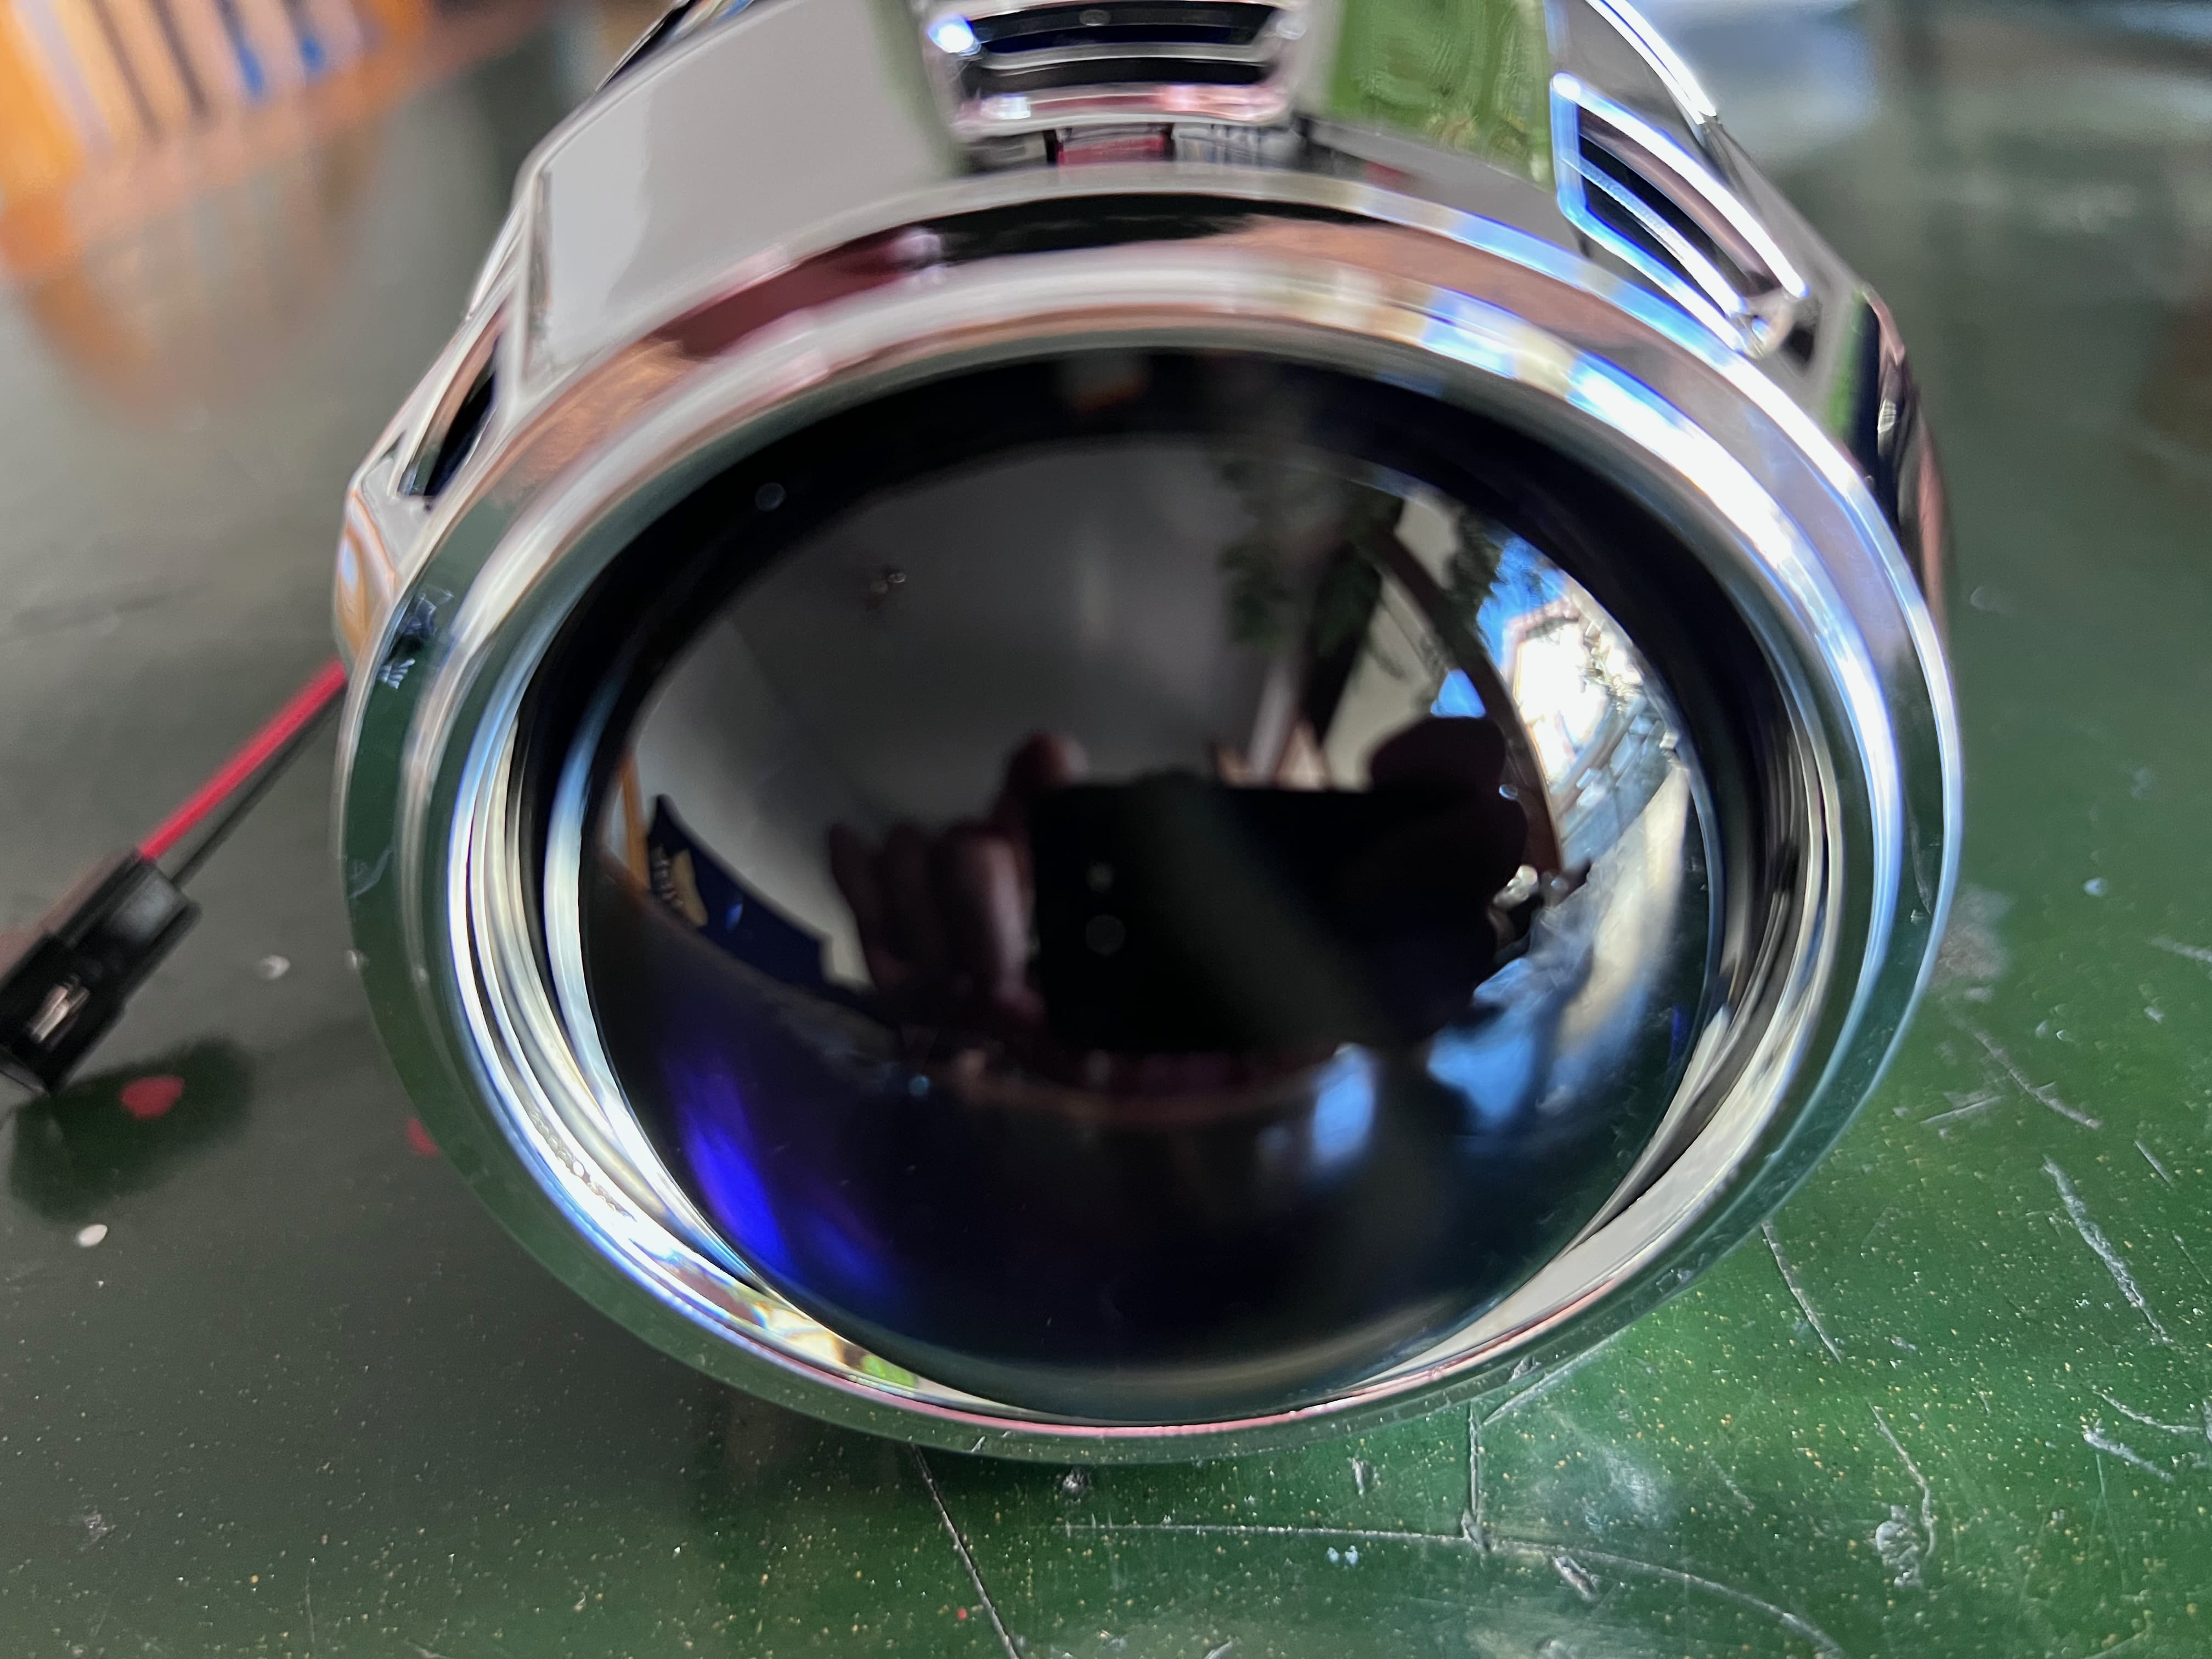
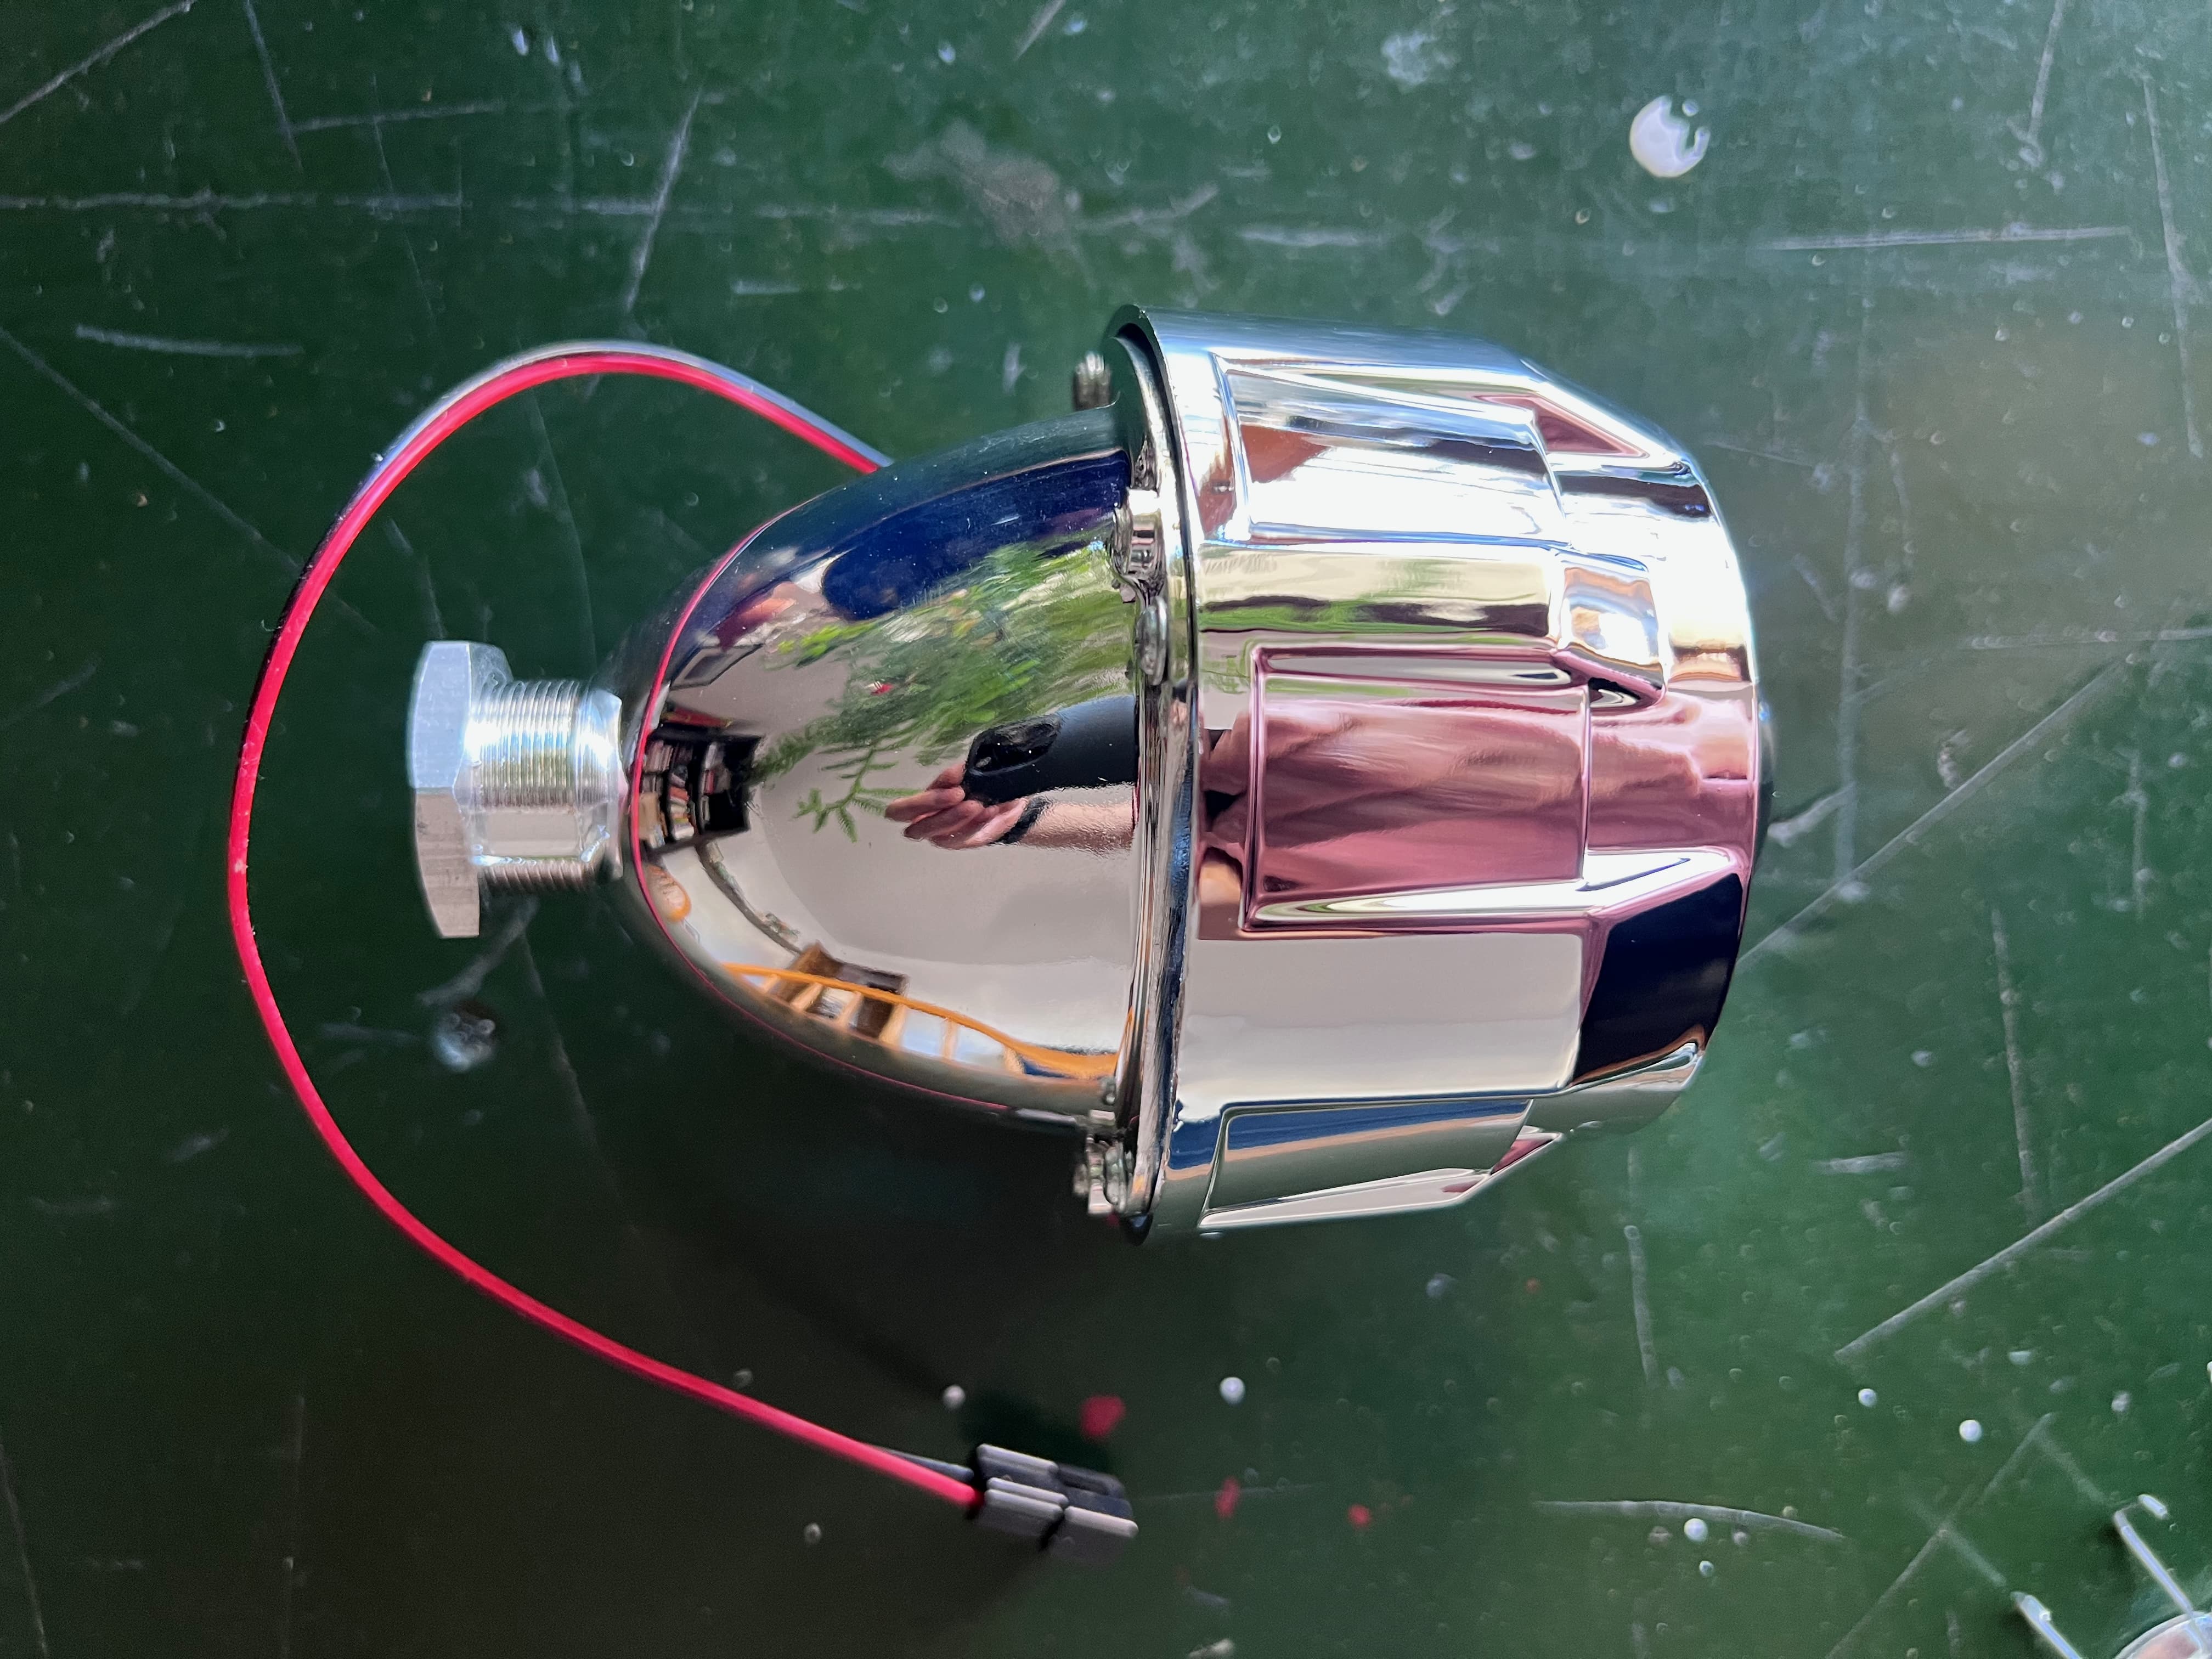
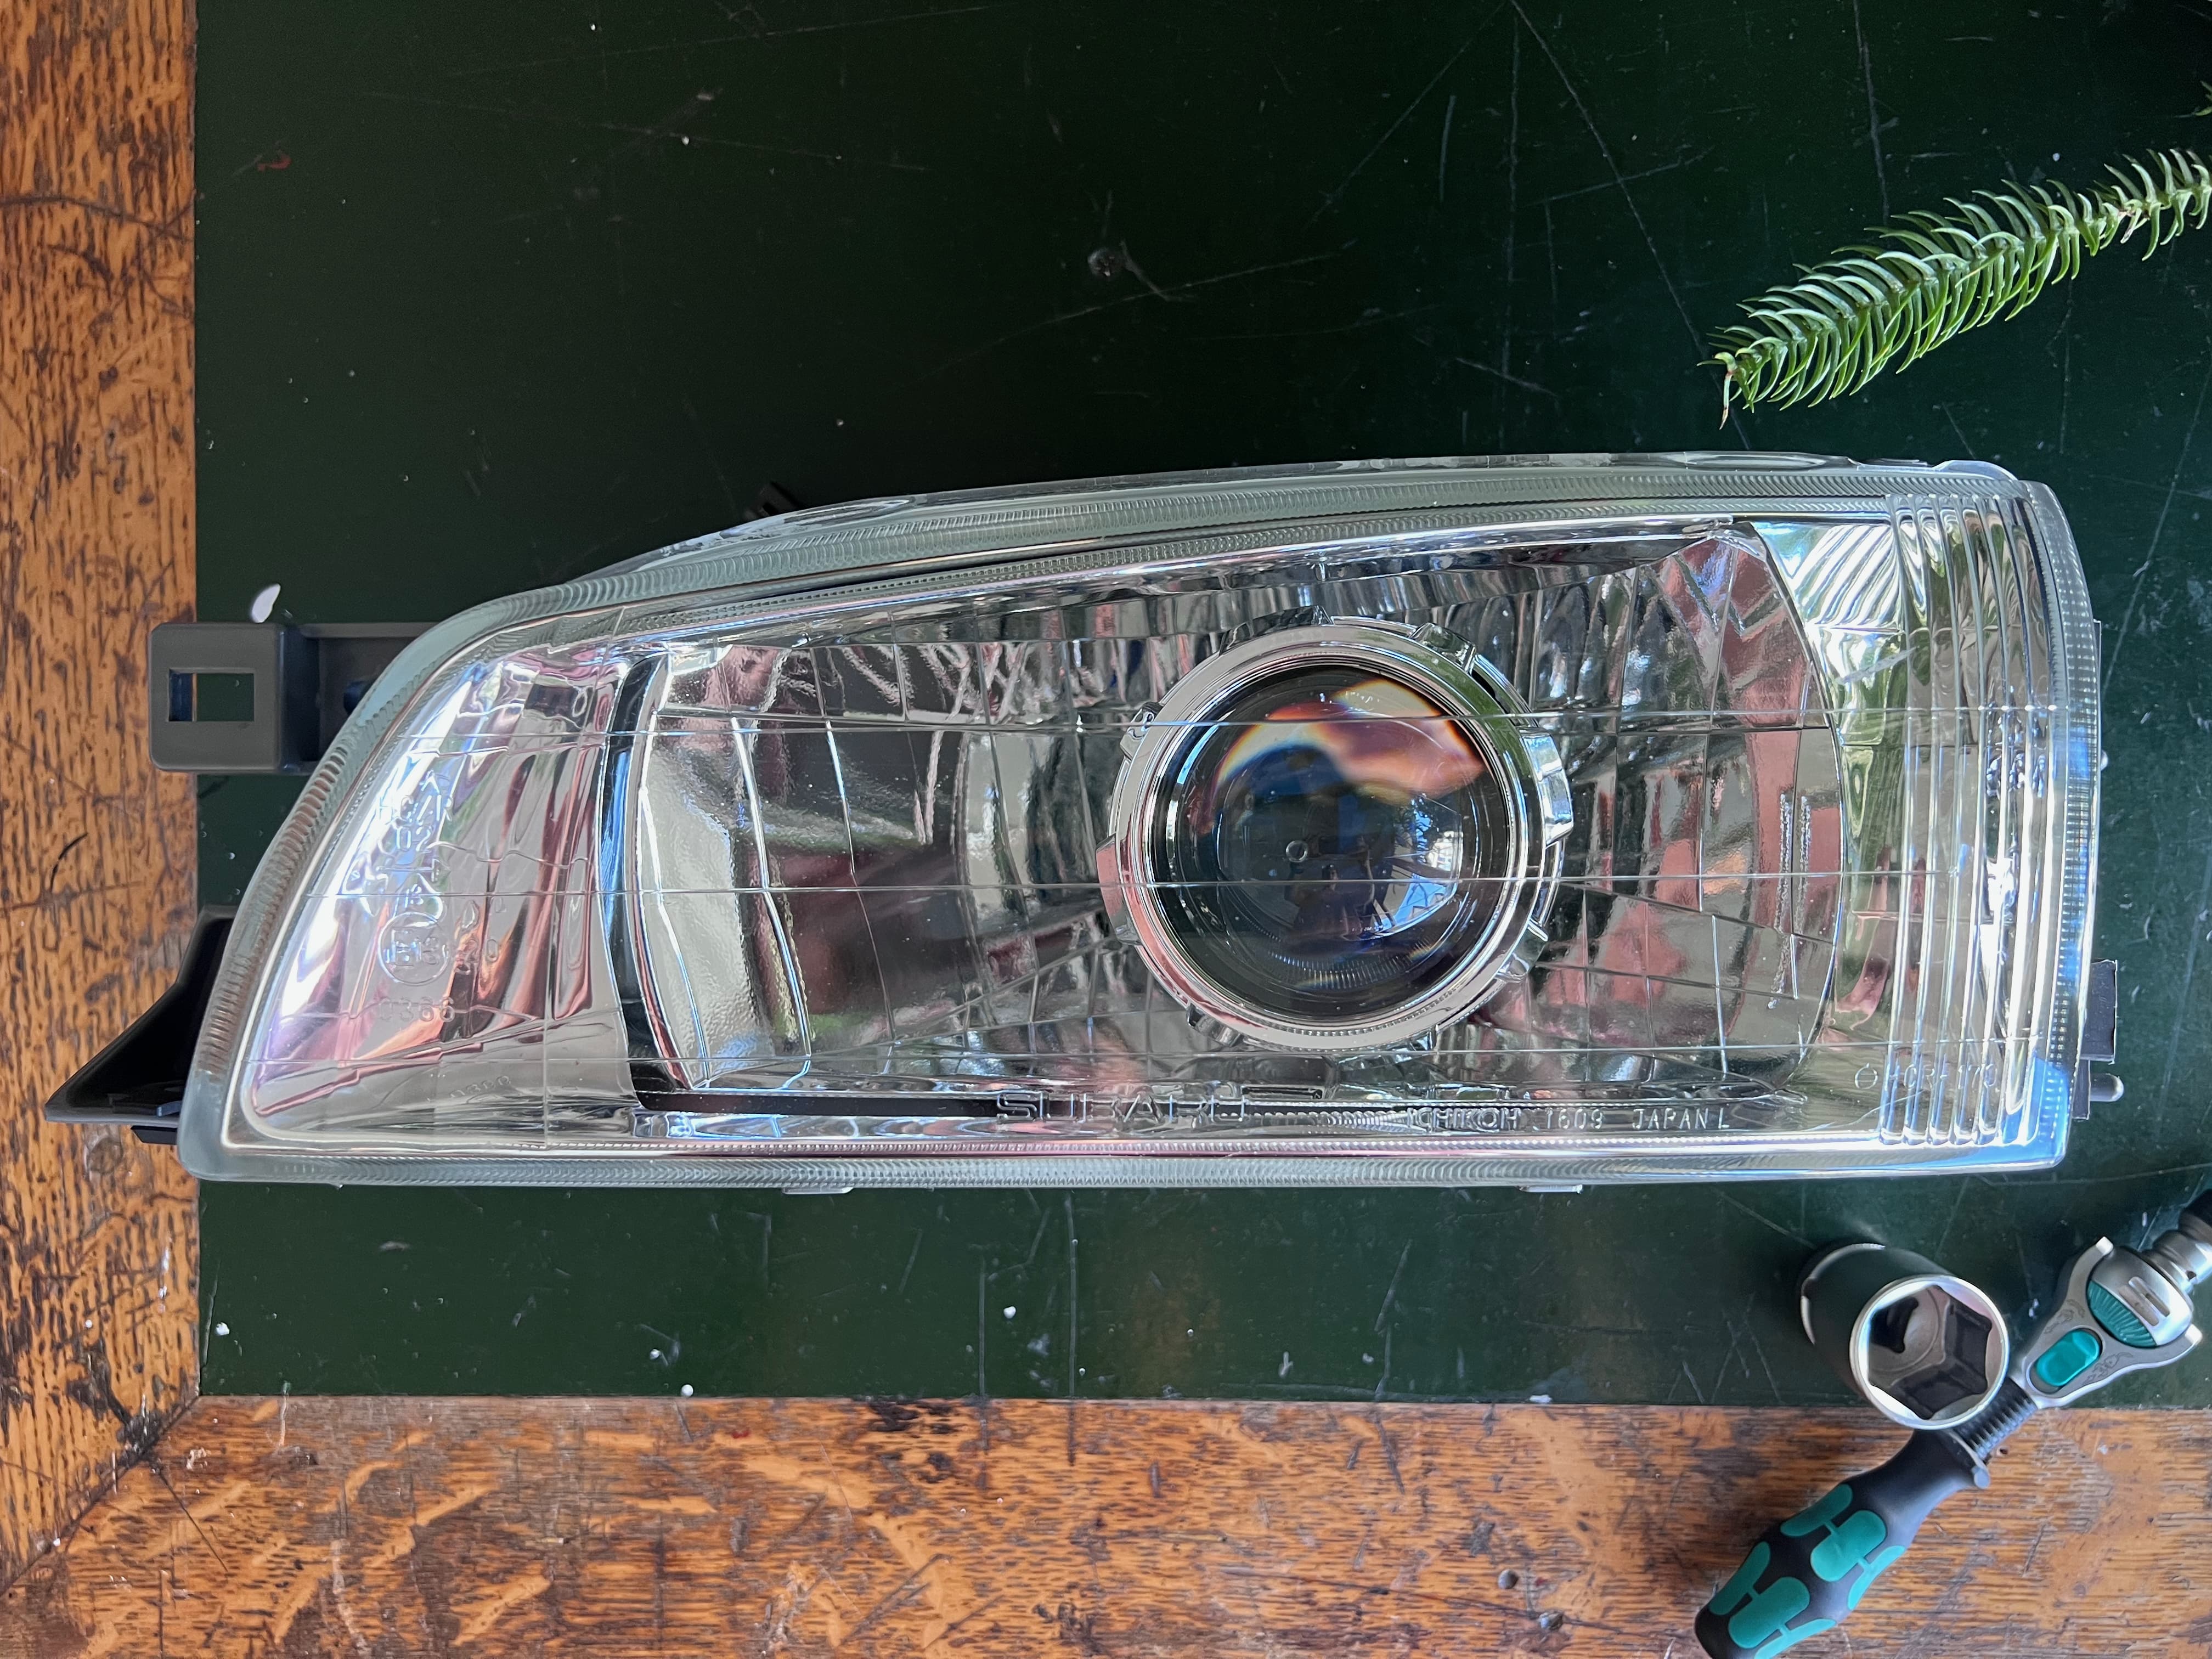
Mini H1 seems to be the standard in bi-xenon technology. The lens, to an untrained eye, look good, a large piece of glass without any flaws or imperfections. The housing (Mini Gatling Gun) is evenly chrome-plated. However, this is definitely not an OEM-level quality. When tightening the nut on the threaded mount at the back of the projector, it’s hard to shake the feeling that you shouldn’t be doing it more than once.
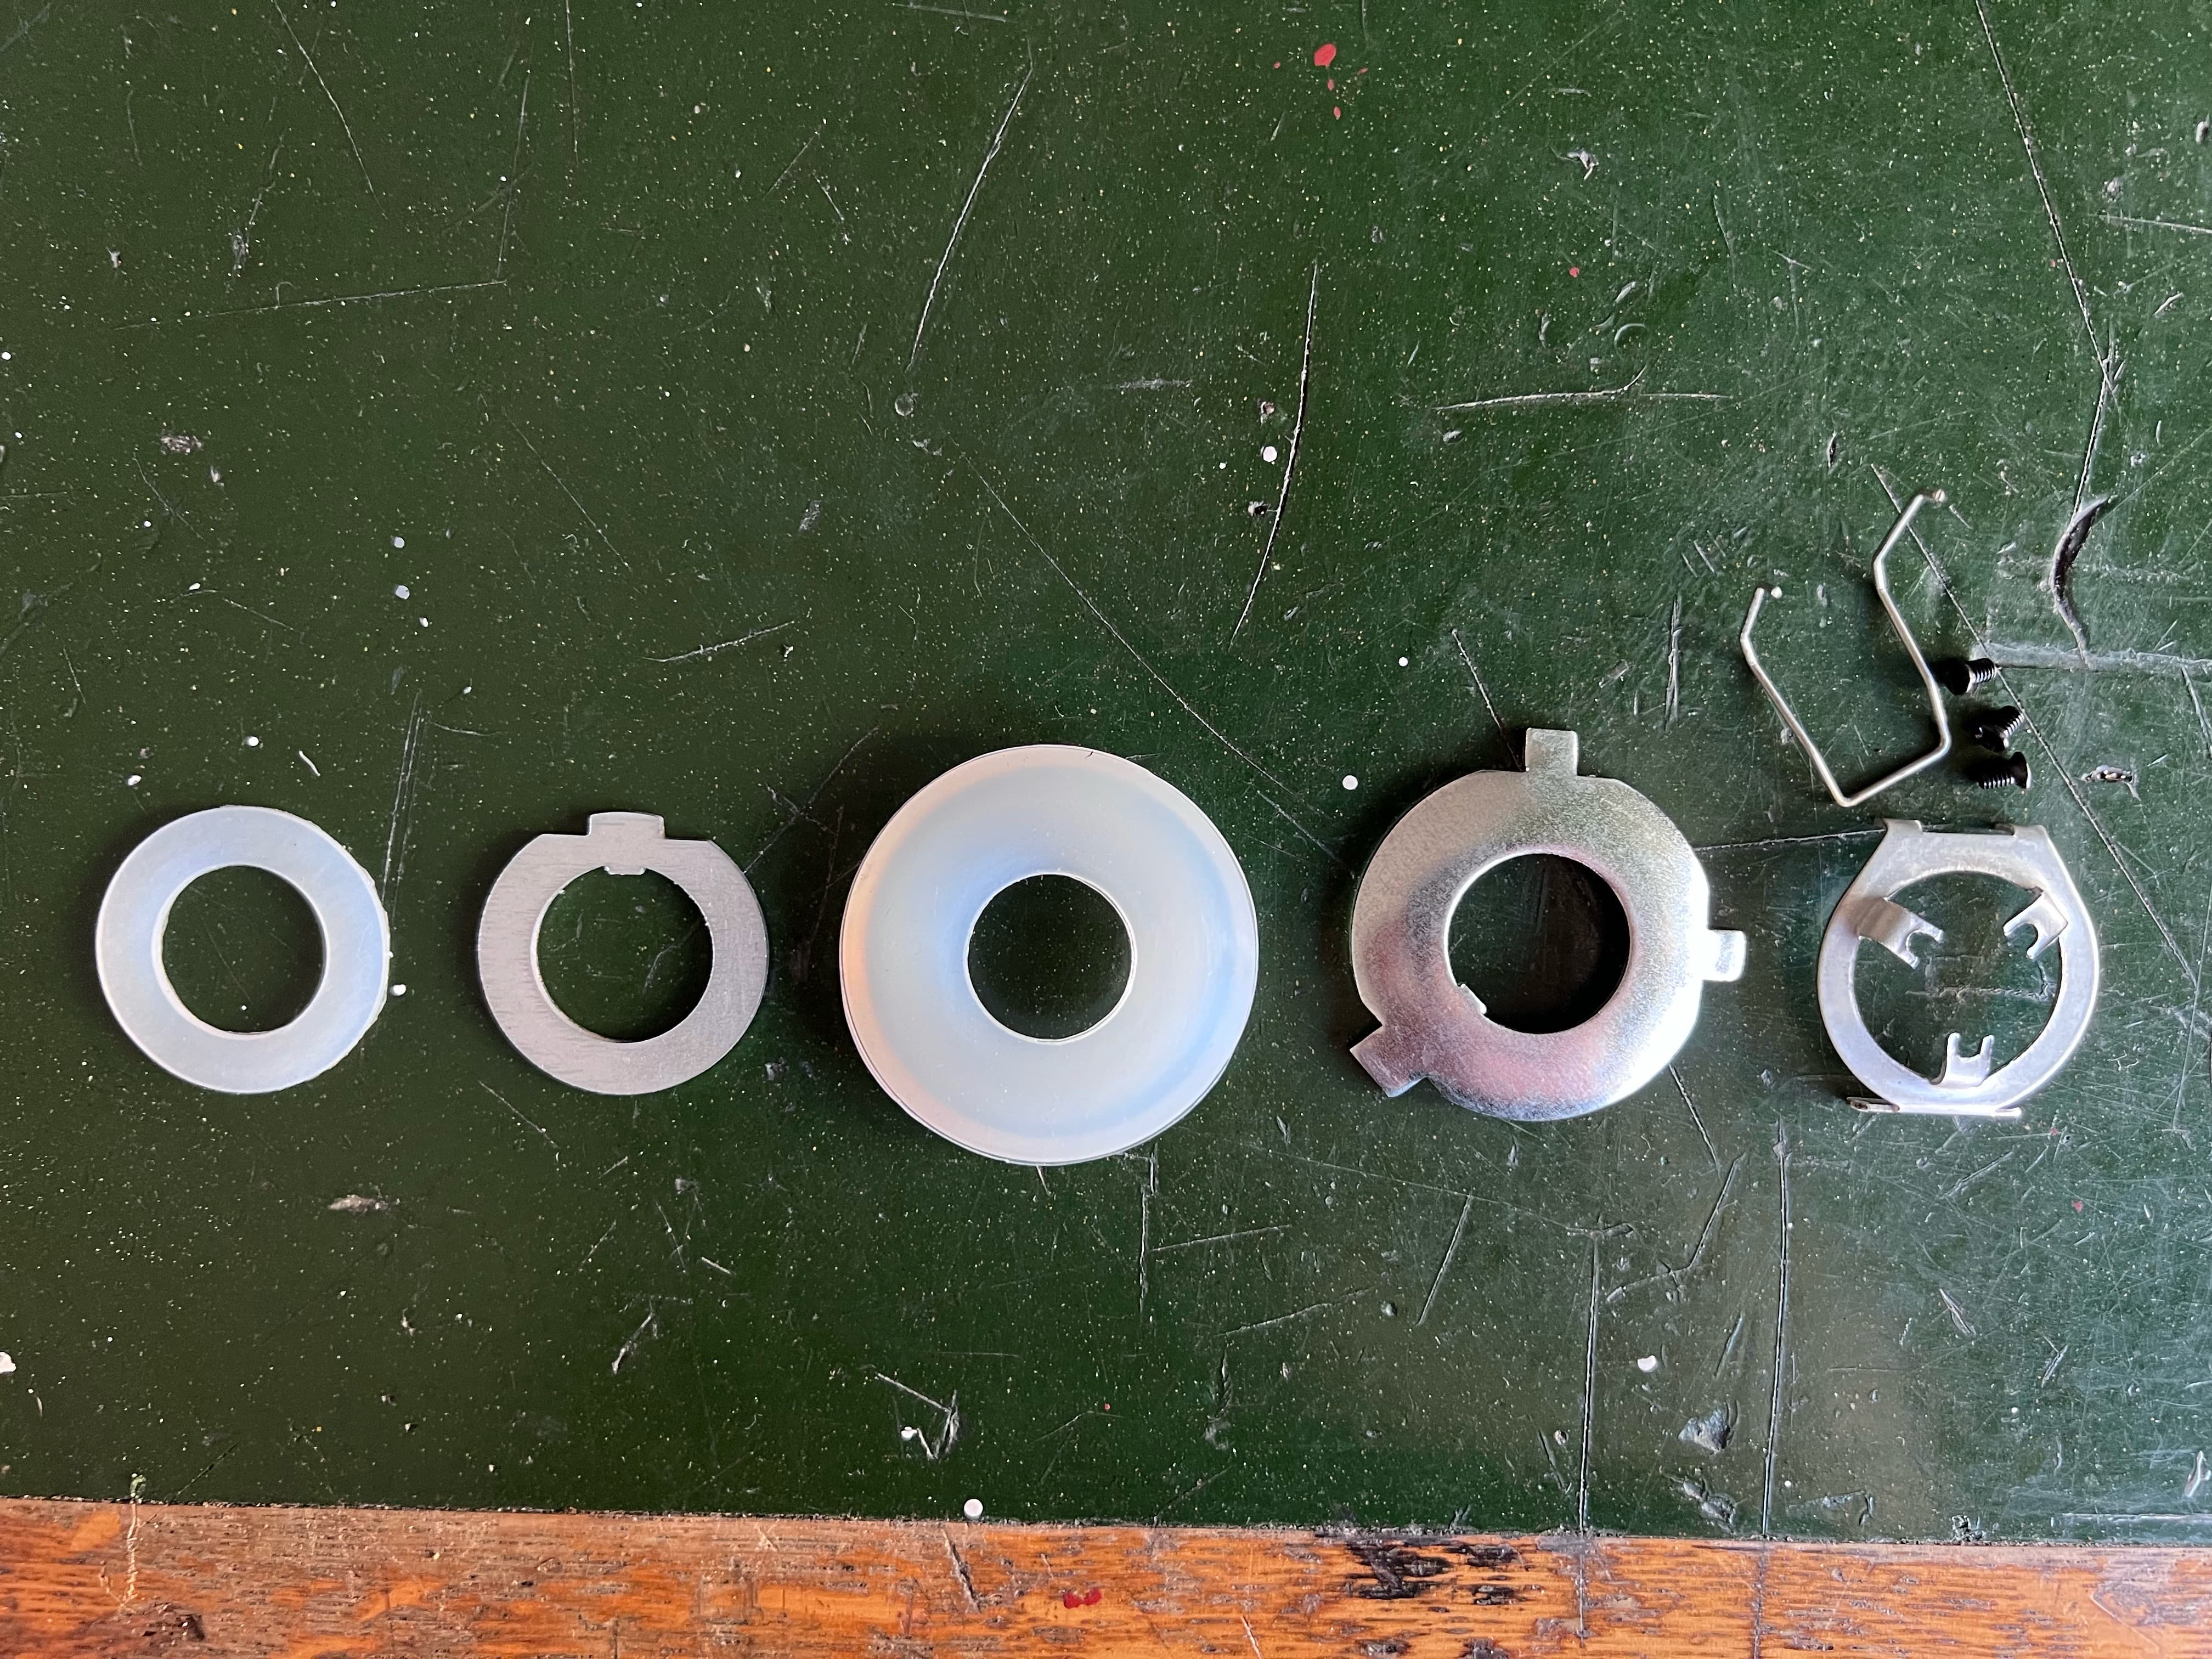
The kit includes mounting components. The first two on the left (a rubber gasket and a centering washer) aren’t needed:
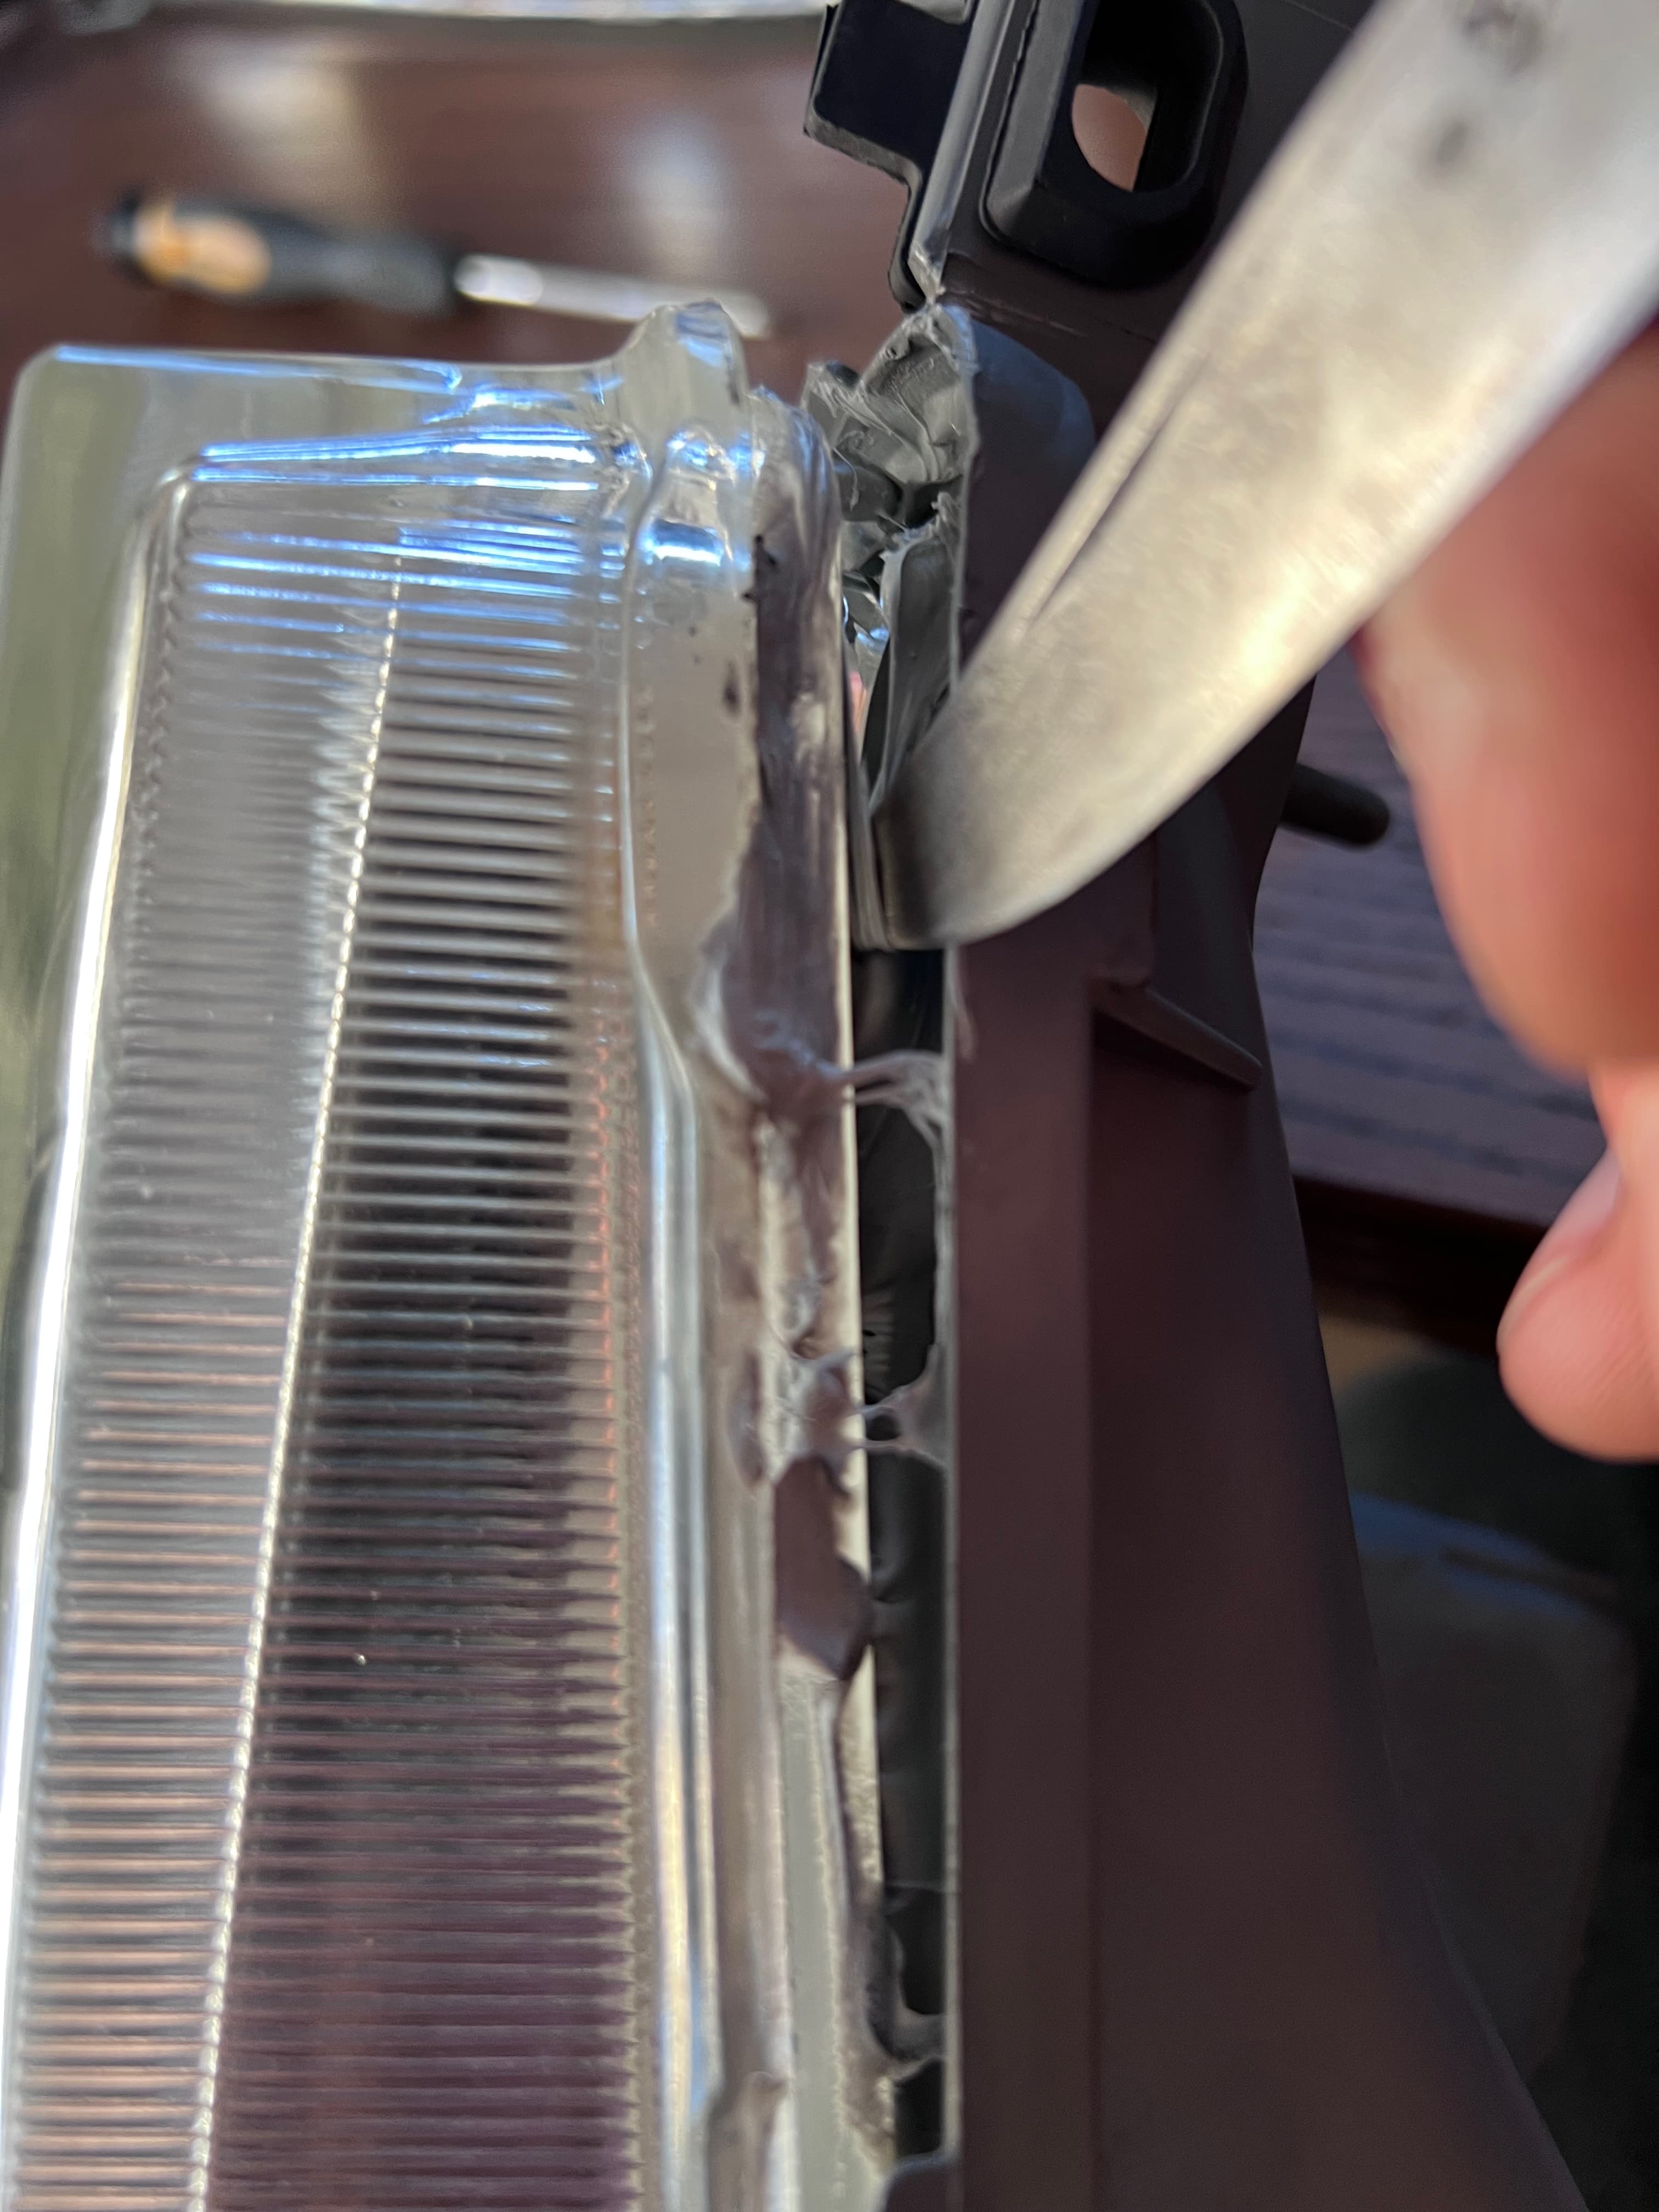
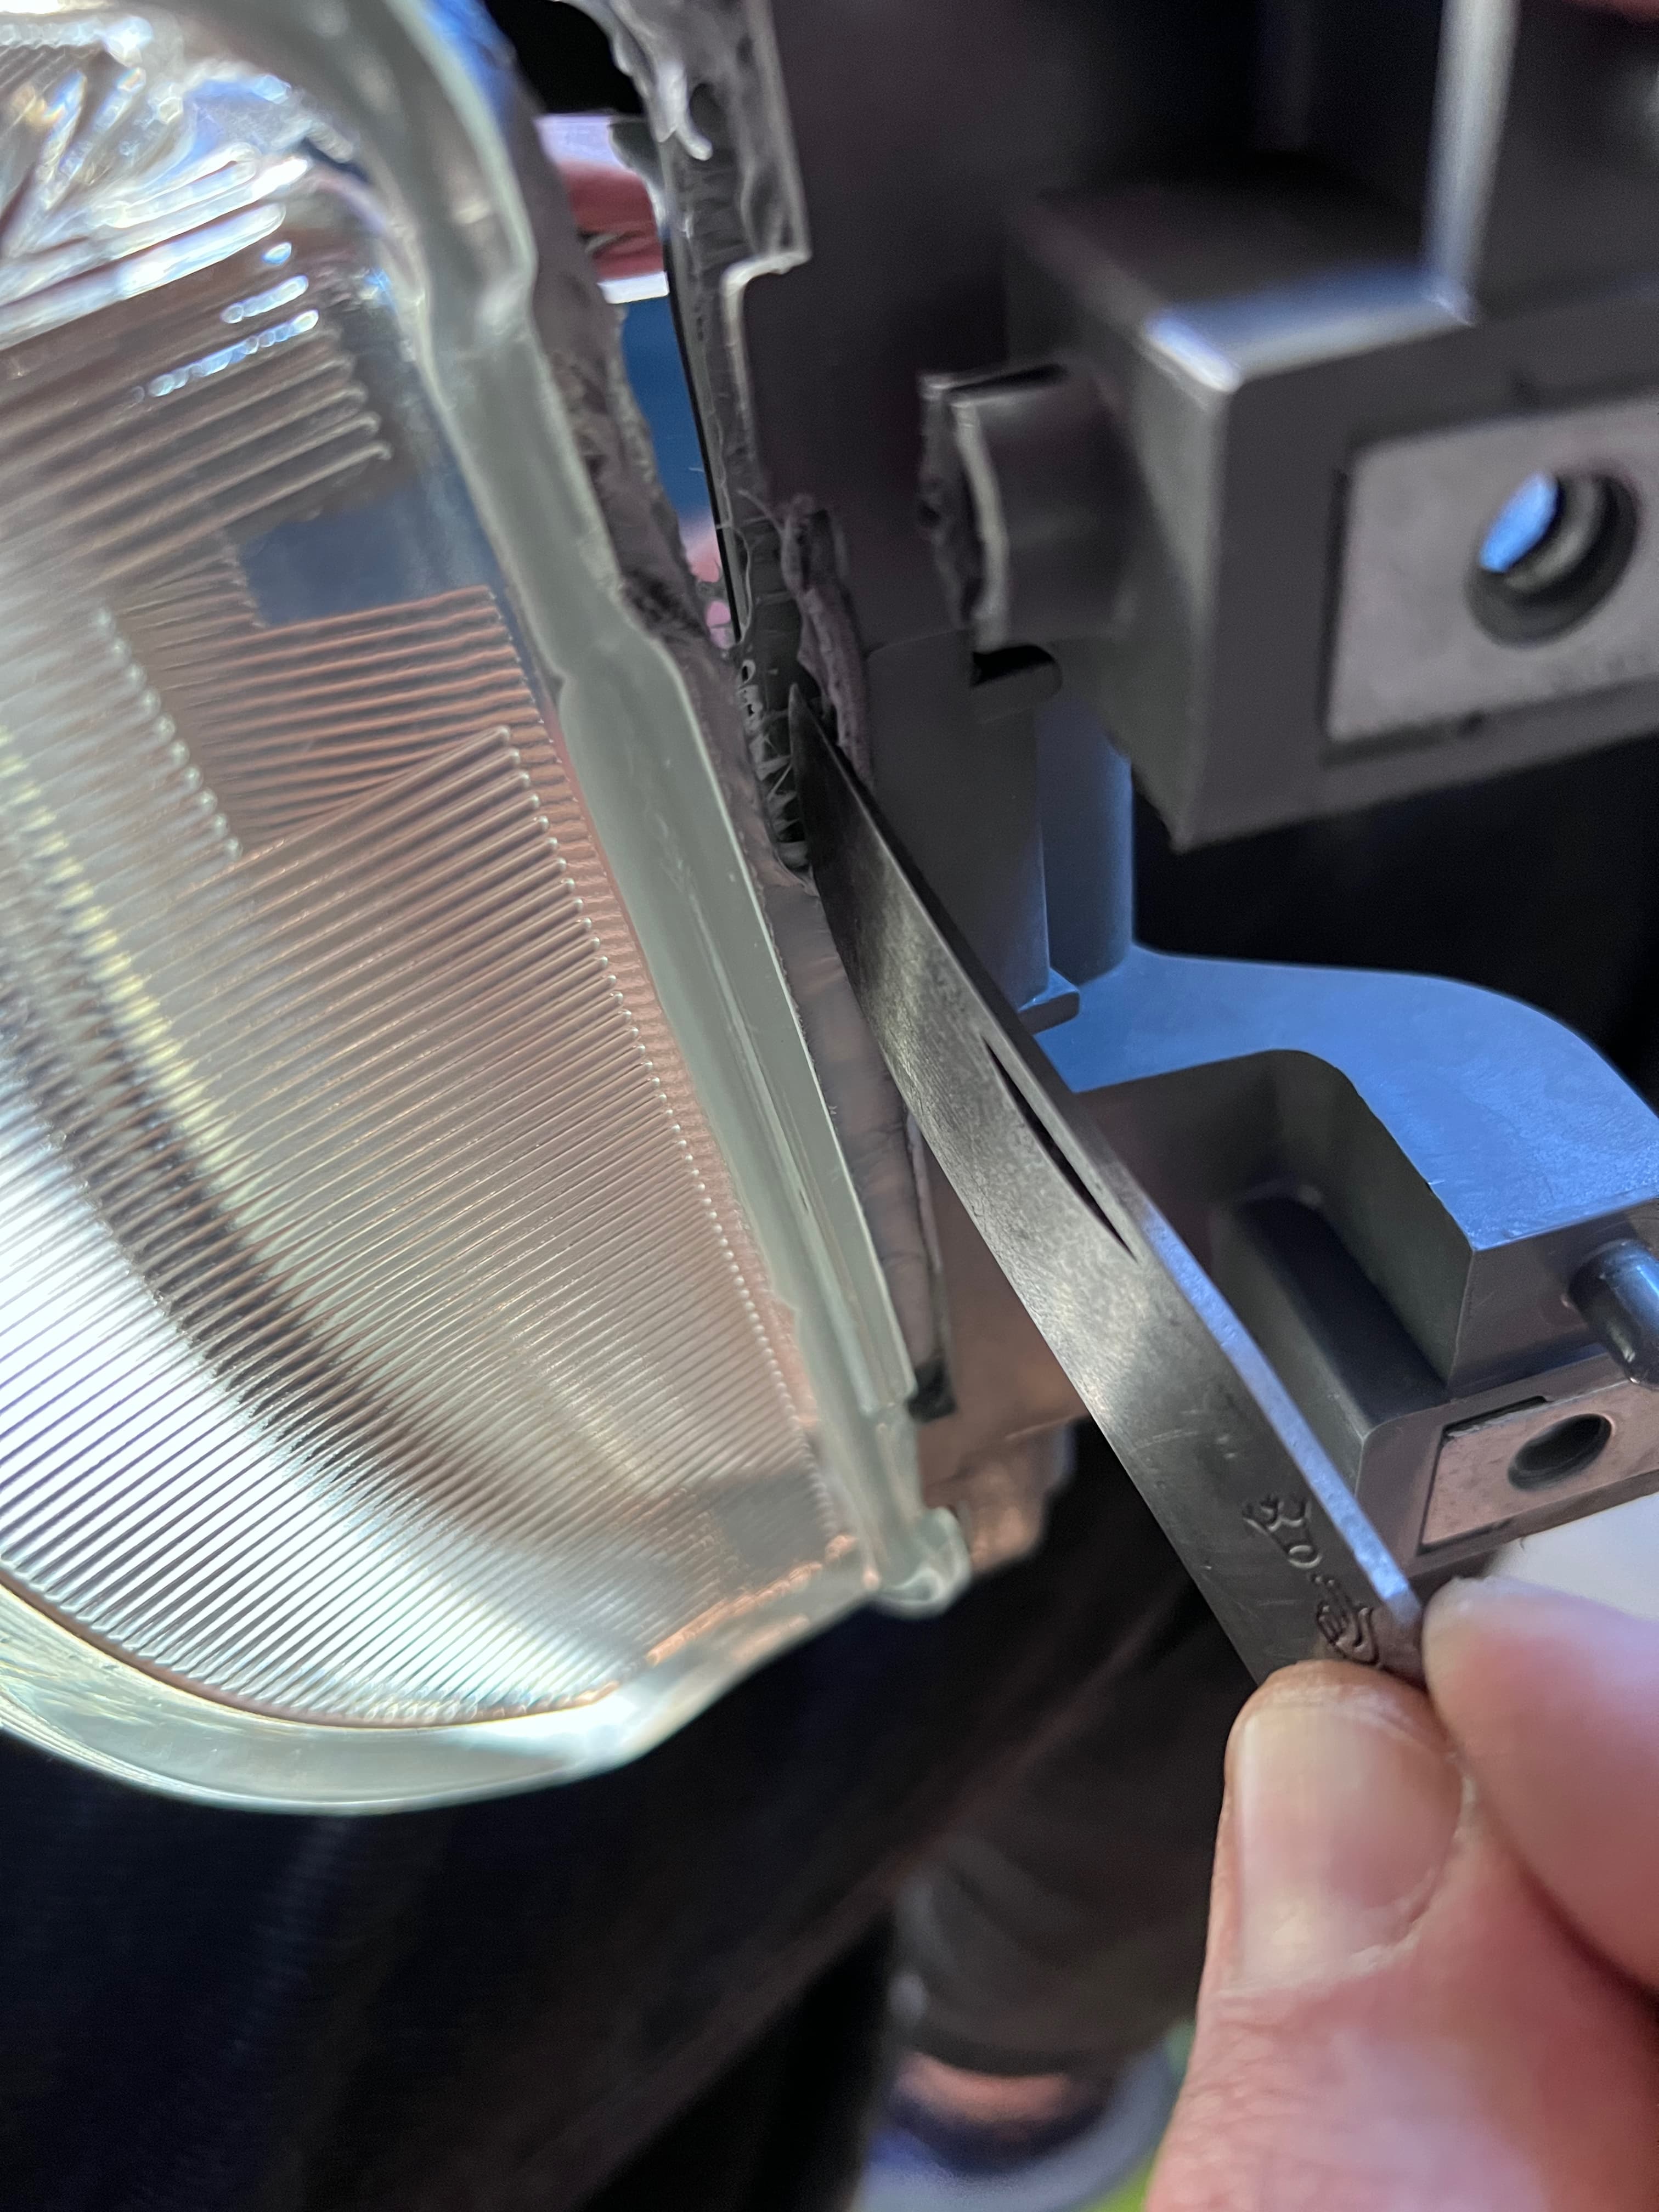
What I was most worried about was opening the headlights. I couldn’t quite bring myself to put them into a hot oven and just hope for the best. It turned out to be completely unnecessary. The important thing is to make sure no part has direct contact with the oven; I placed the headlight on a piece of wood. Also worth remembering: separating the headlight should be relatively easy, it shouldn’t require excessive force or stubborn prying. If it does, it just needs more time at high temperature. Different values are given online; I set mine to 105C. Heating in stages works very well, with a few minutes outside the oven. For example, 3 rounds: 7, 3, and 3 minutes, with 2-3 minutes outside in between. The easiest place to start prying is the side facing the grille, and then you can just pull it apart by hand.
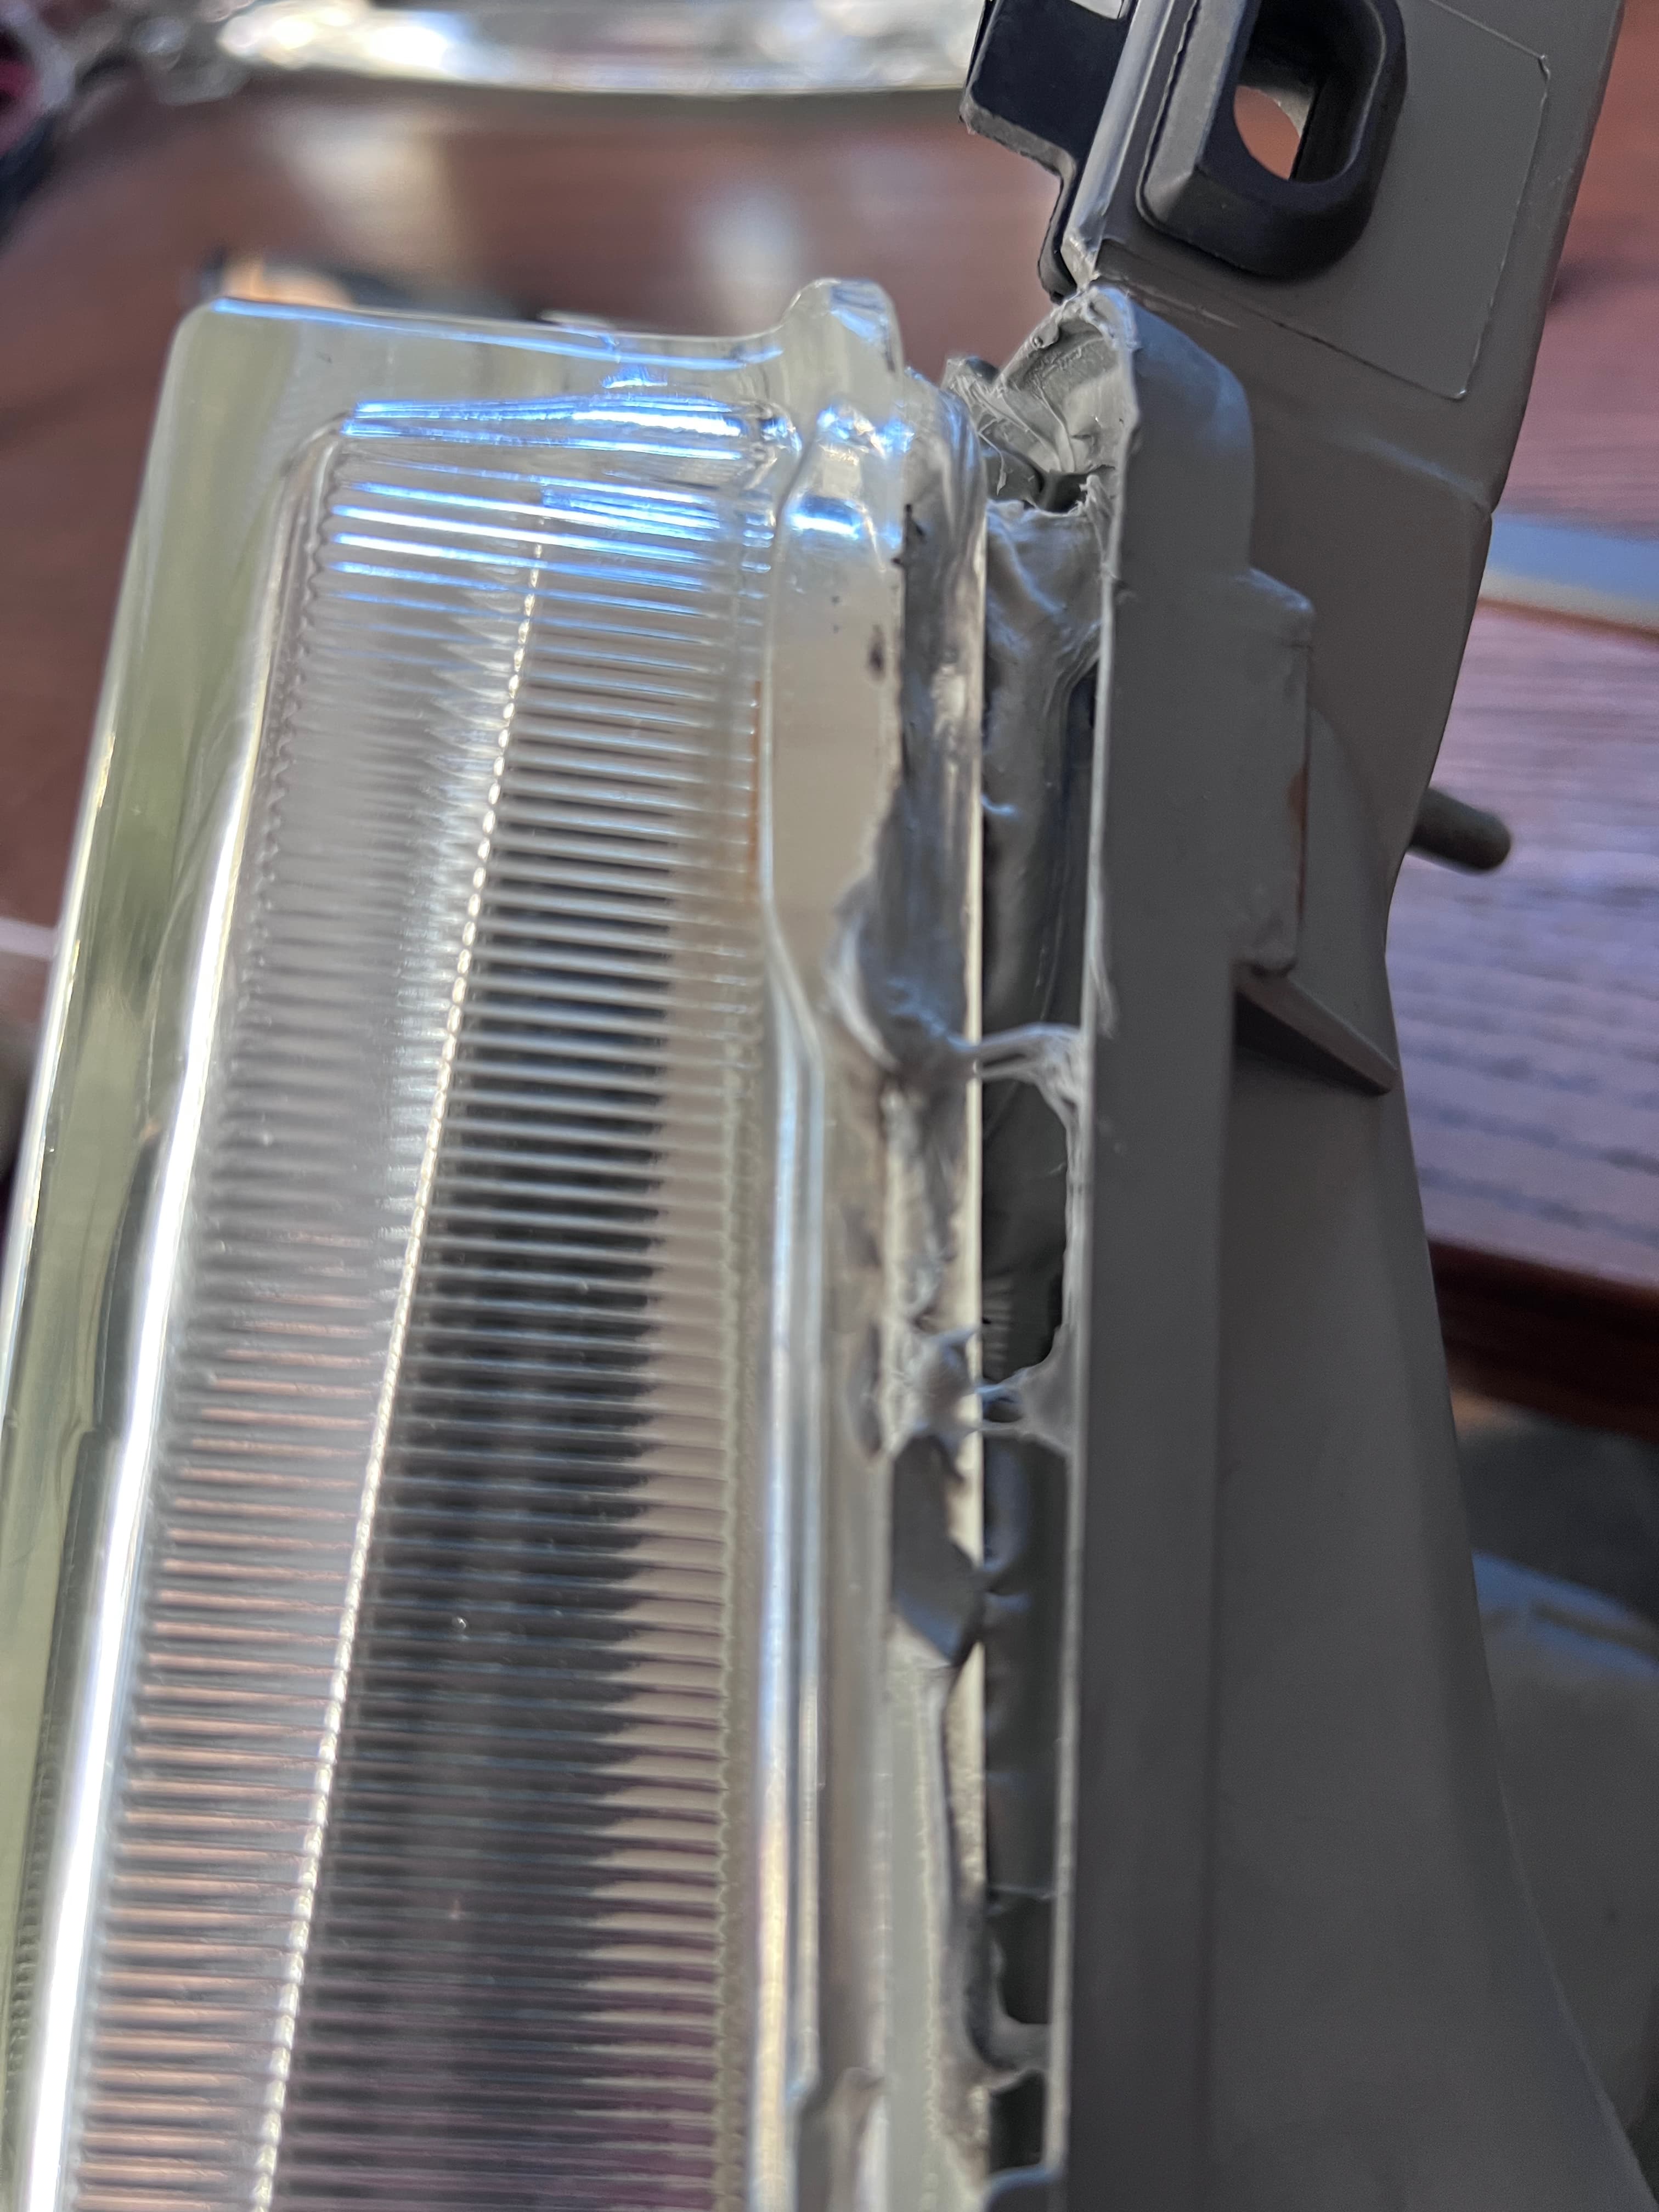
Note: as the lens separates from the housing, you must cut the glue. If you don’t, the glue will stretch like a curtain and may fall or stick to the inner chrome part of the headlight, which is a small disaster in itself.
From this point on, it’s a good idea to wear latex gloves, any fingerprints on chrome elements are very likely to stay there permanently.
I also bought headlight sealant just in case, but didn’t end up using it. In fact, none of the original glue was wasted and it remained exactly where it should be:
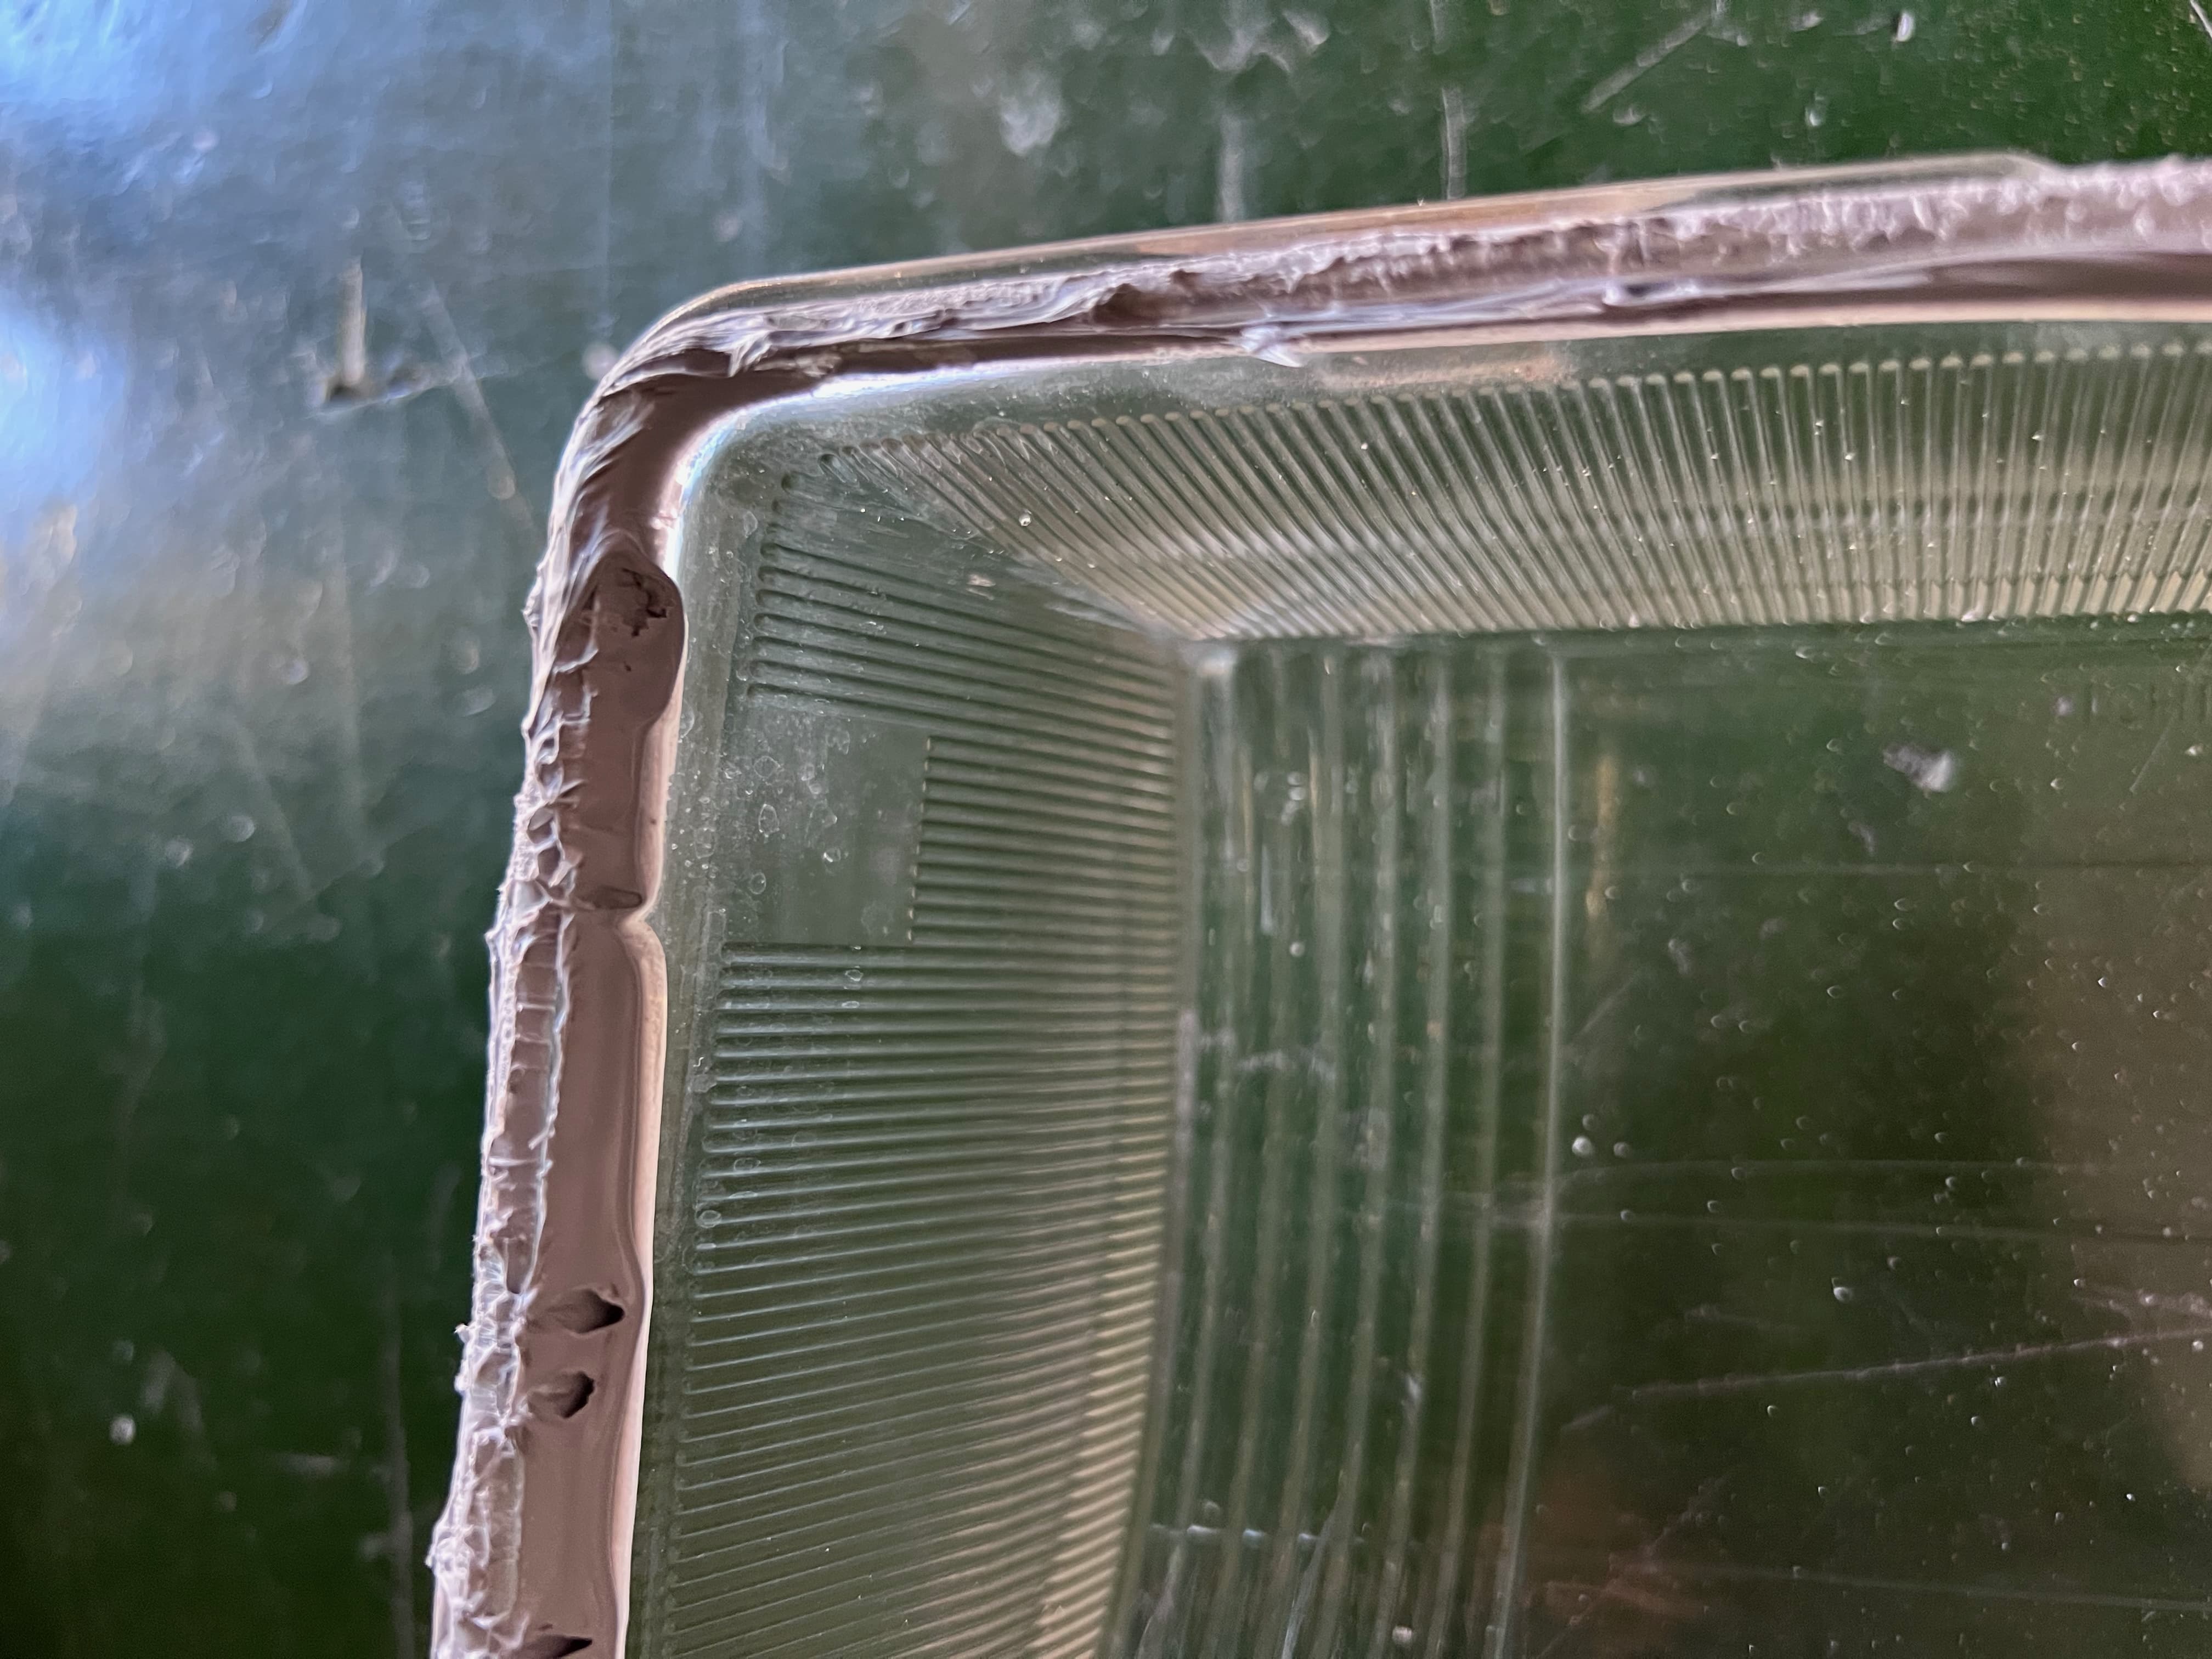
After opening:
Installing the projectors is simple. A rubber washer must be placed inside the headlight, and the high-beam servo cable needs to be routed outside:
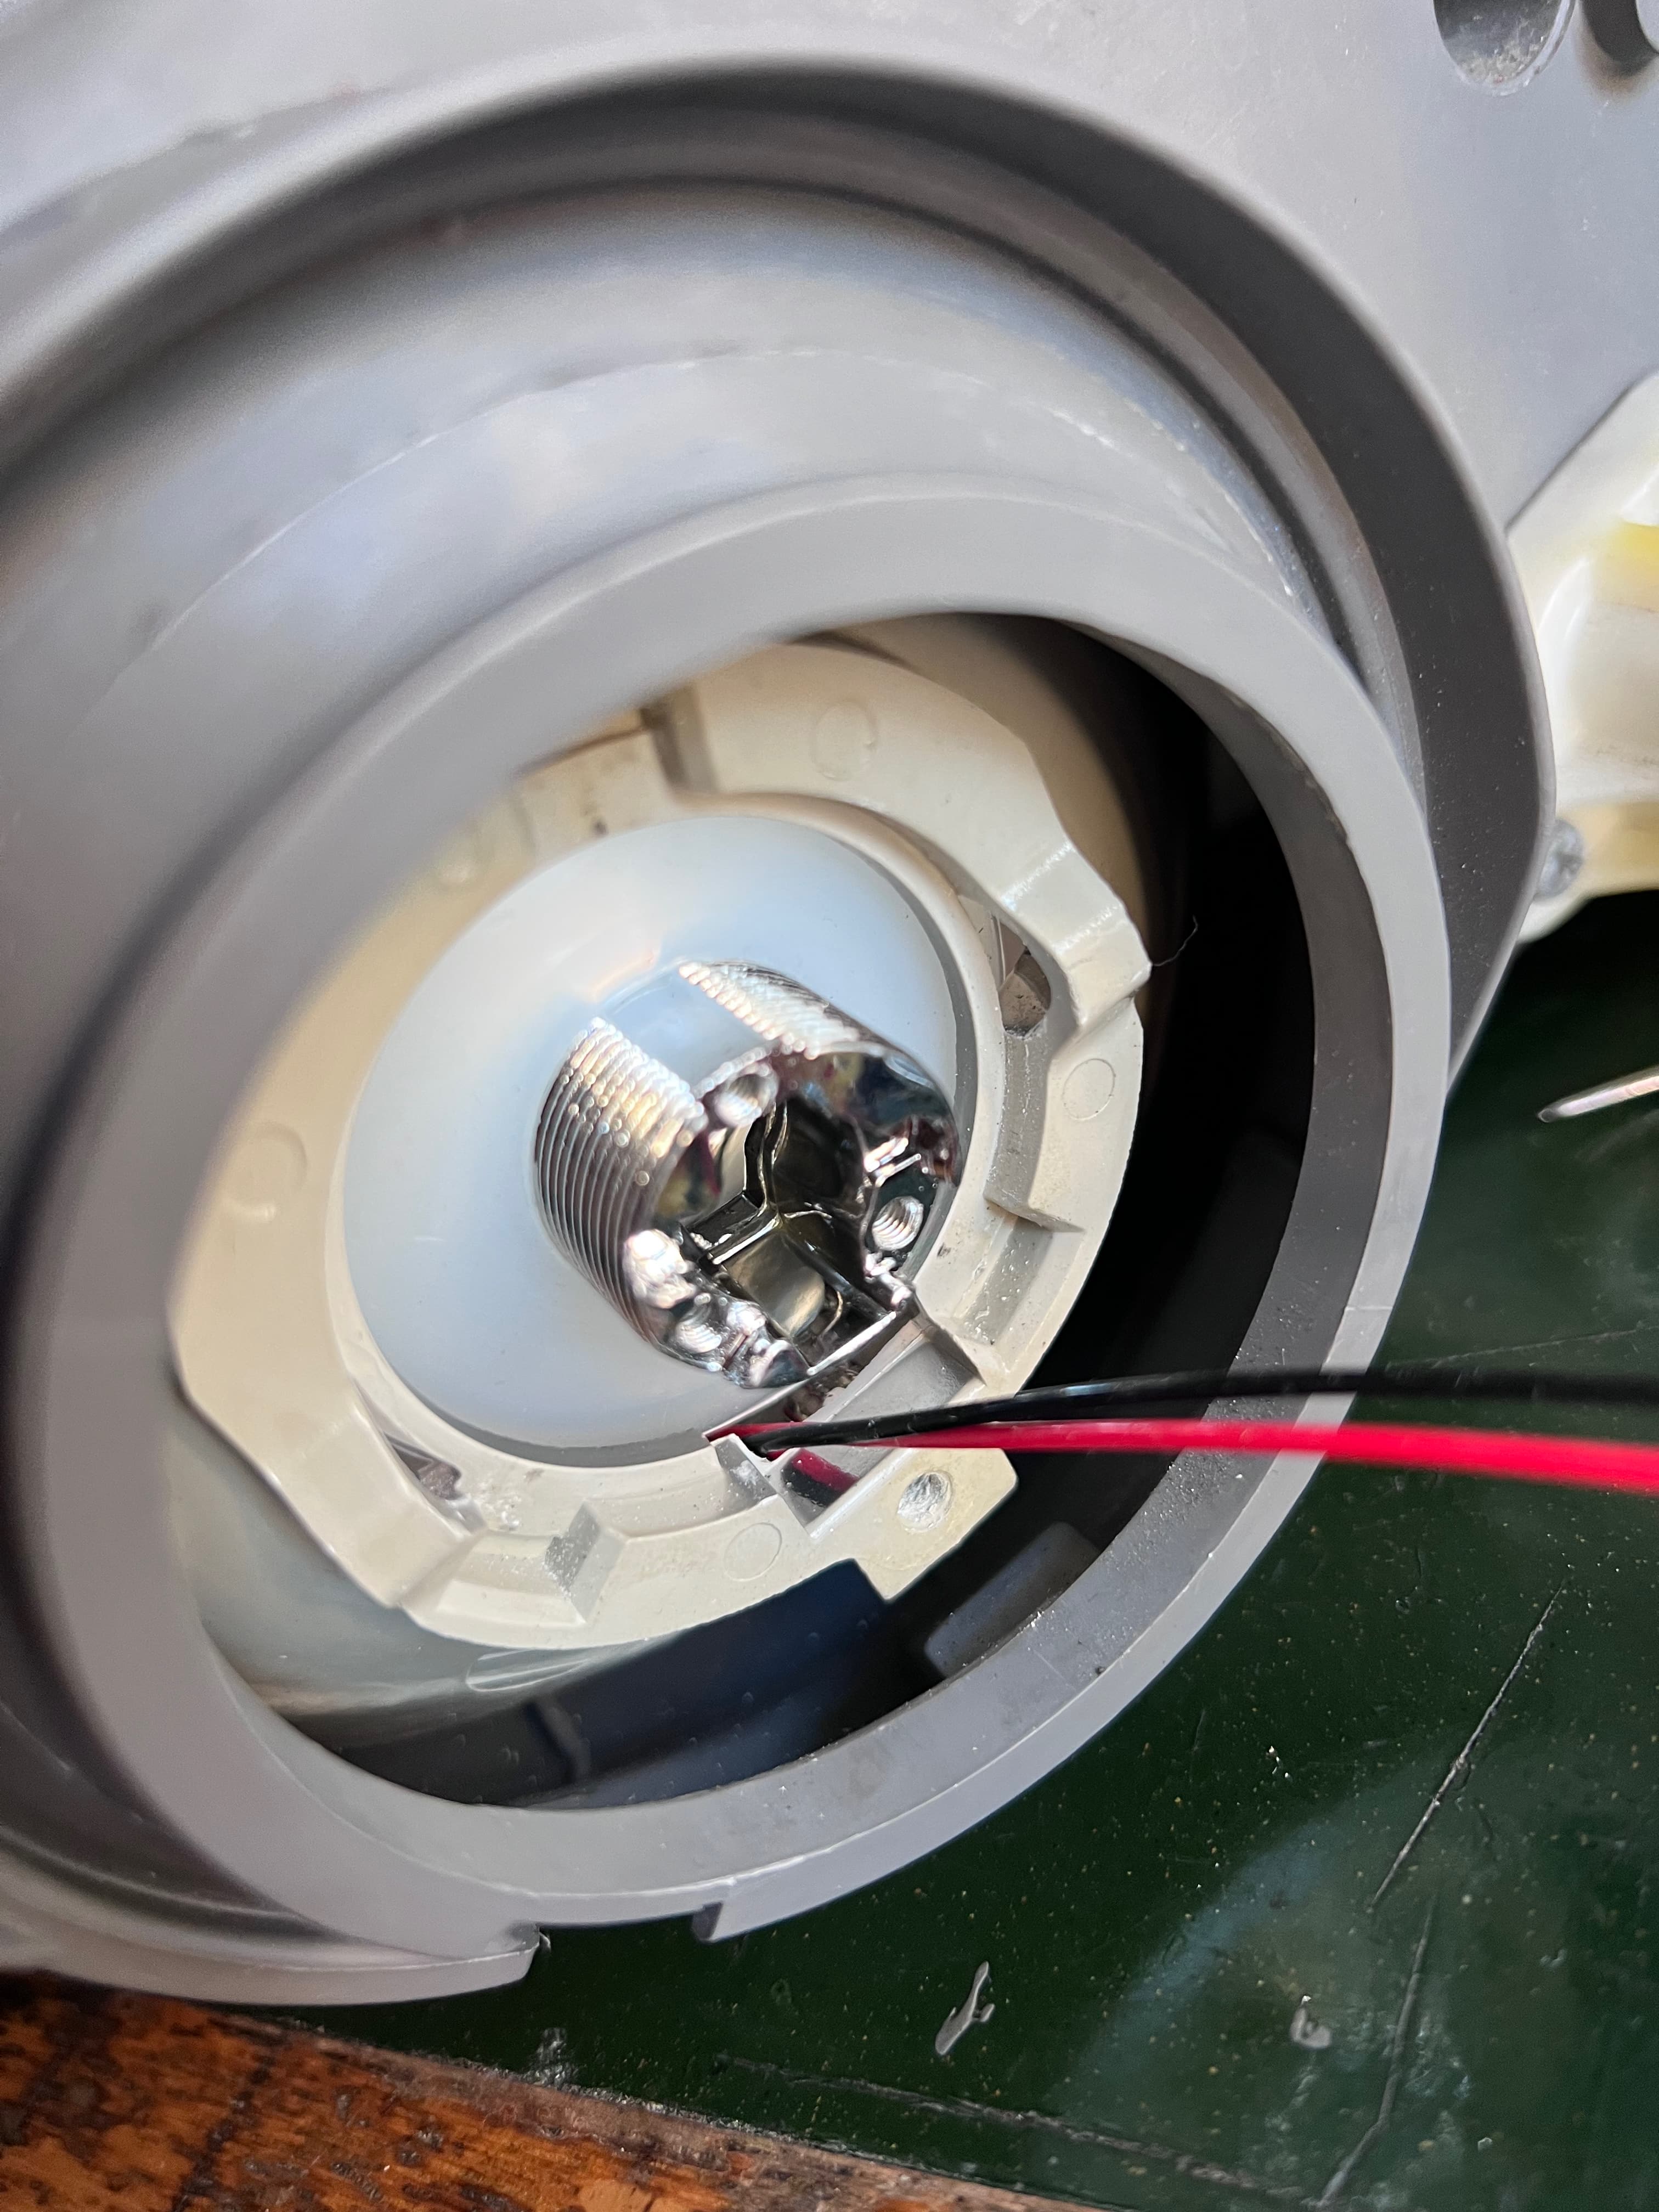
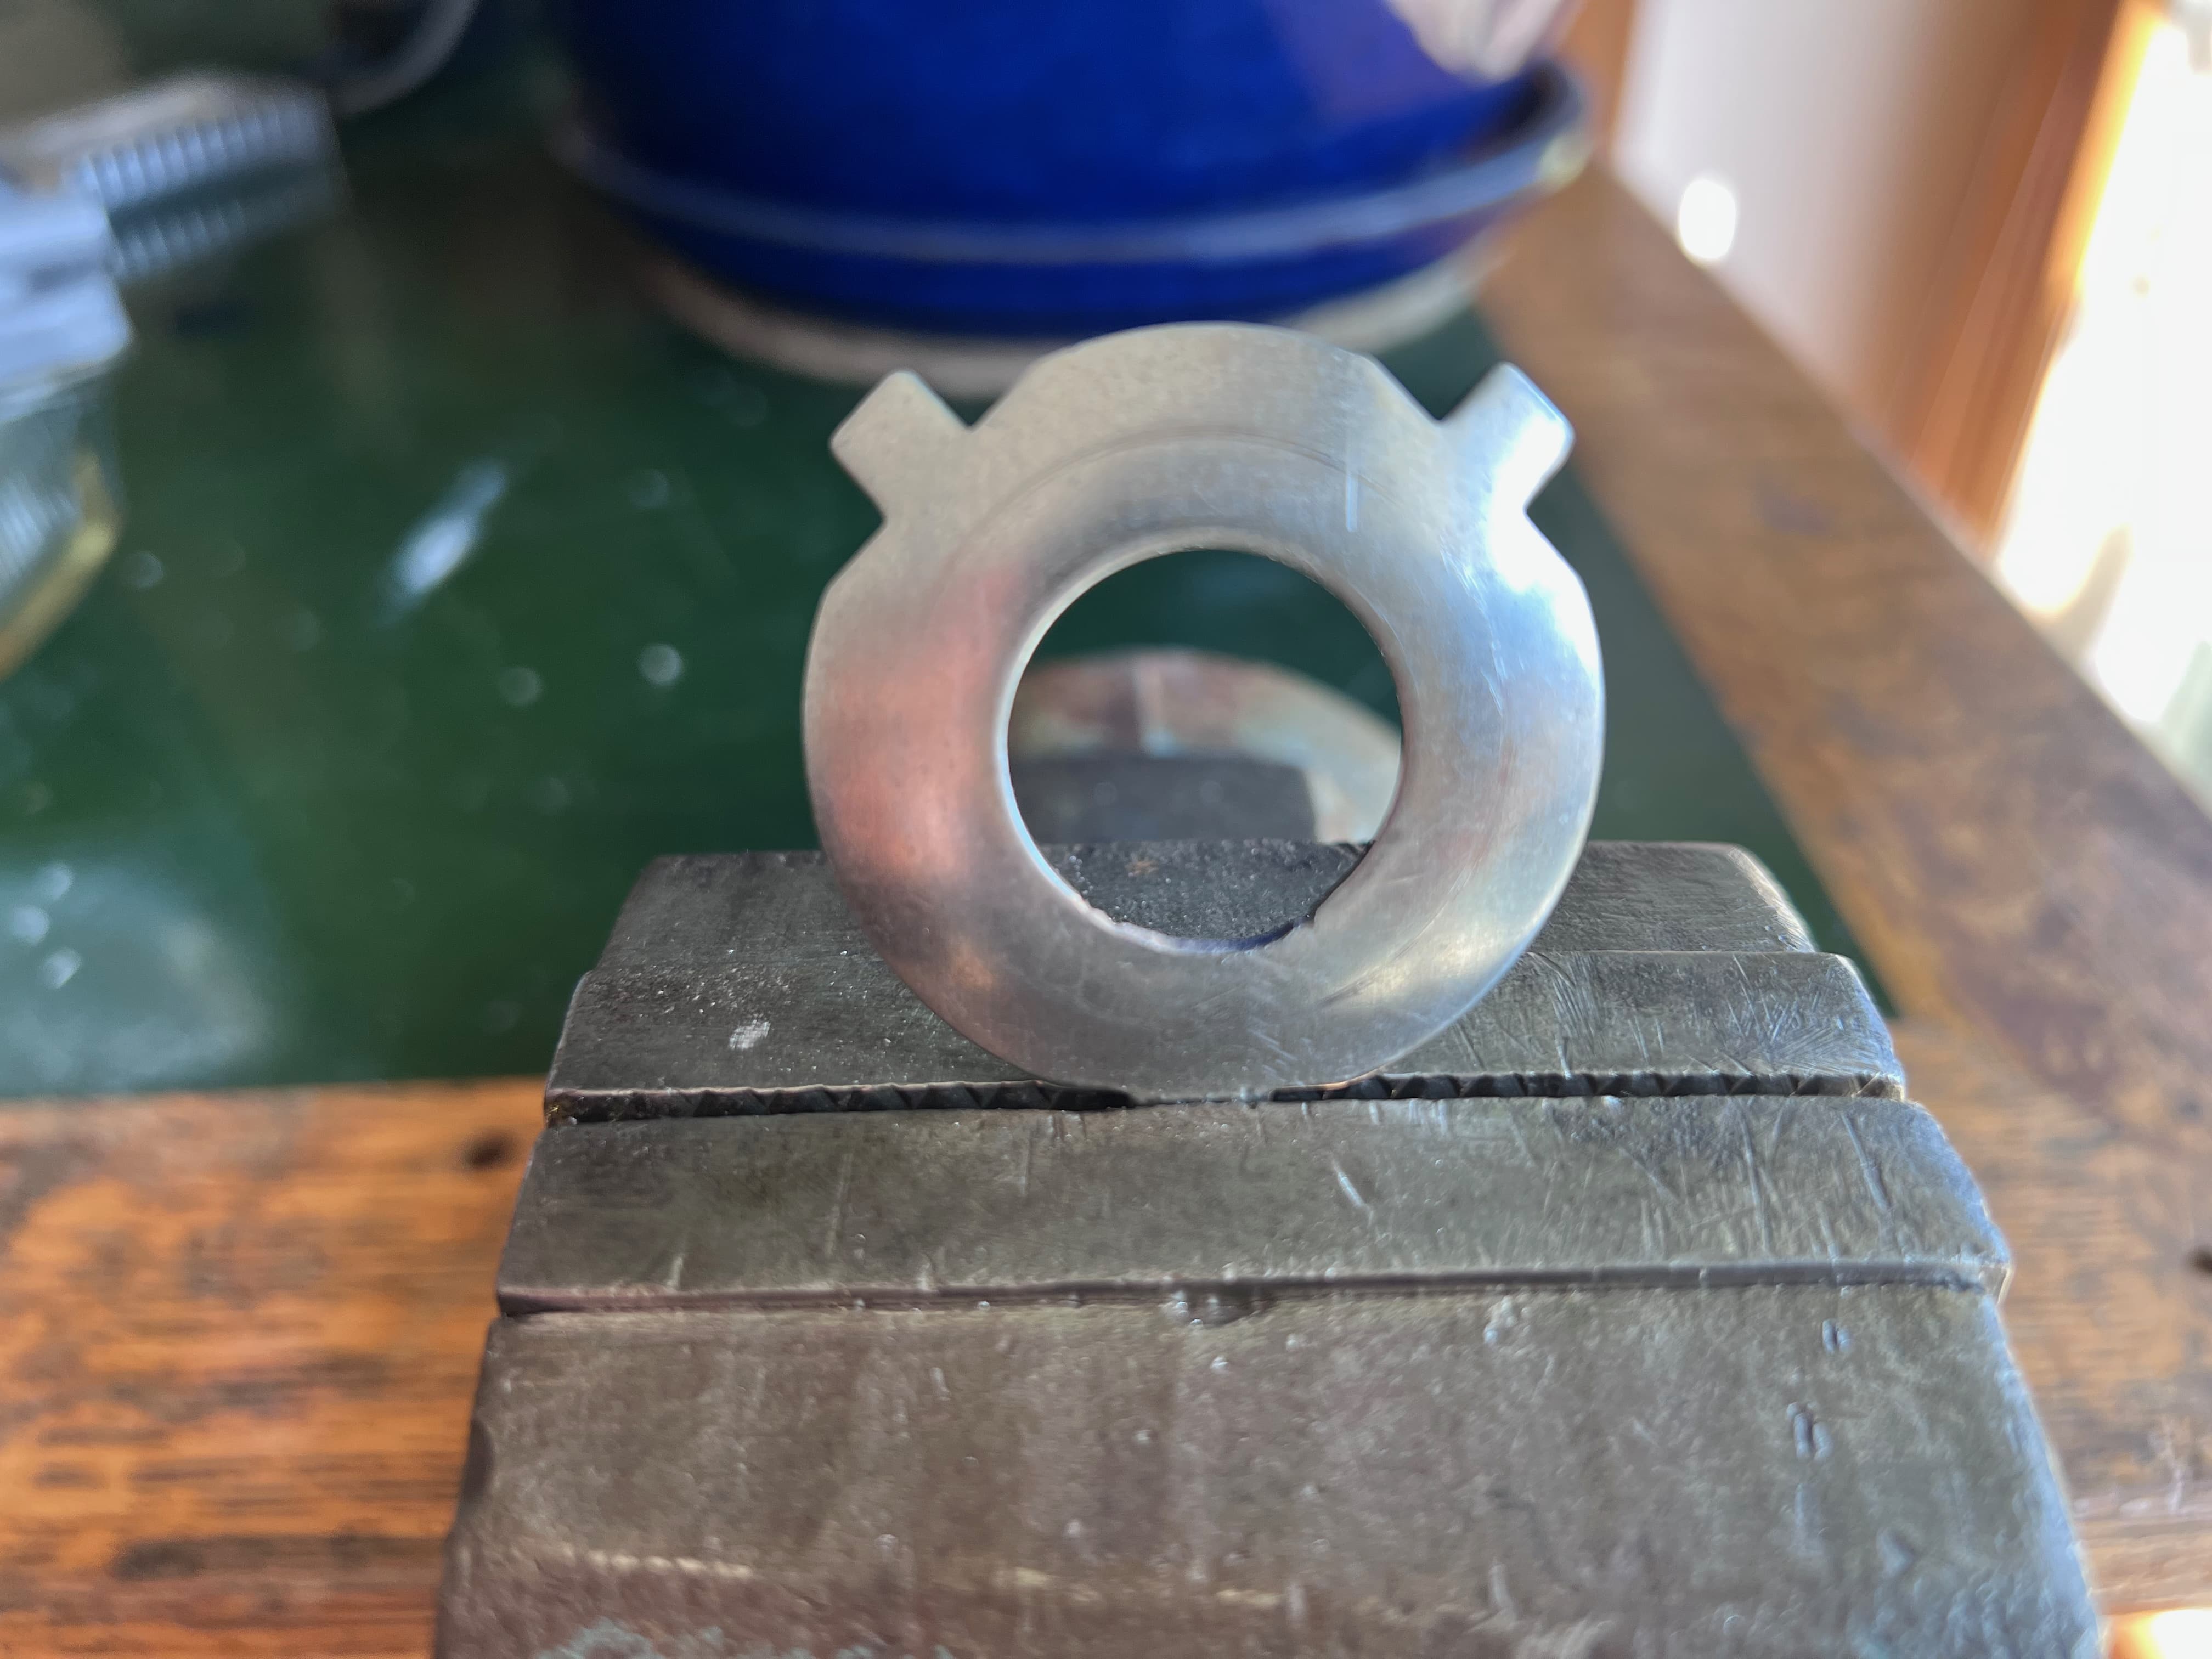
On the outside, you need the H4 washer:
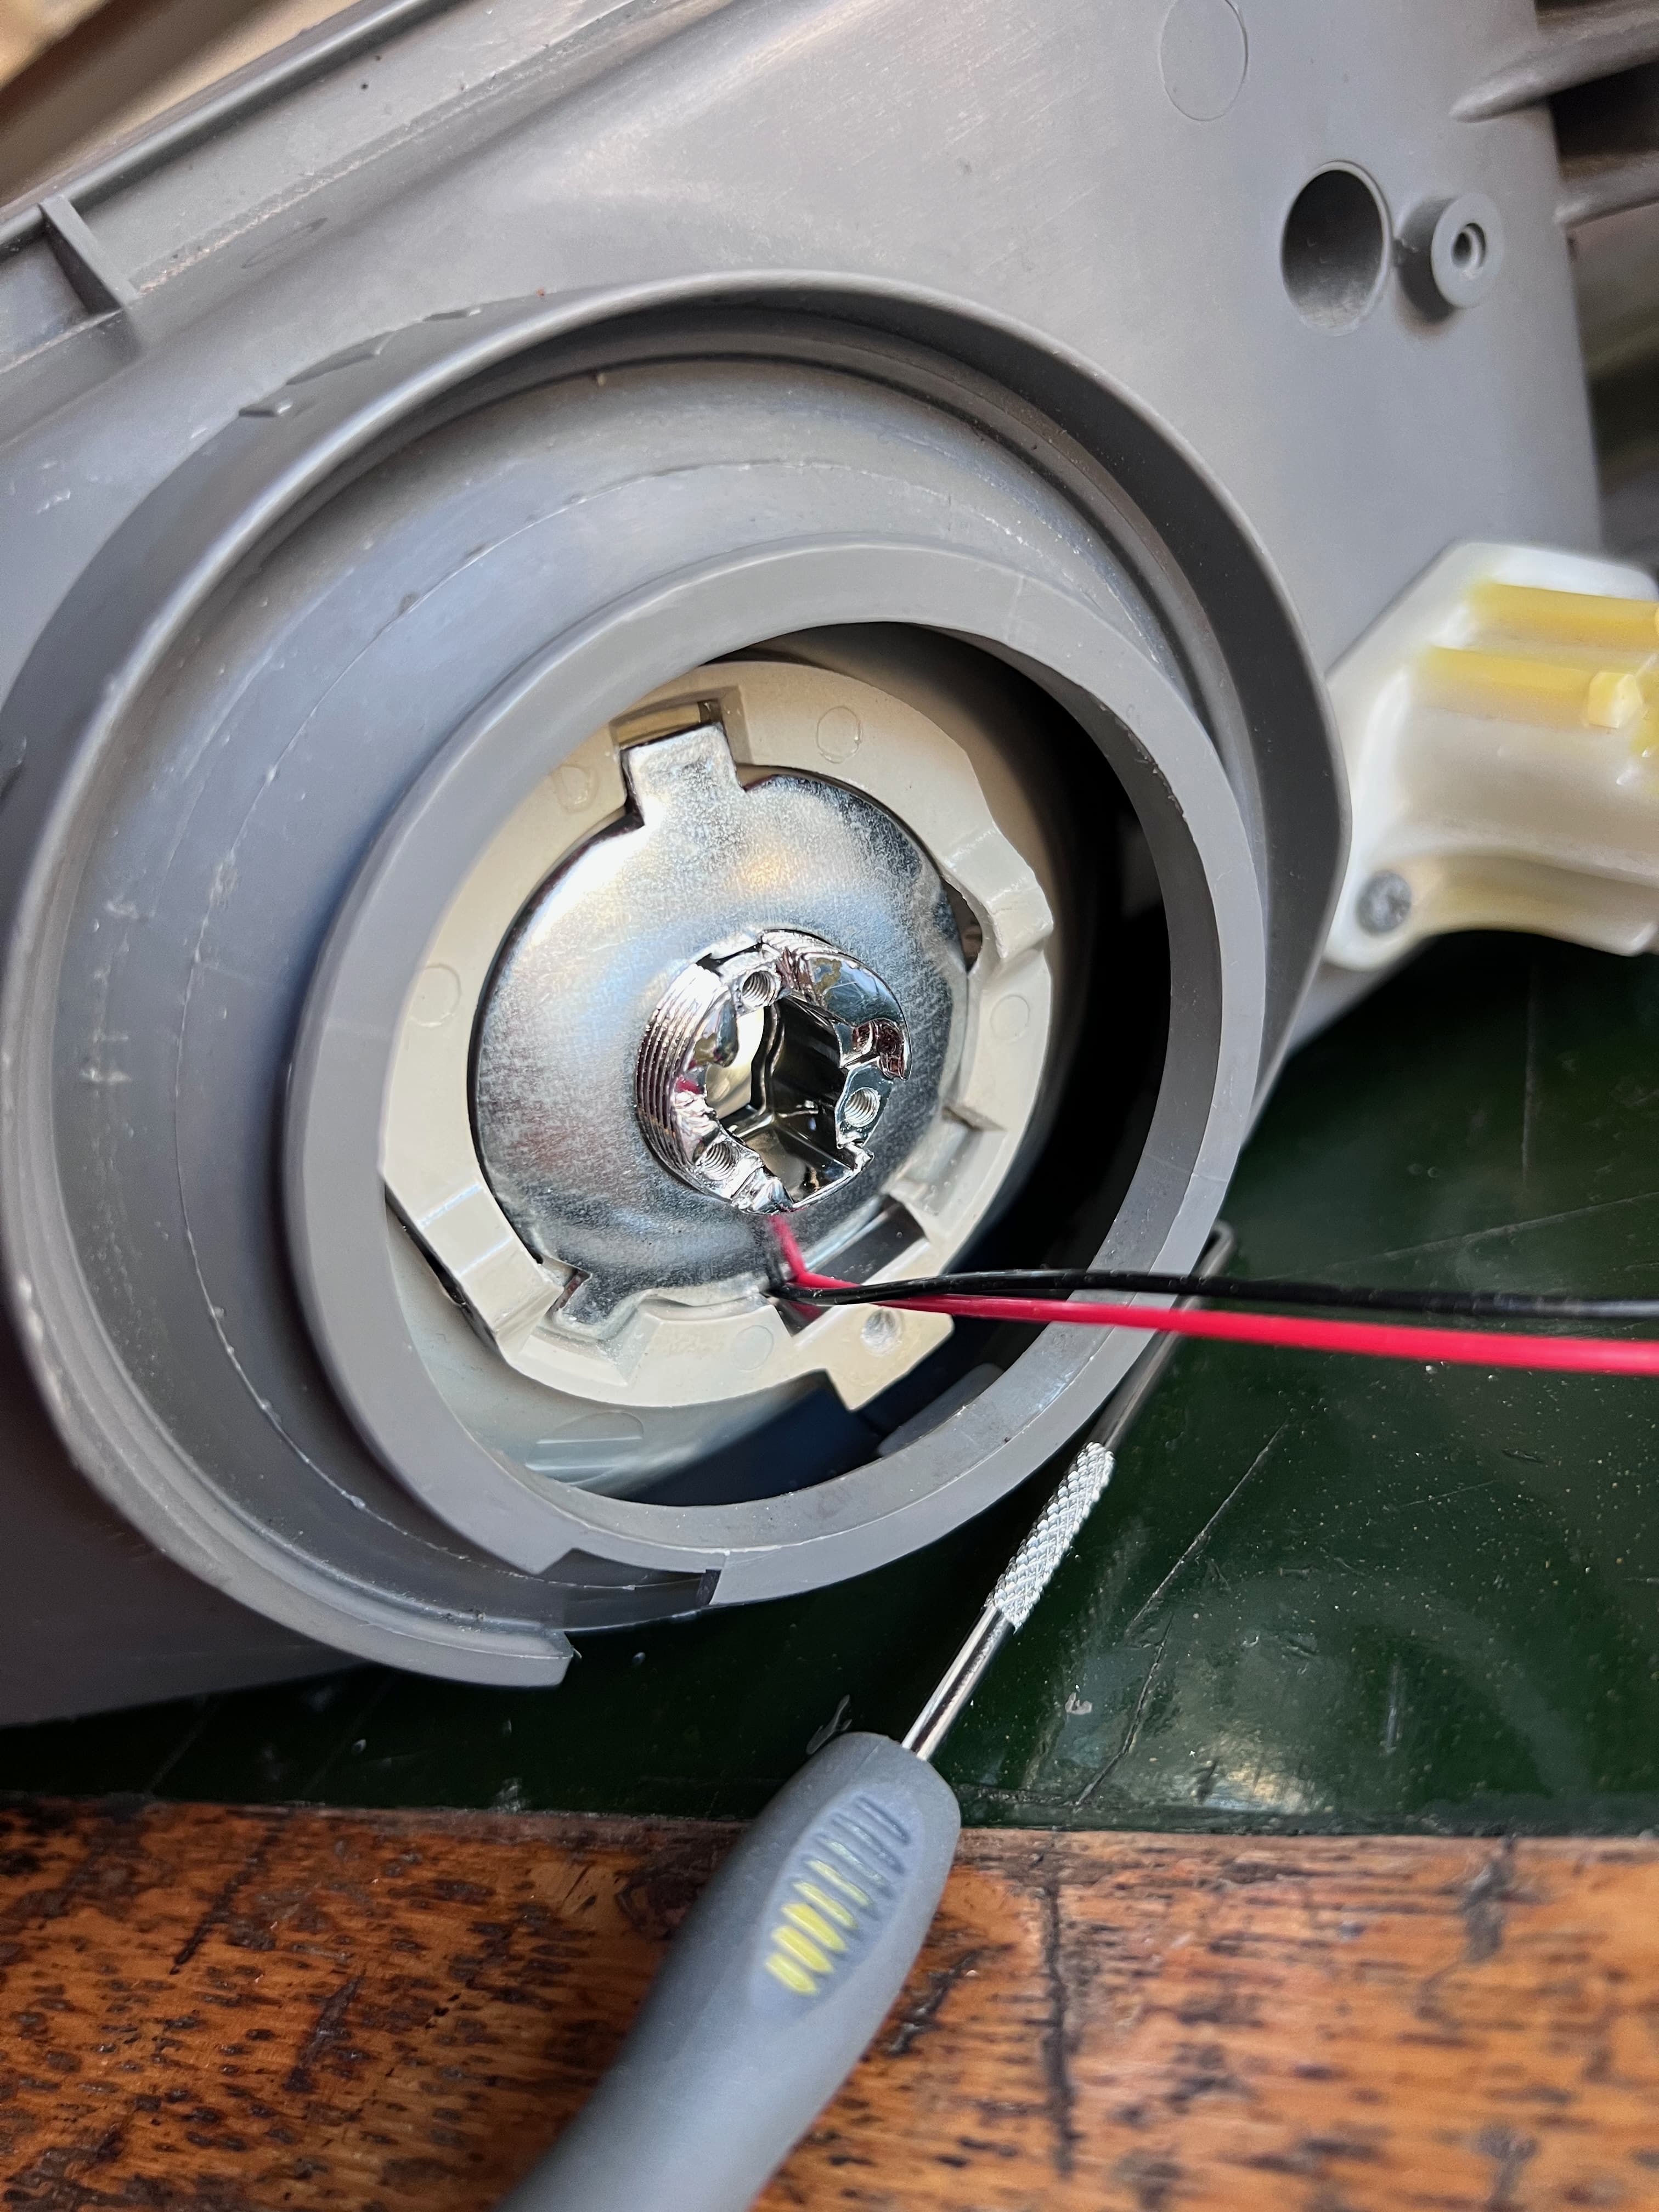
The manufacturer’s intention must have been for the notch in the projector thread to align with the tab in the washer, setting and stabilizing the projector’s position. In the GC8 this doesn’t work, the H4 slots are rotated clockwise by about 10-15 degrees. This affects the horizontal cutoff line of the light beam. Because of this, I had to file down the washer, which allowed me to rotate the projector to level:
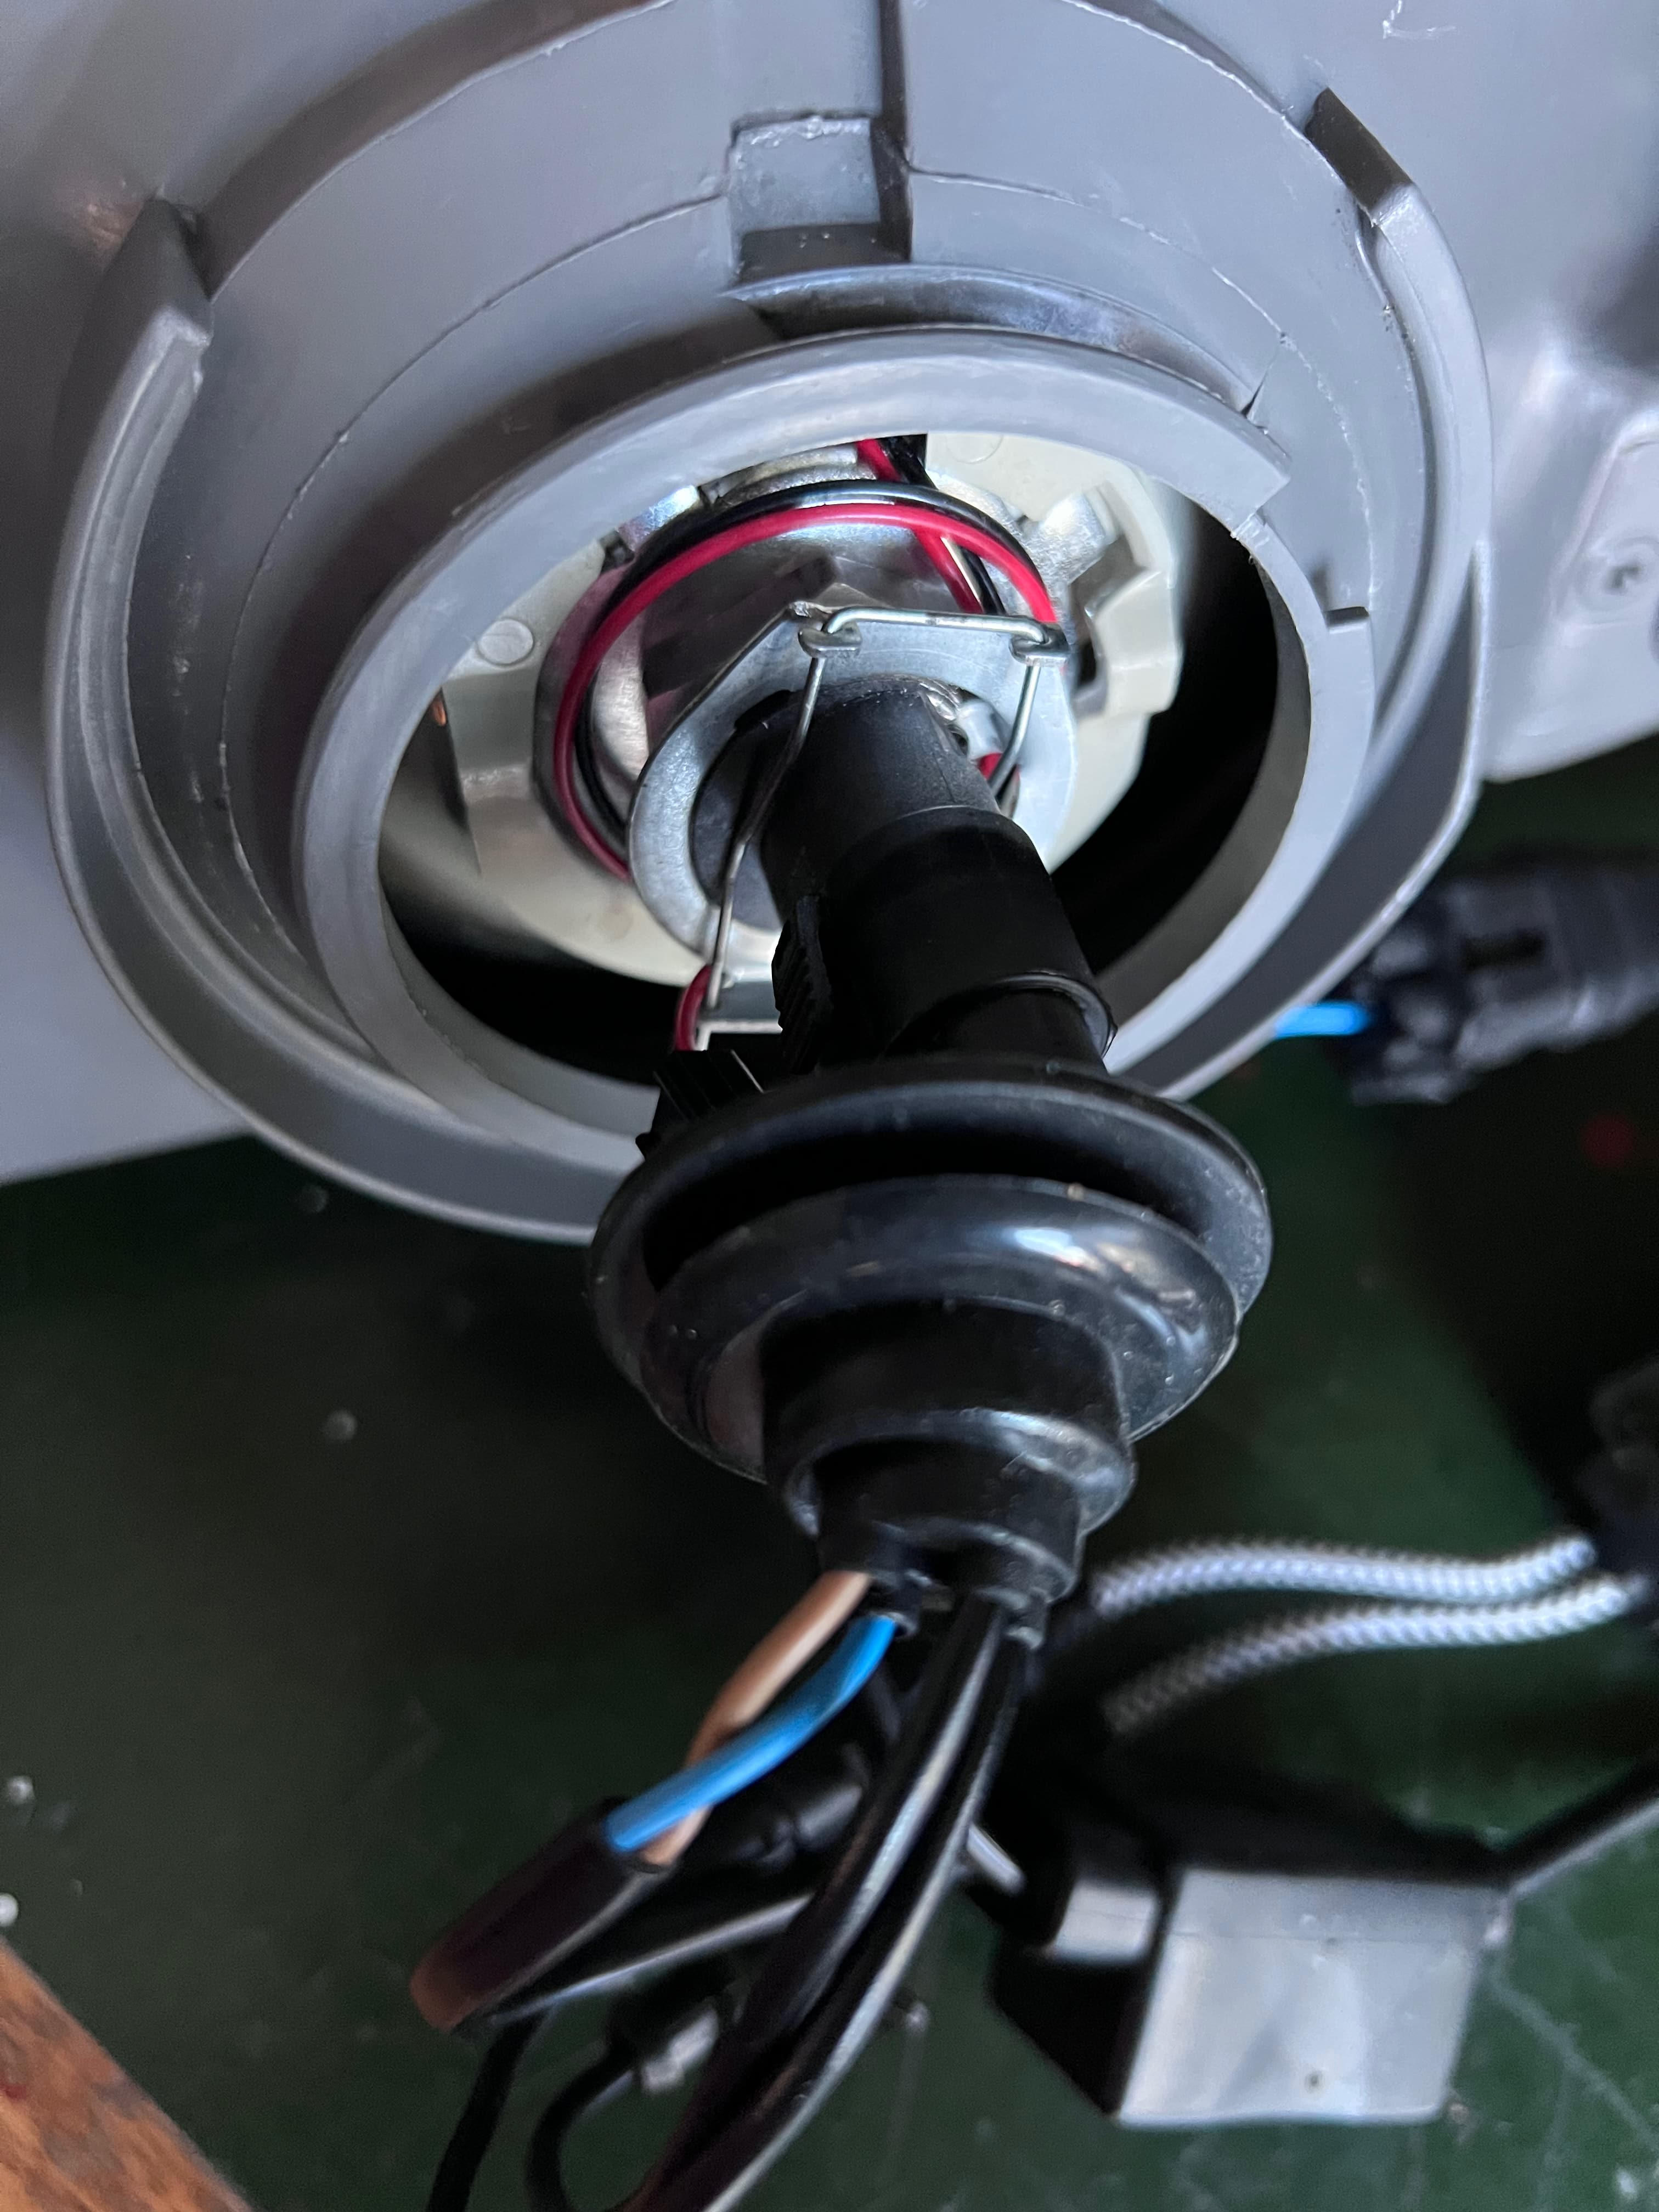
The last step is mounting the bulb:
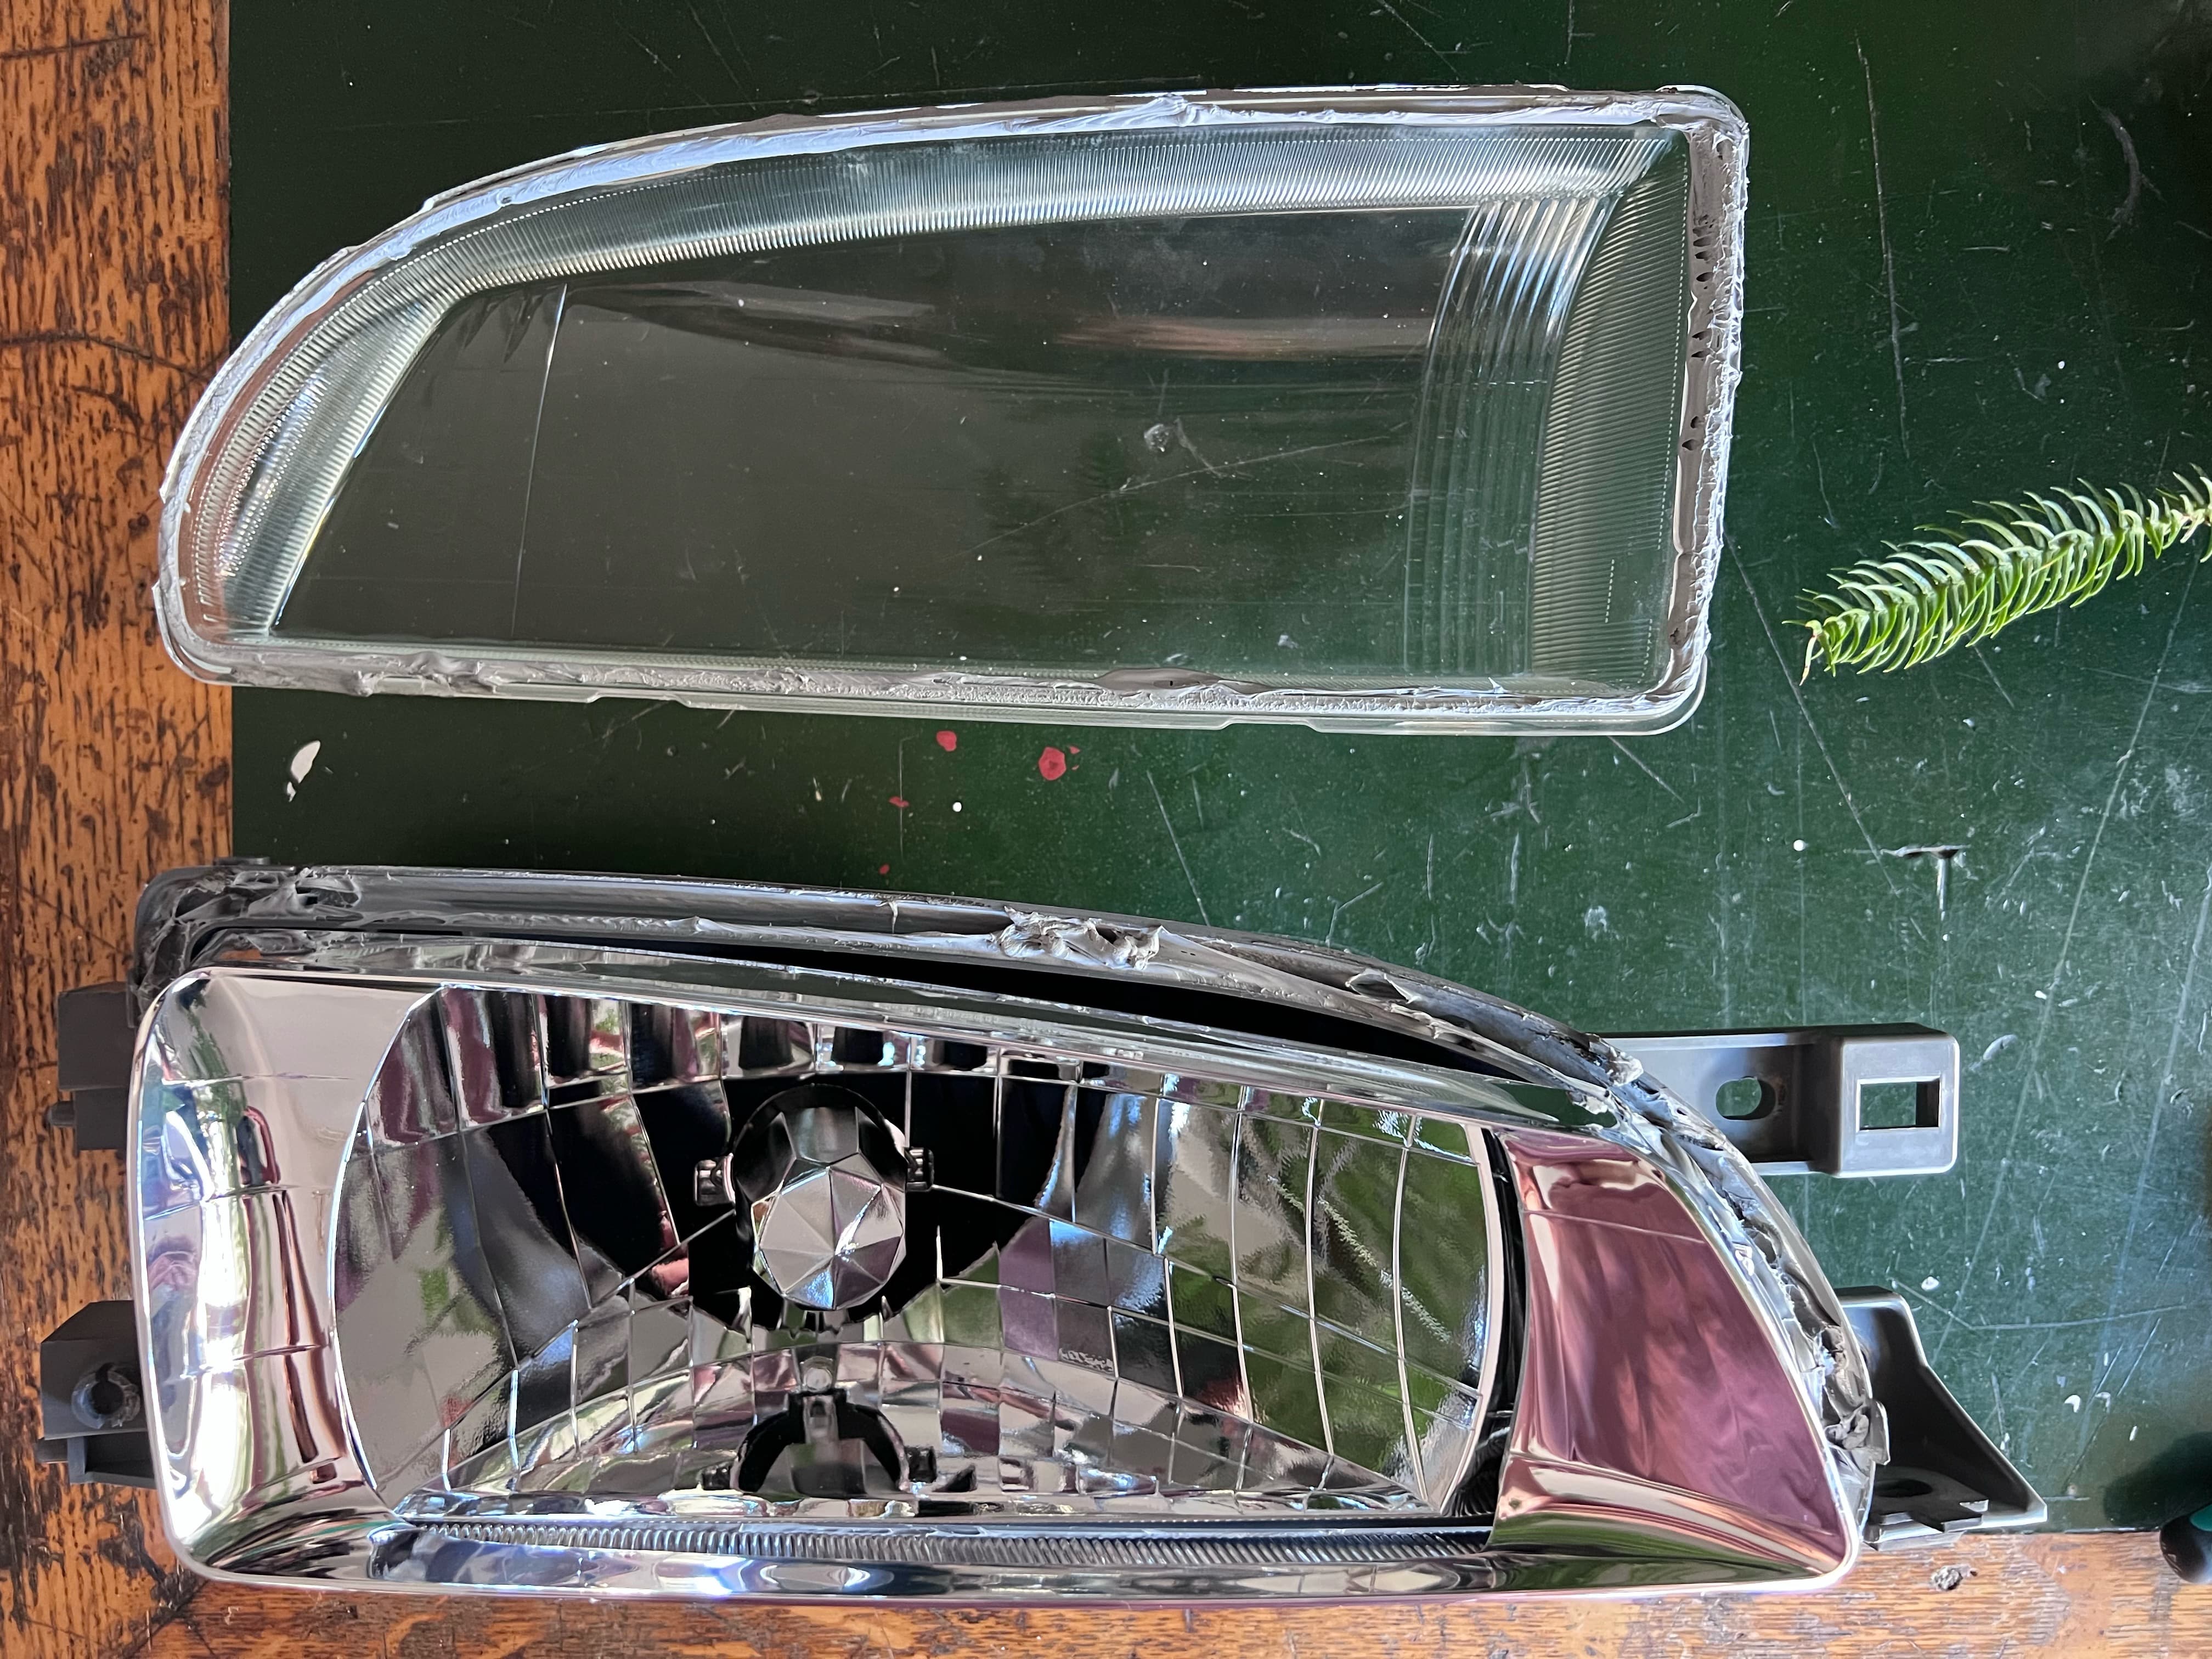
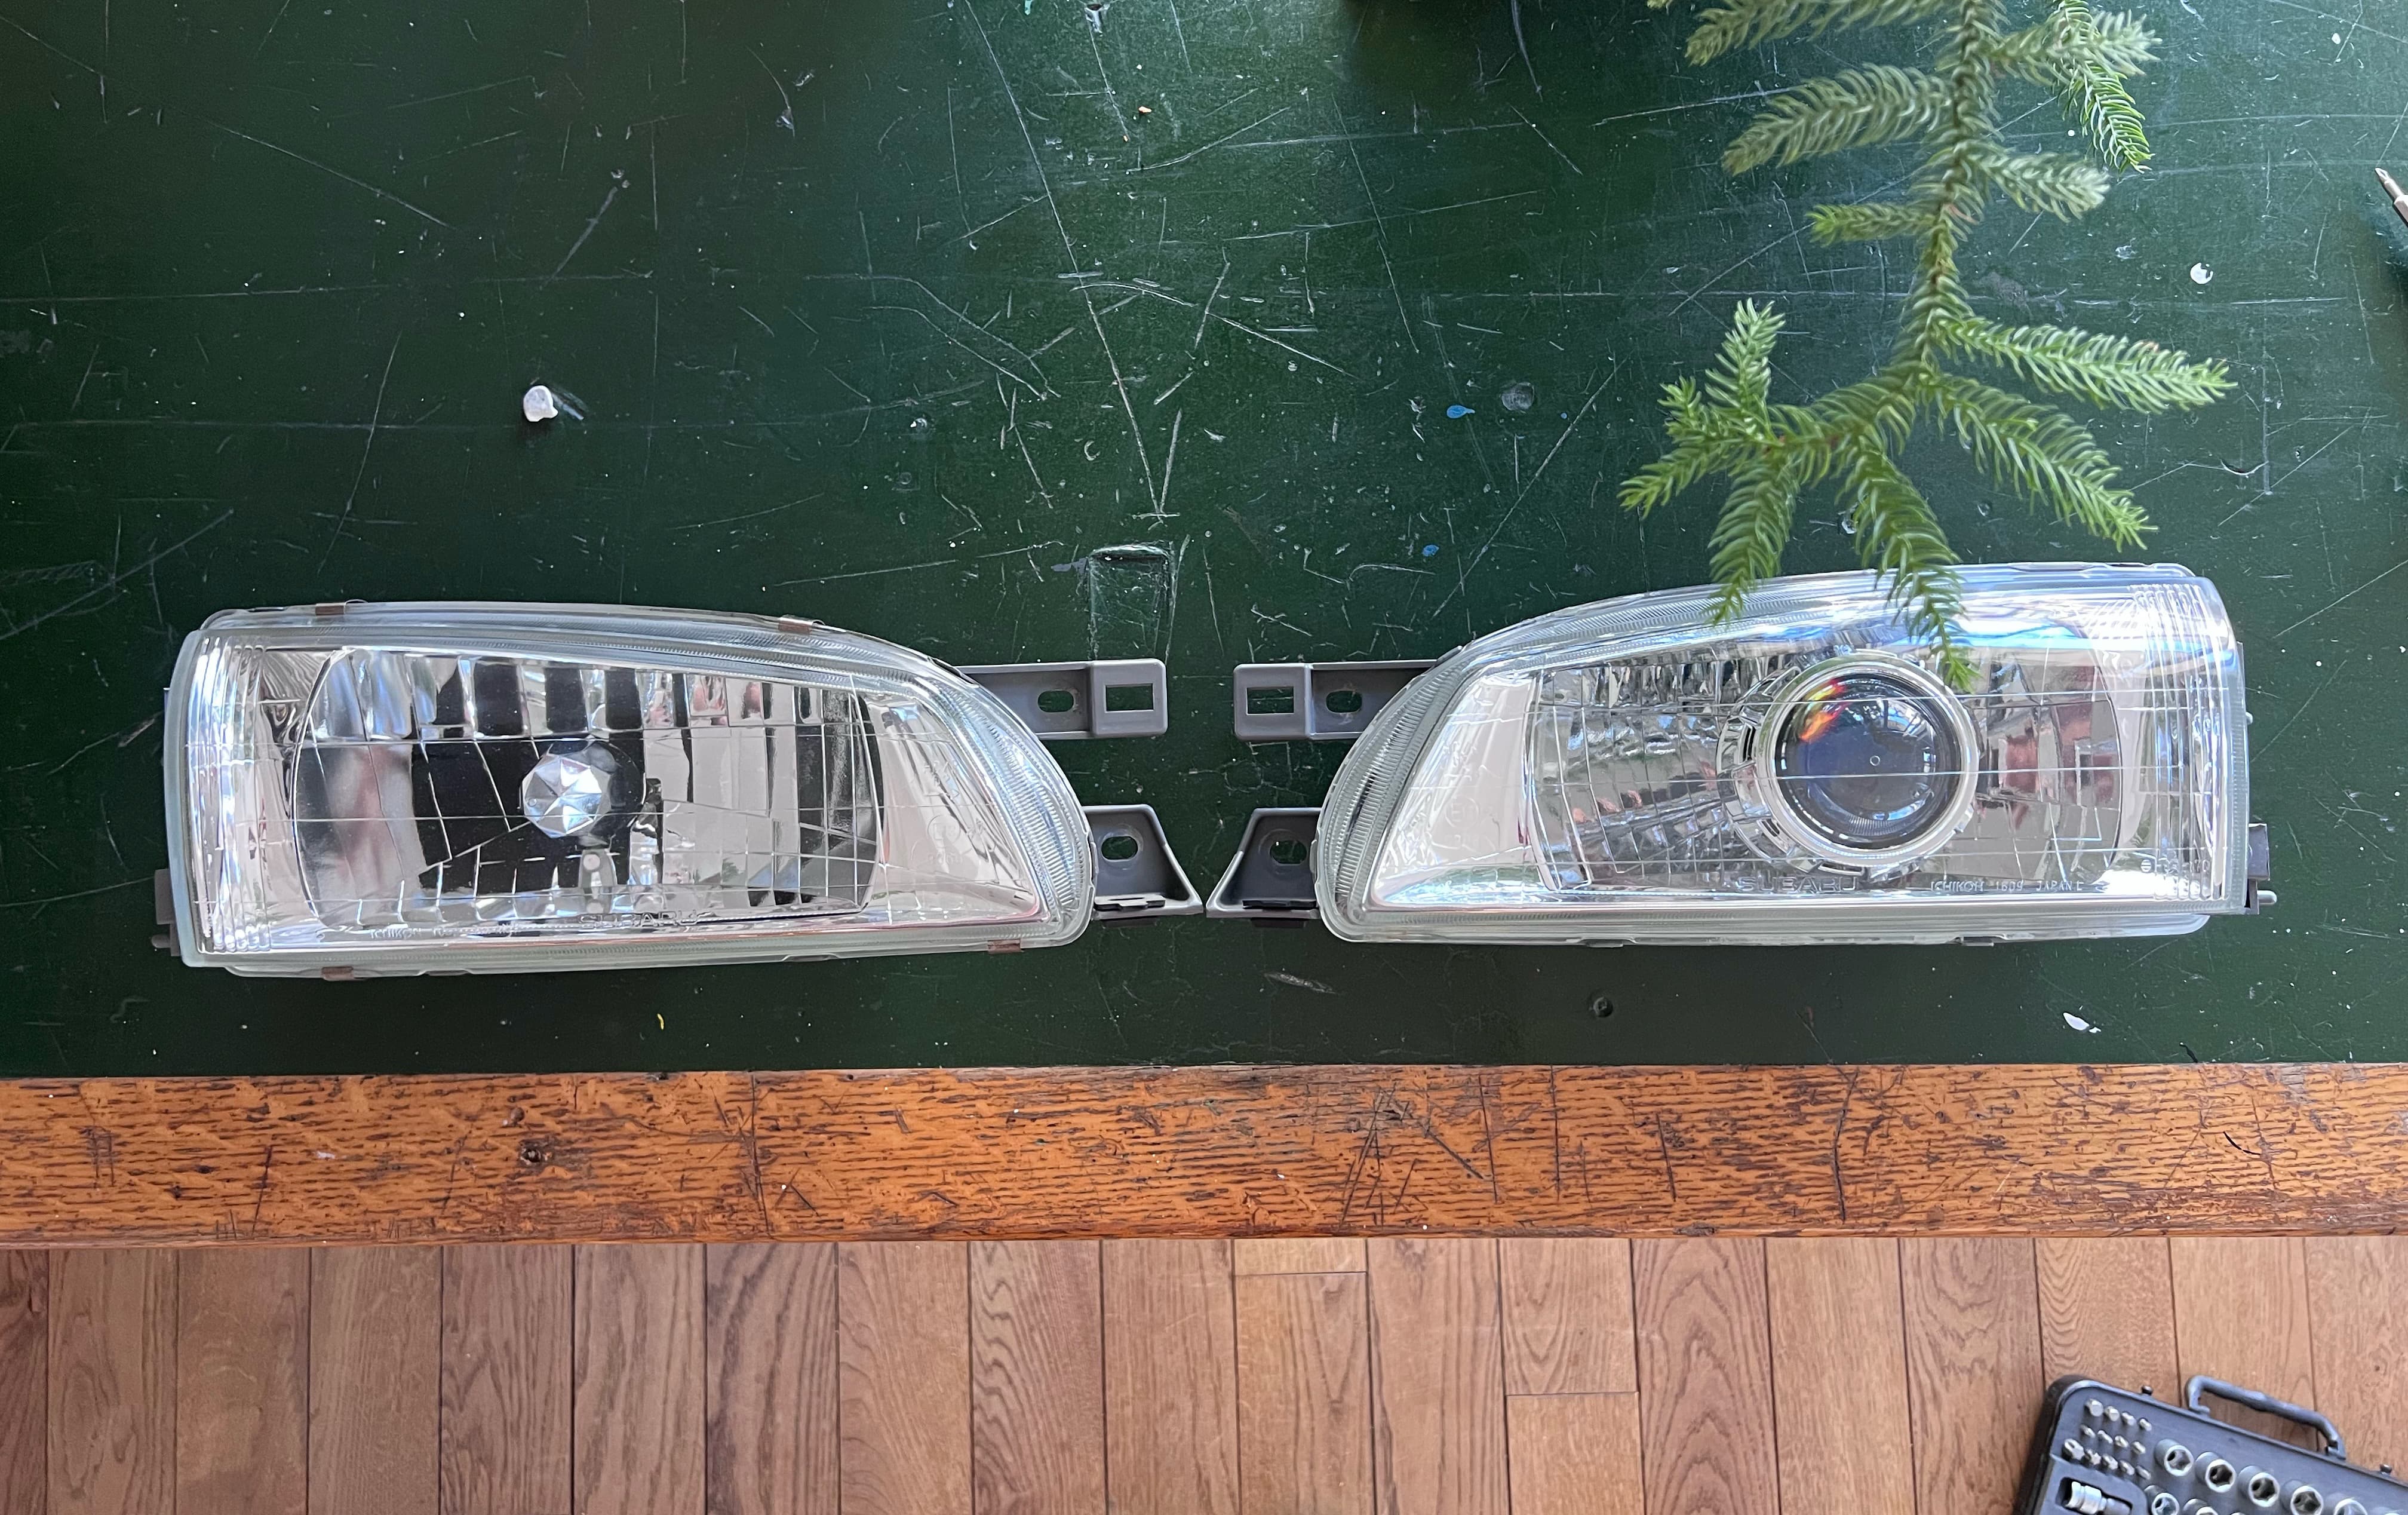
Comparison before and after:
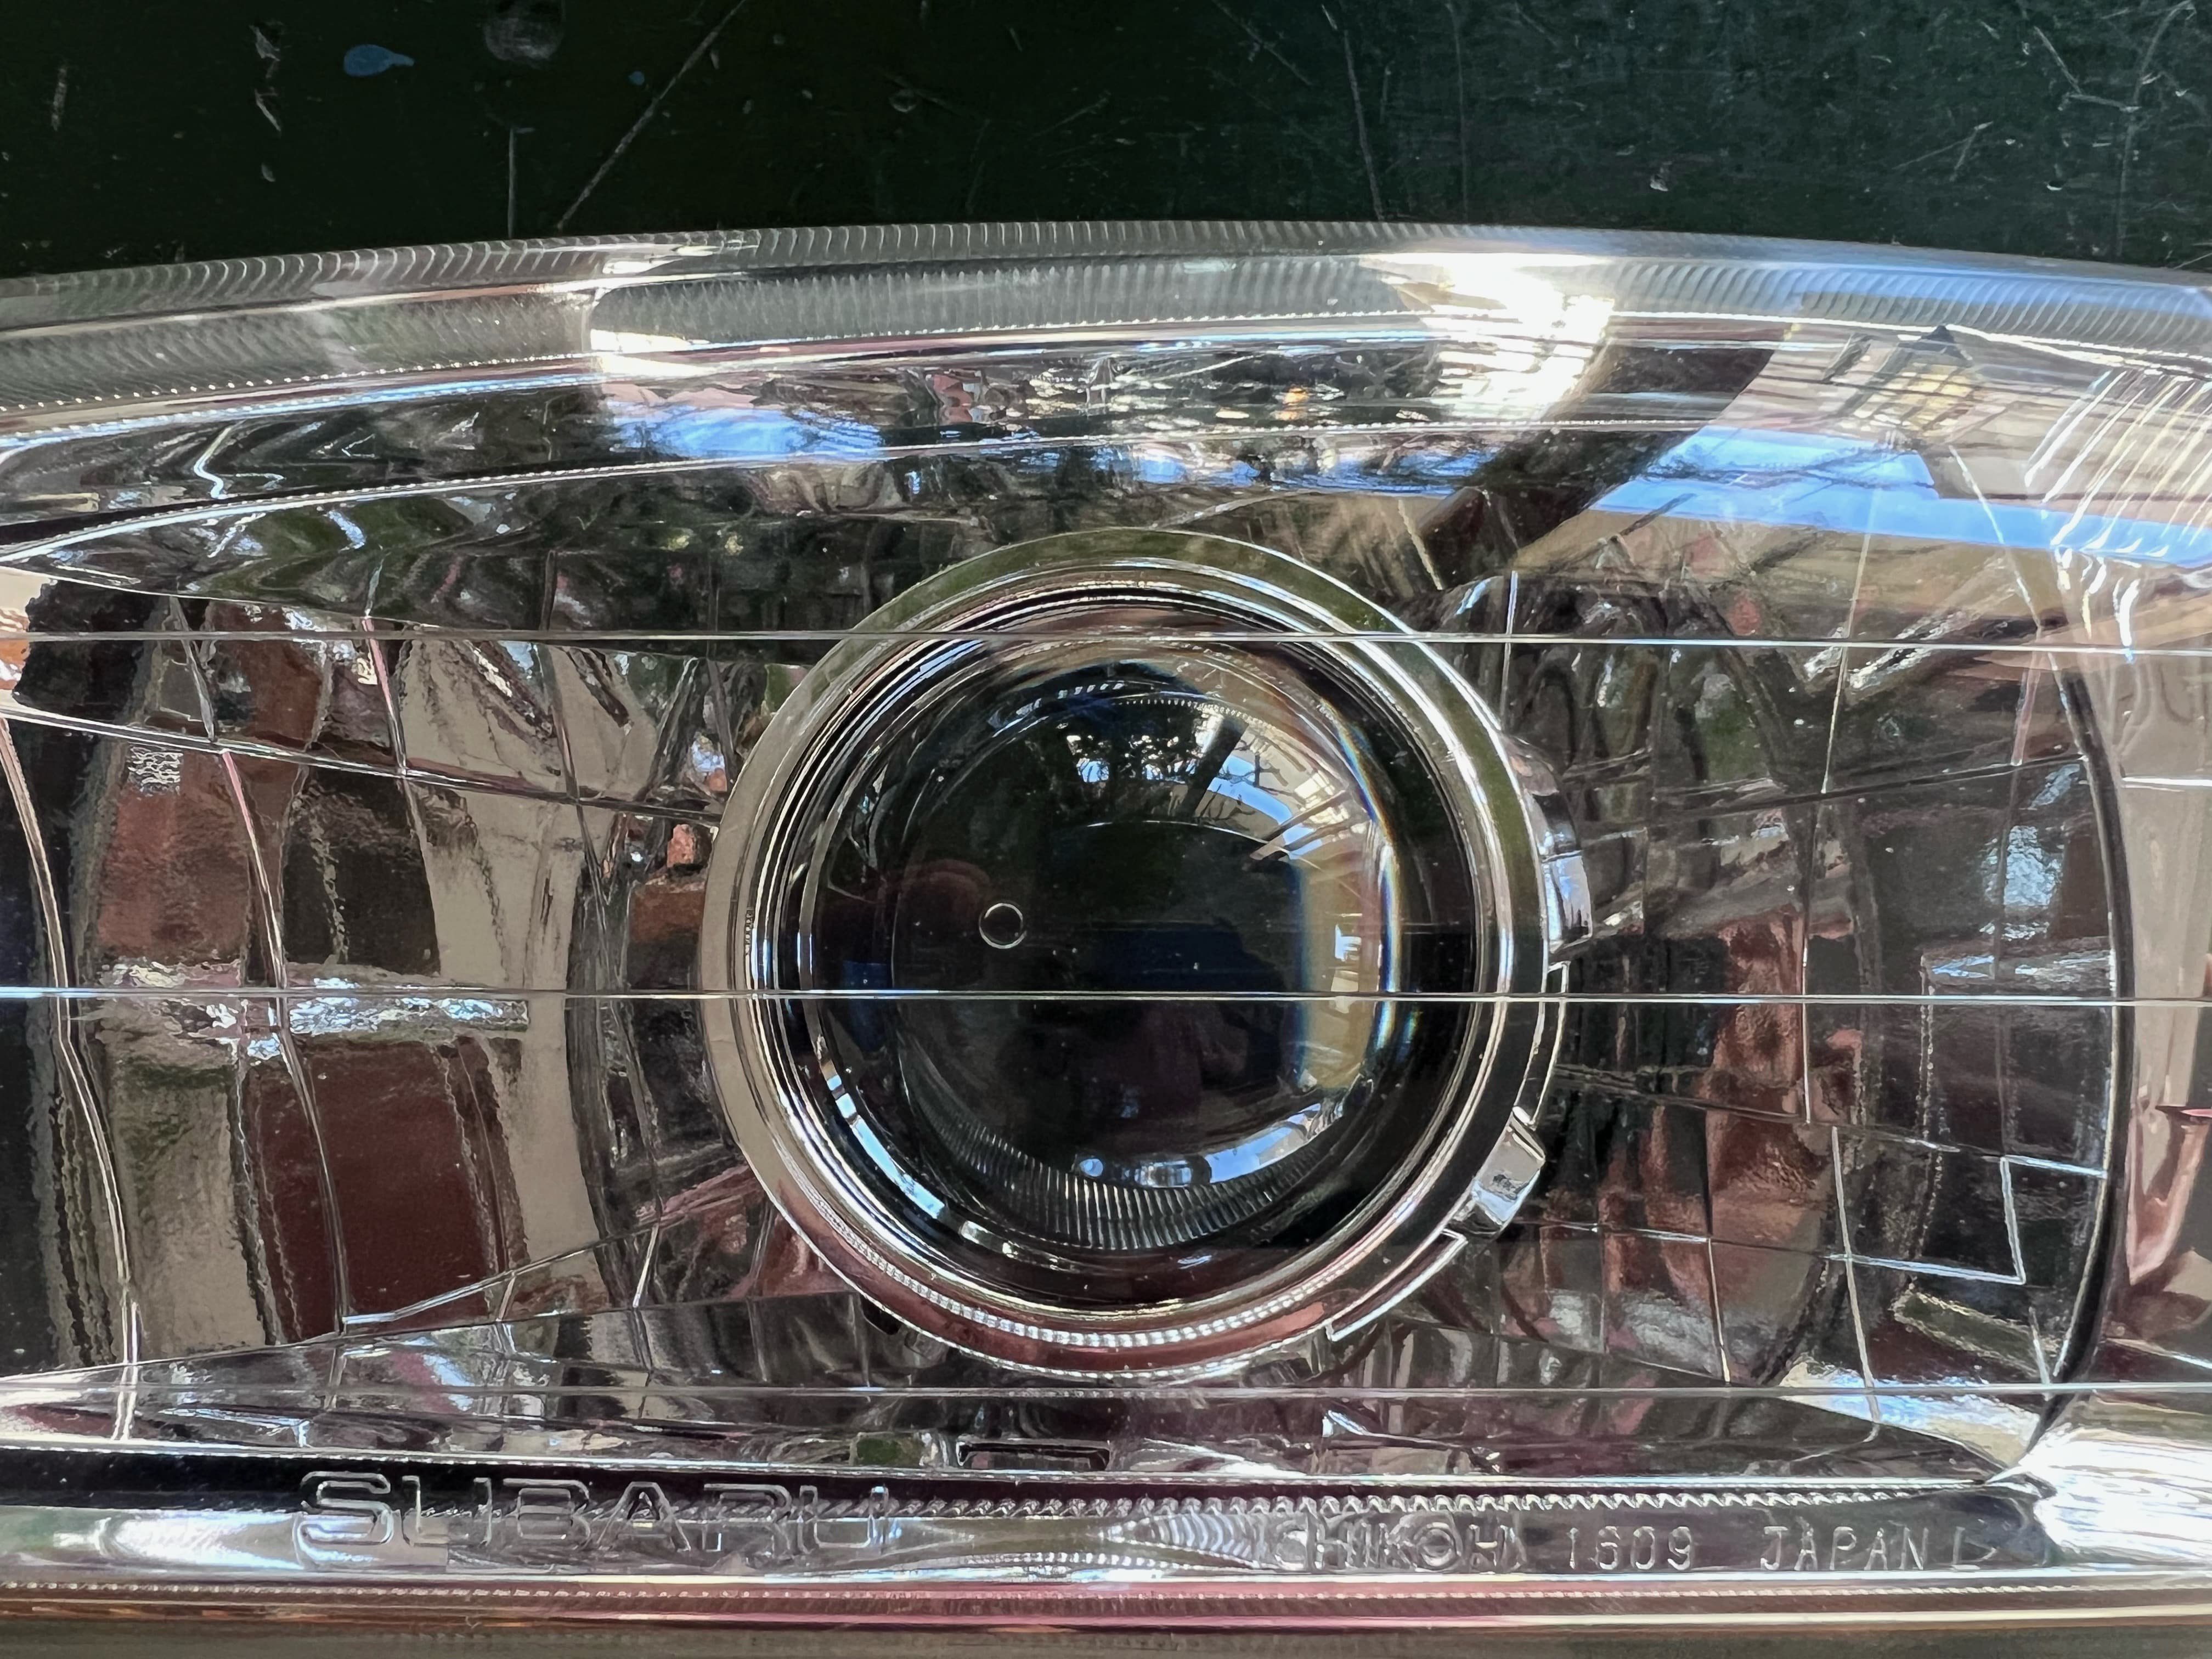
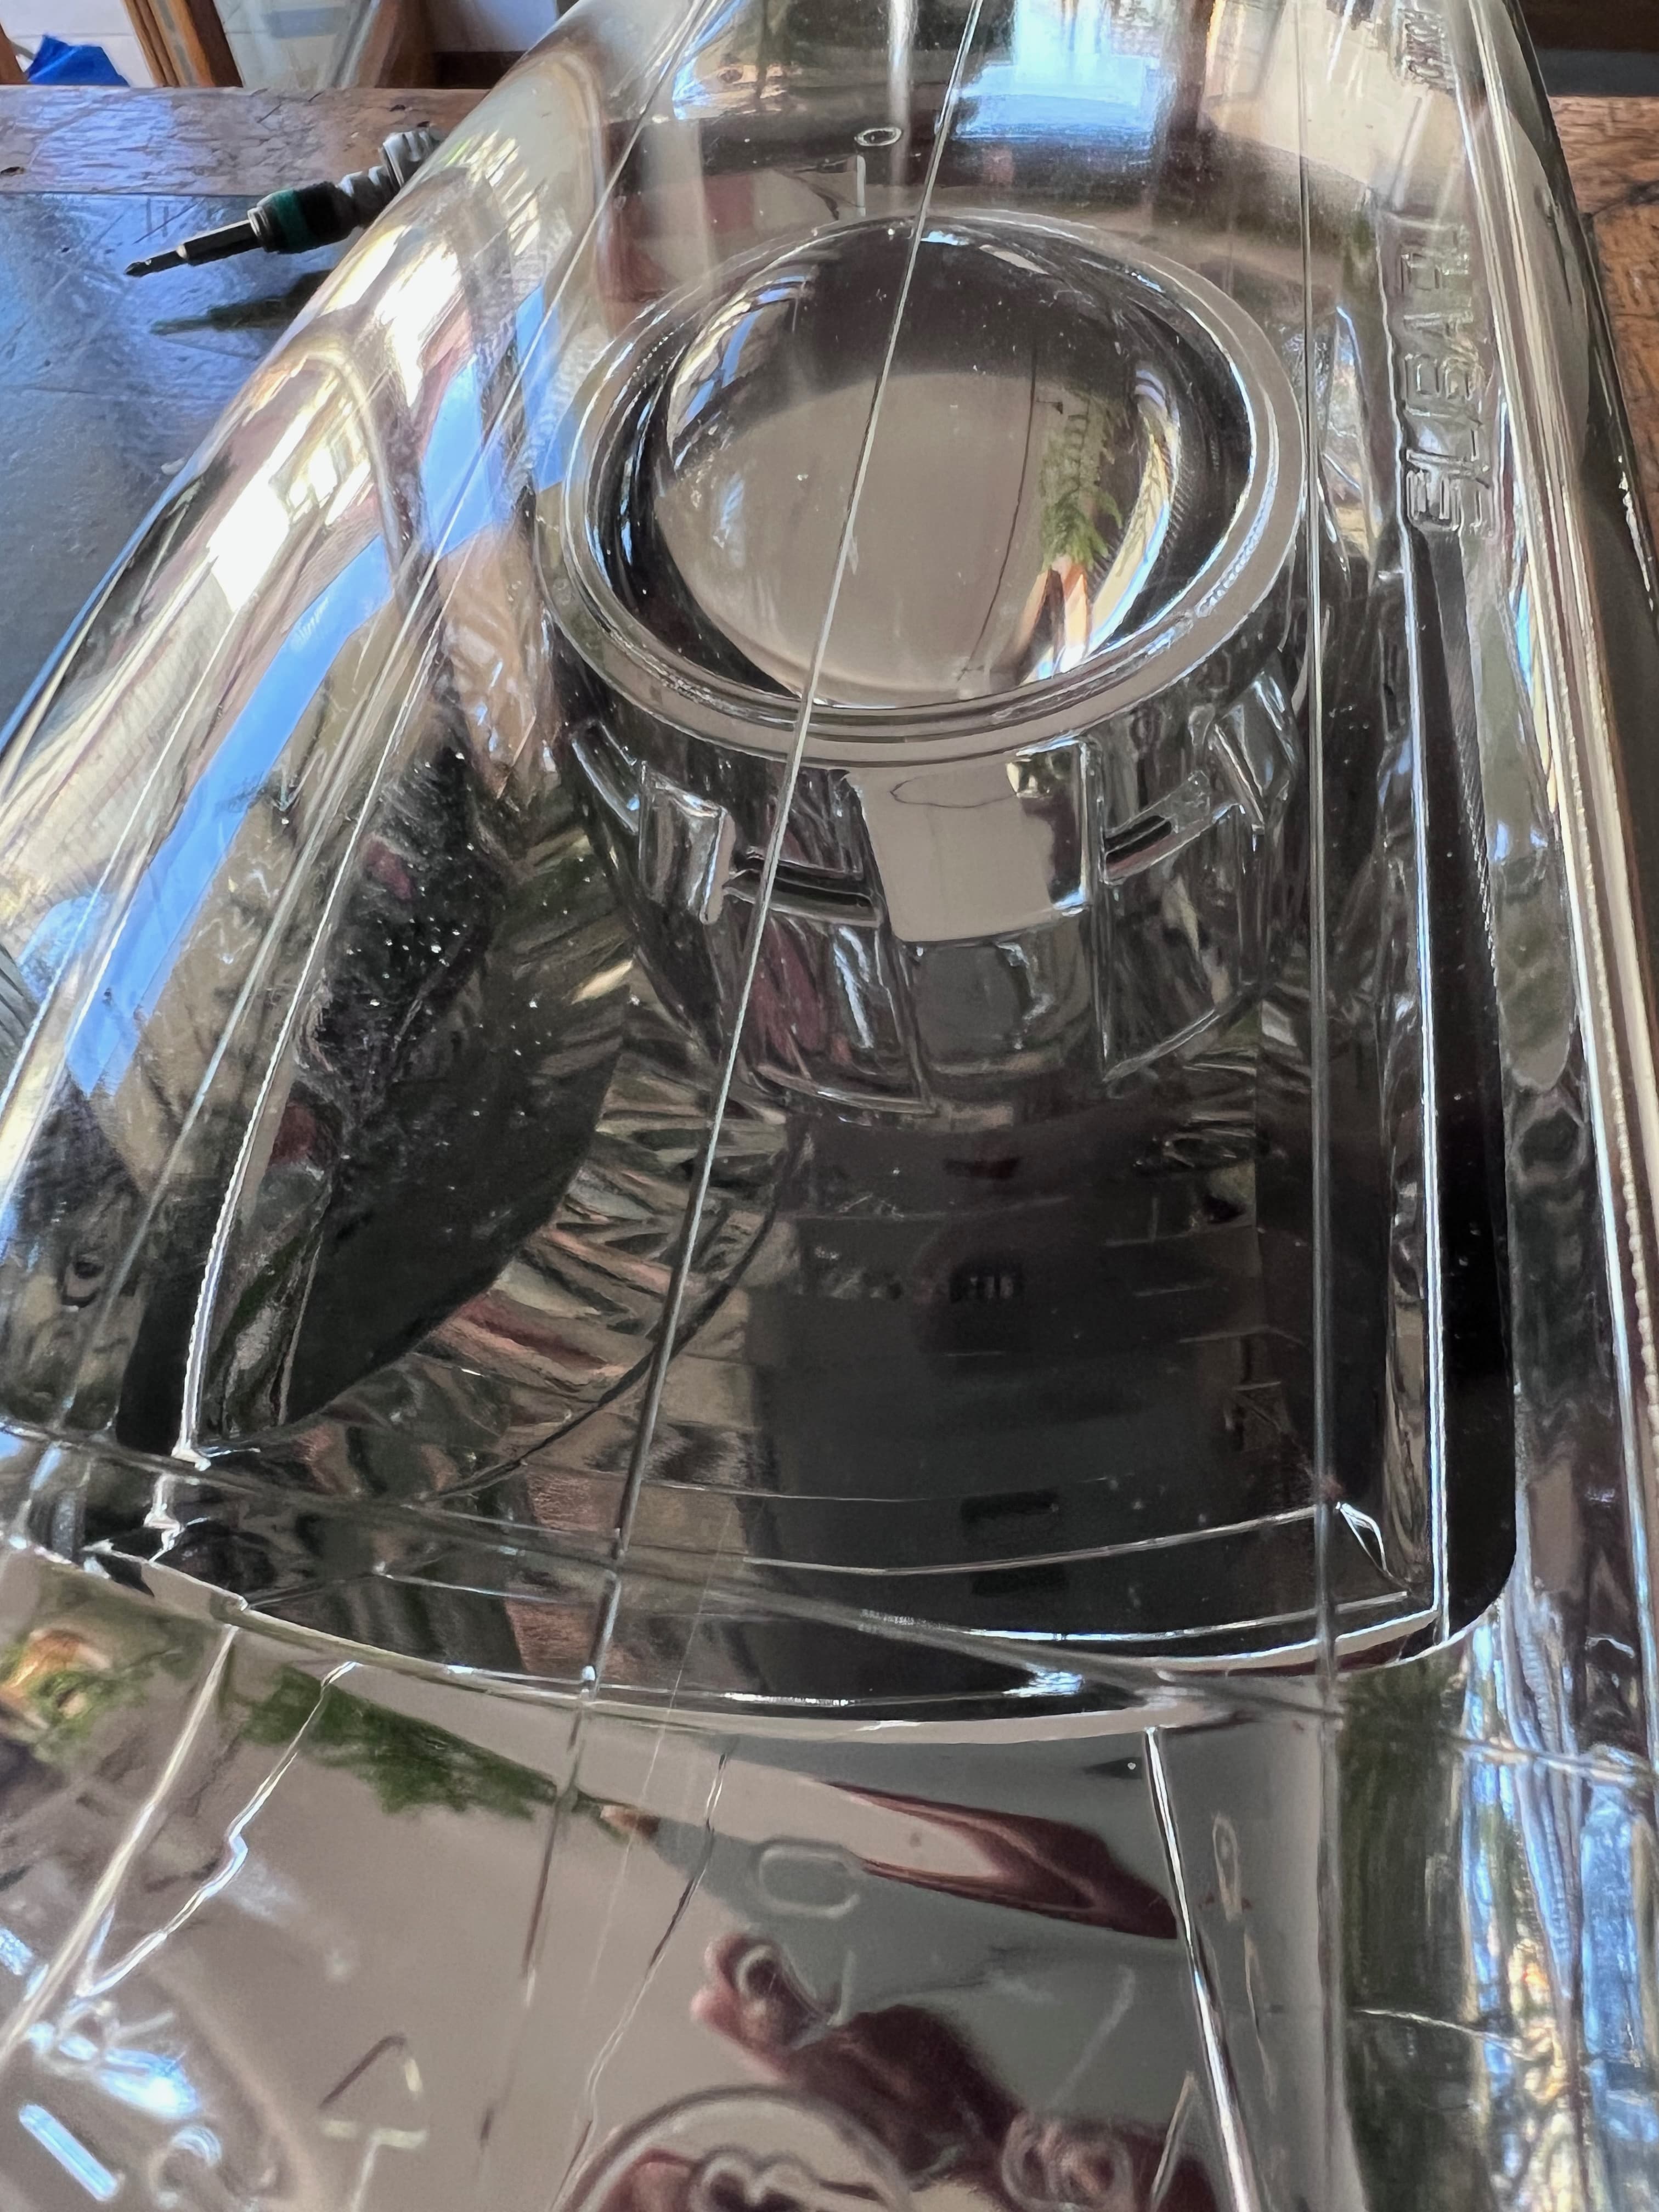
And a few close-ups:
To glue the headlights back together, another visit to the oven is needed; the procedure is the same as before.
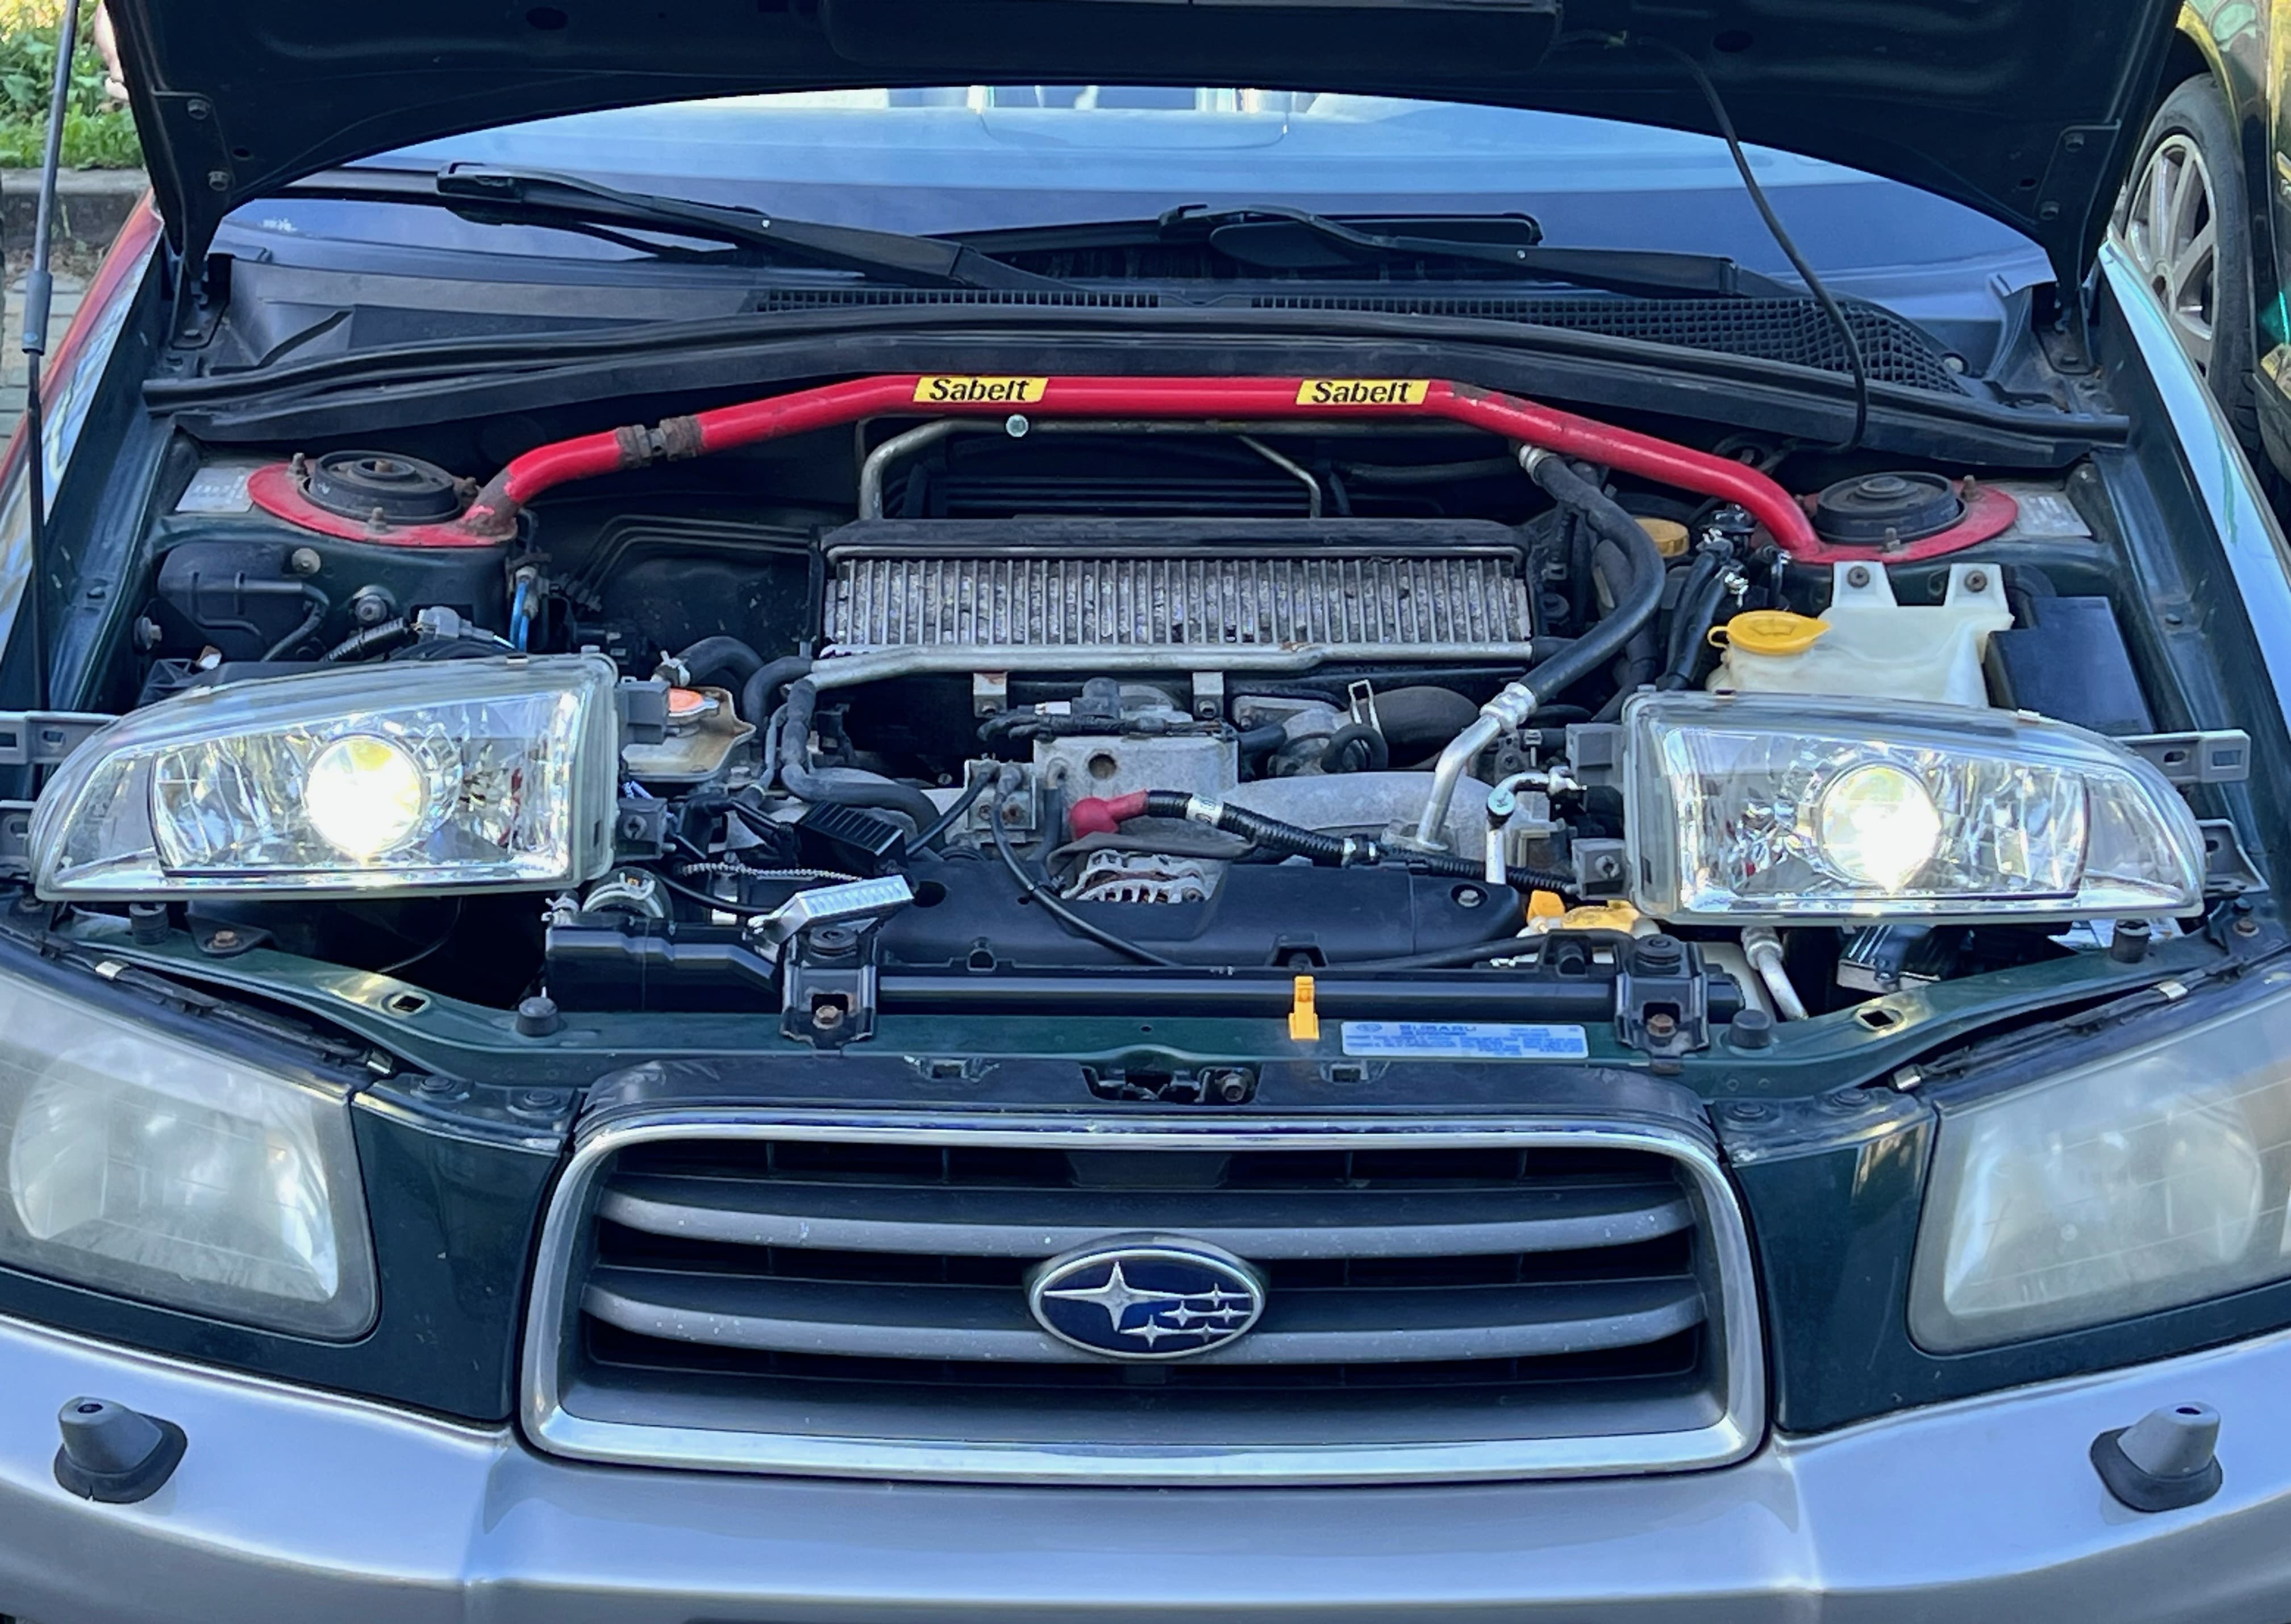
The Forester served as a power source:
To be honest, I have mixed feelings. The mod looks great, and I’m convinced the headlights will now perform far better than the originals. However, it’s worth remembering that this is still an illegal, or at least not road-legal here, since headlights must have a washer system and be self-leveling to be roadworthy. The quality could also be a wee bit better.